Squeaky ball vape blower[]
Here's a way I made a vape blower using a squeaky toy ball for doggies.
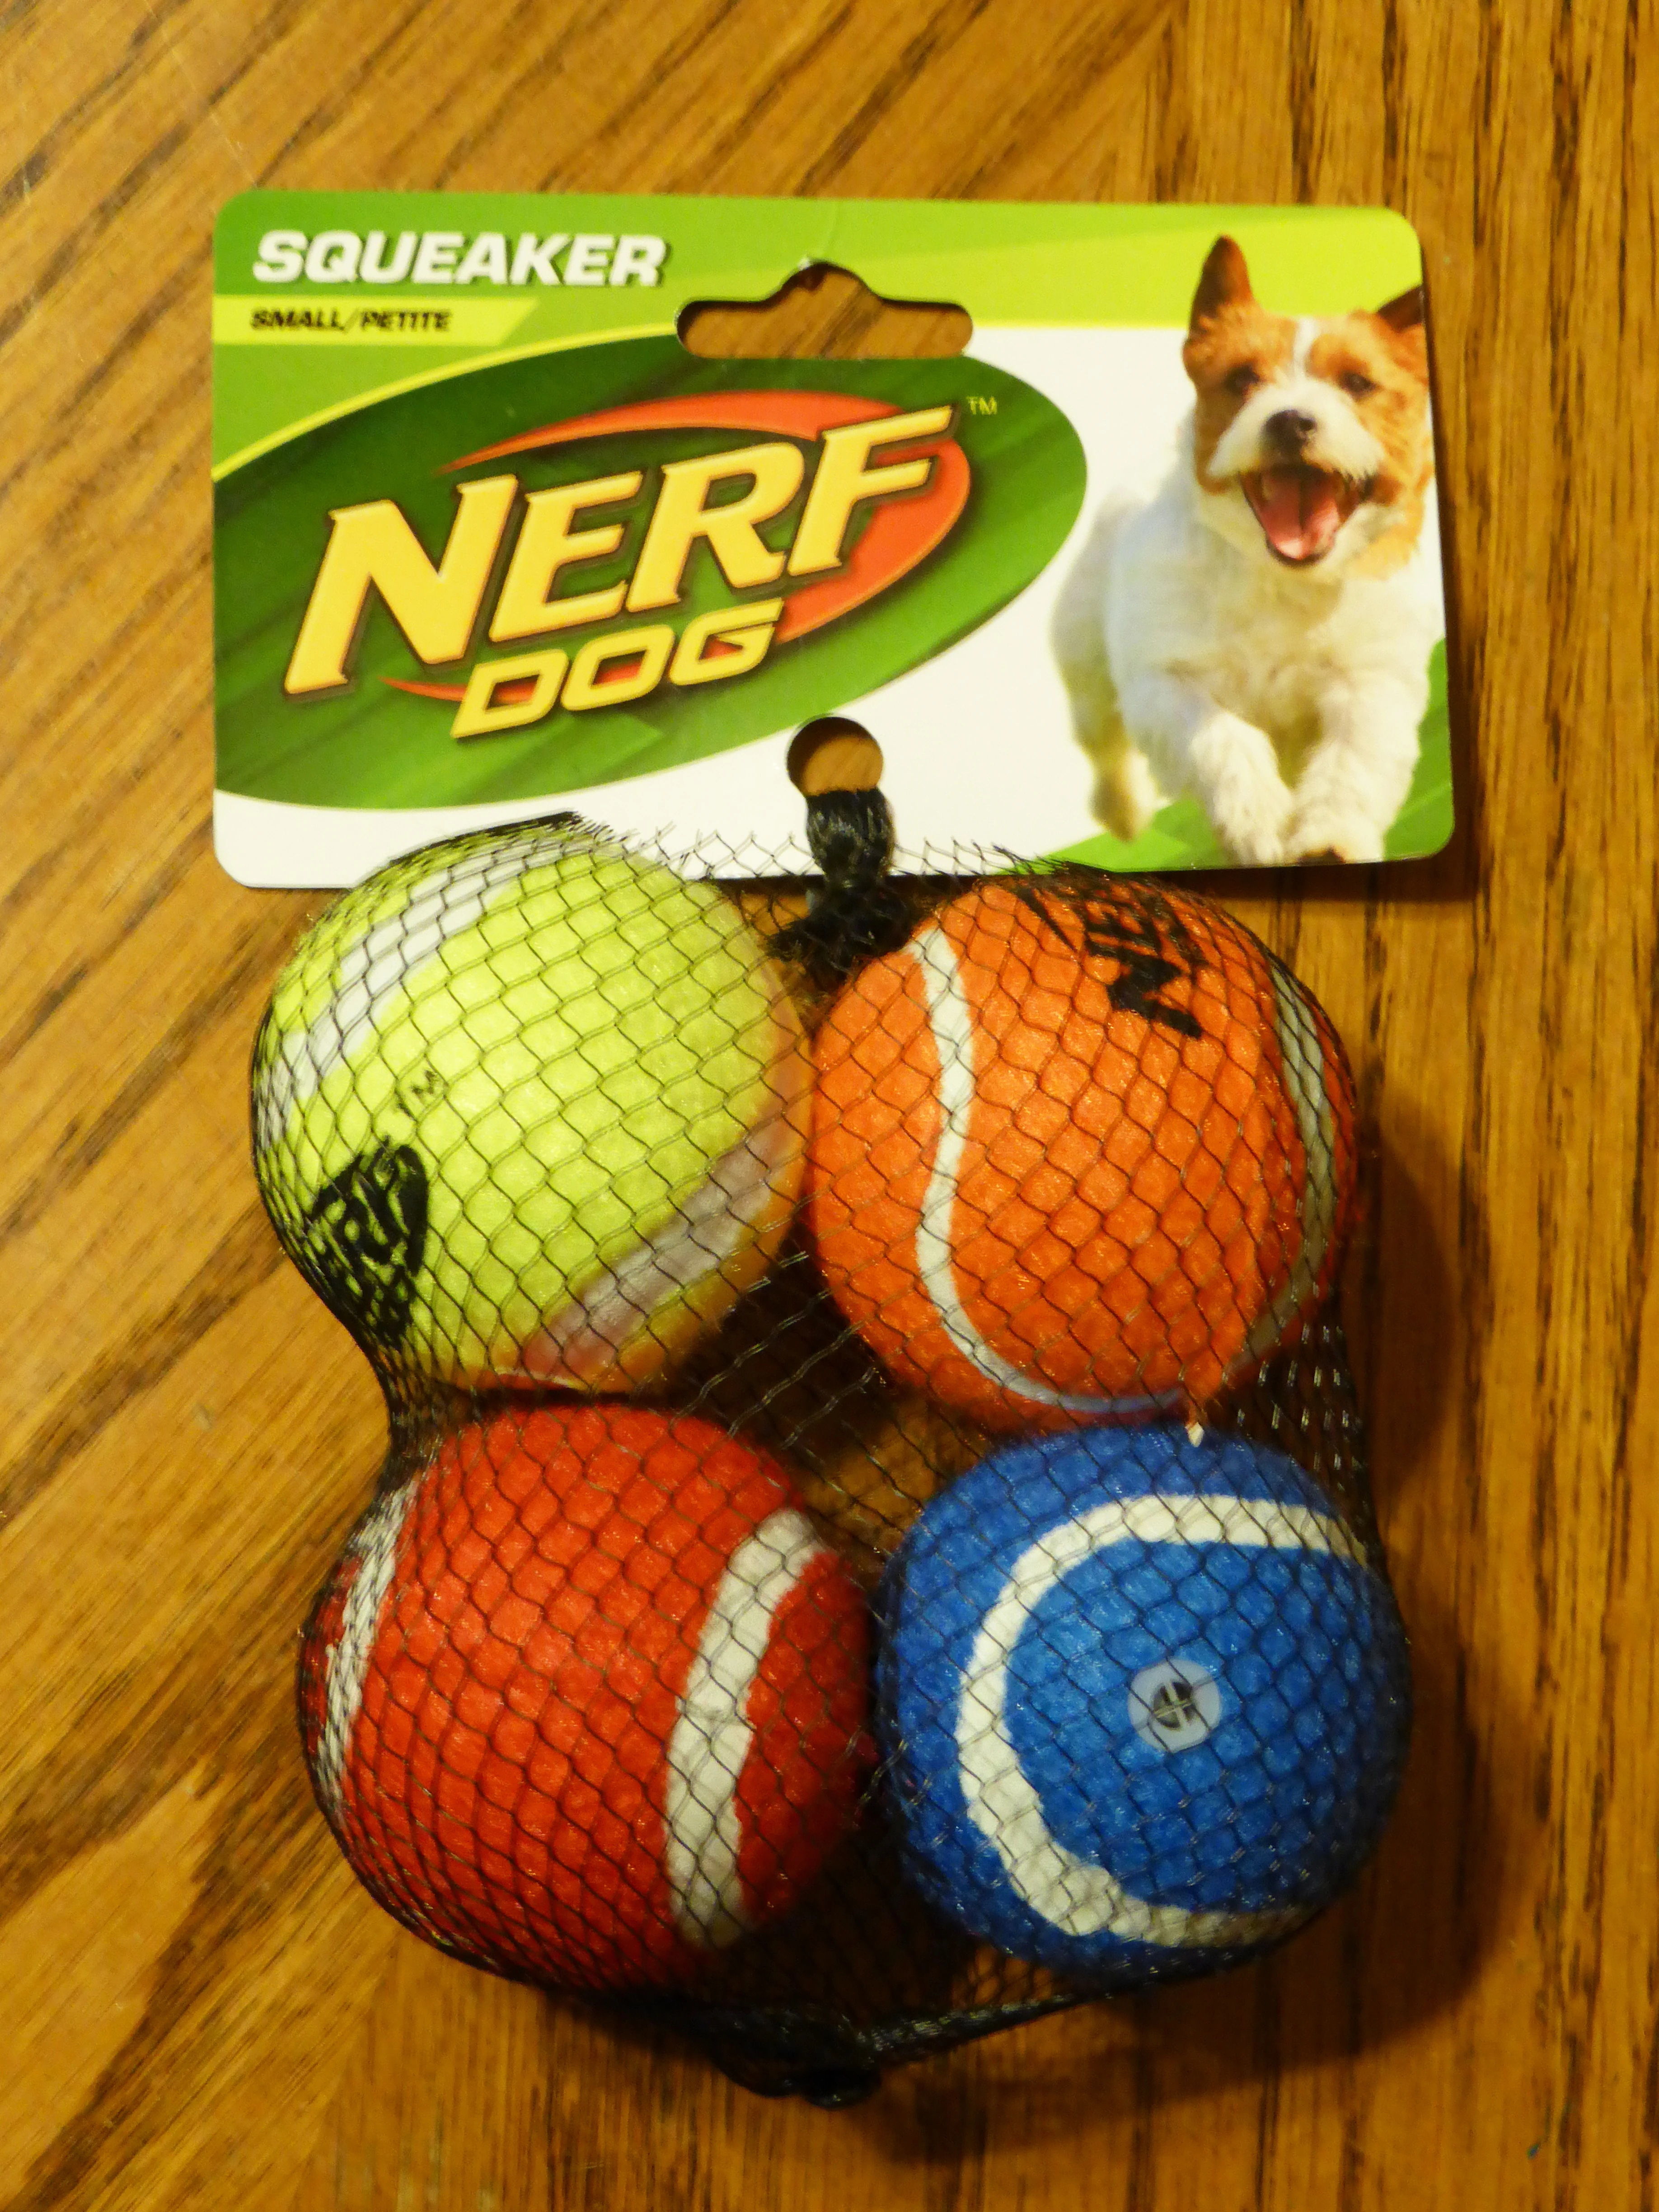
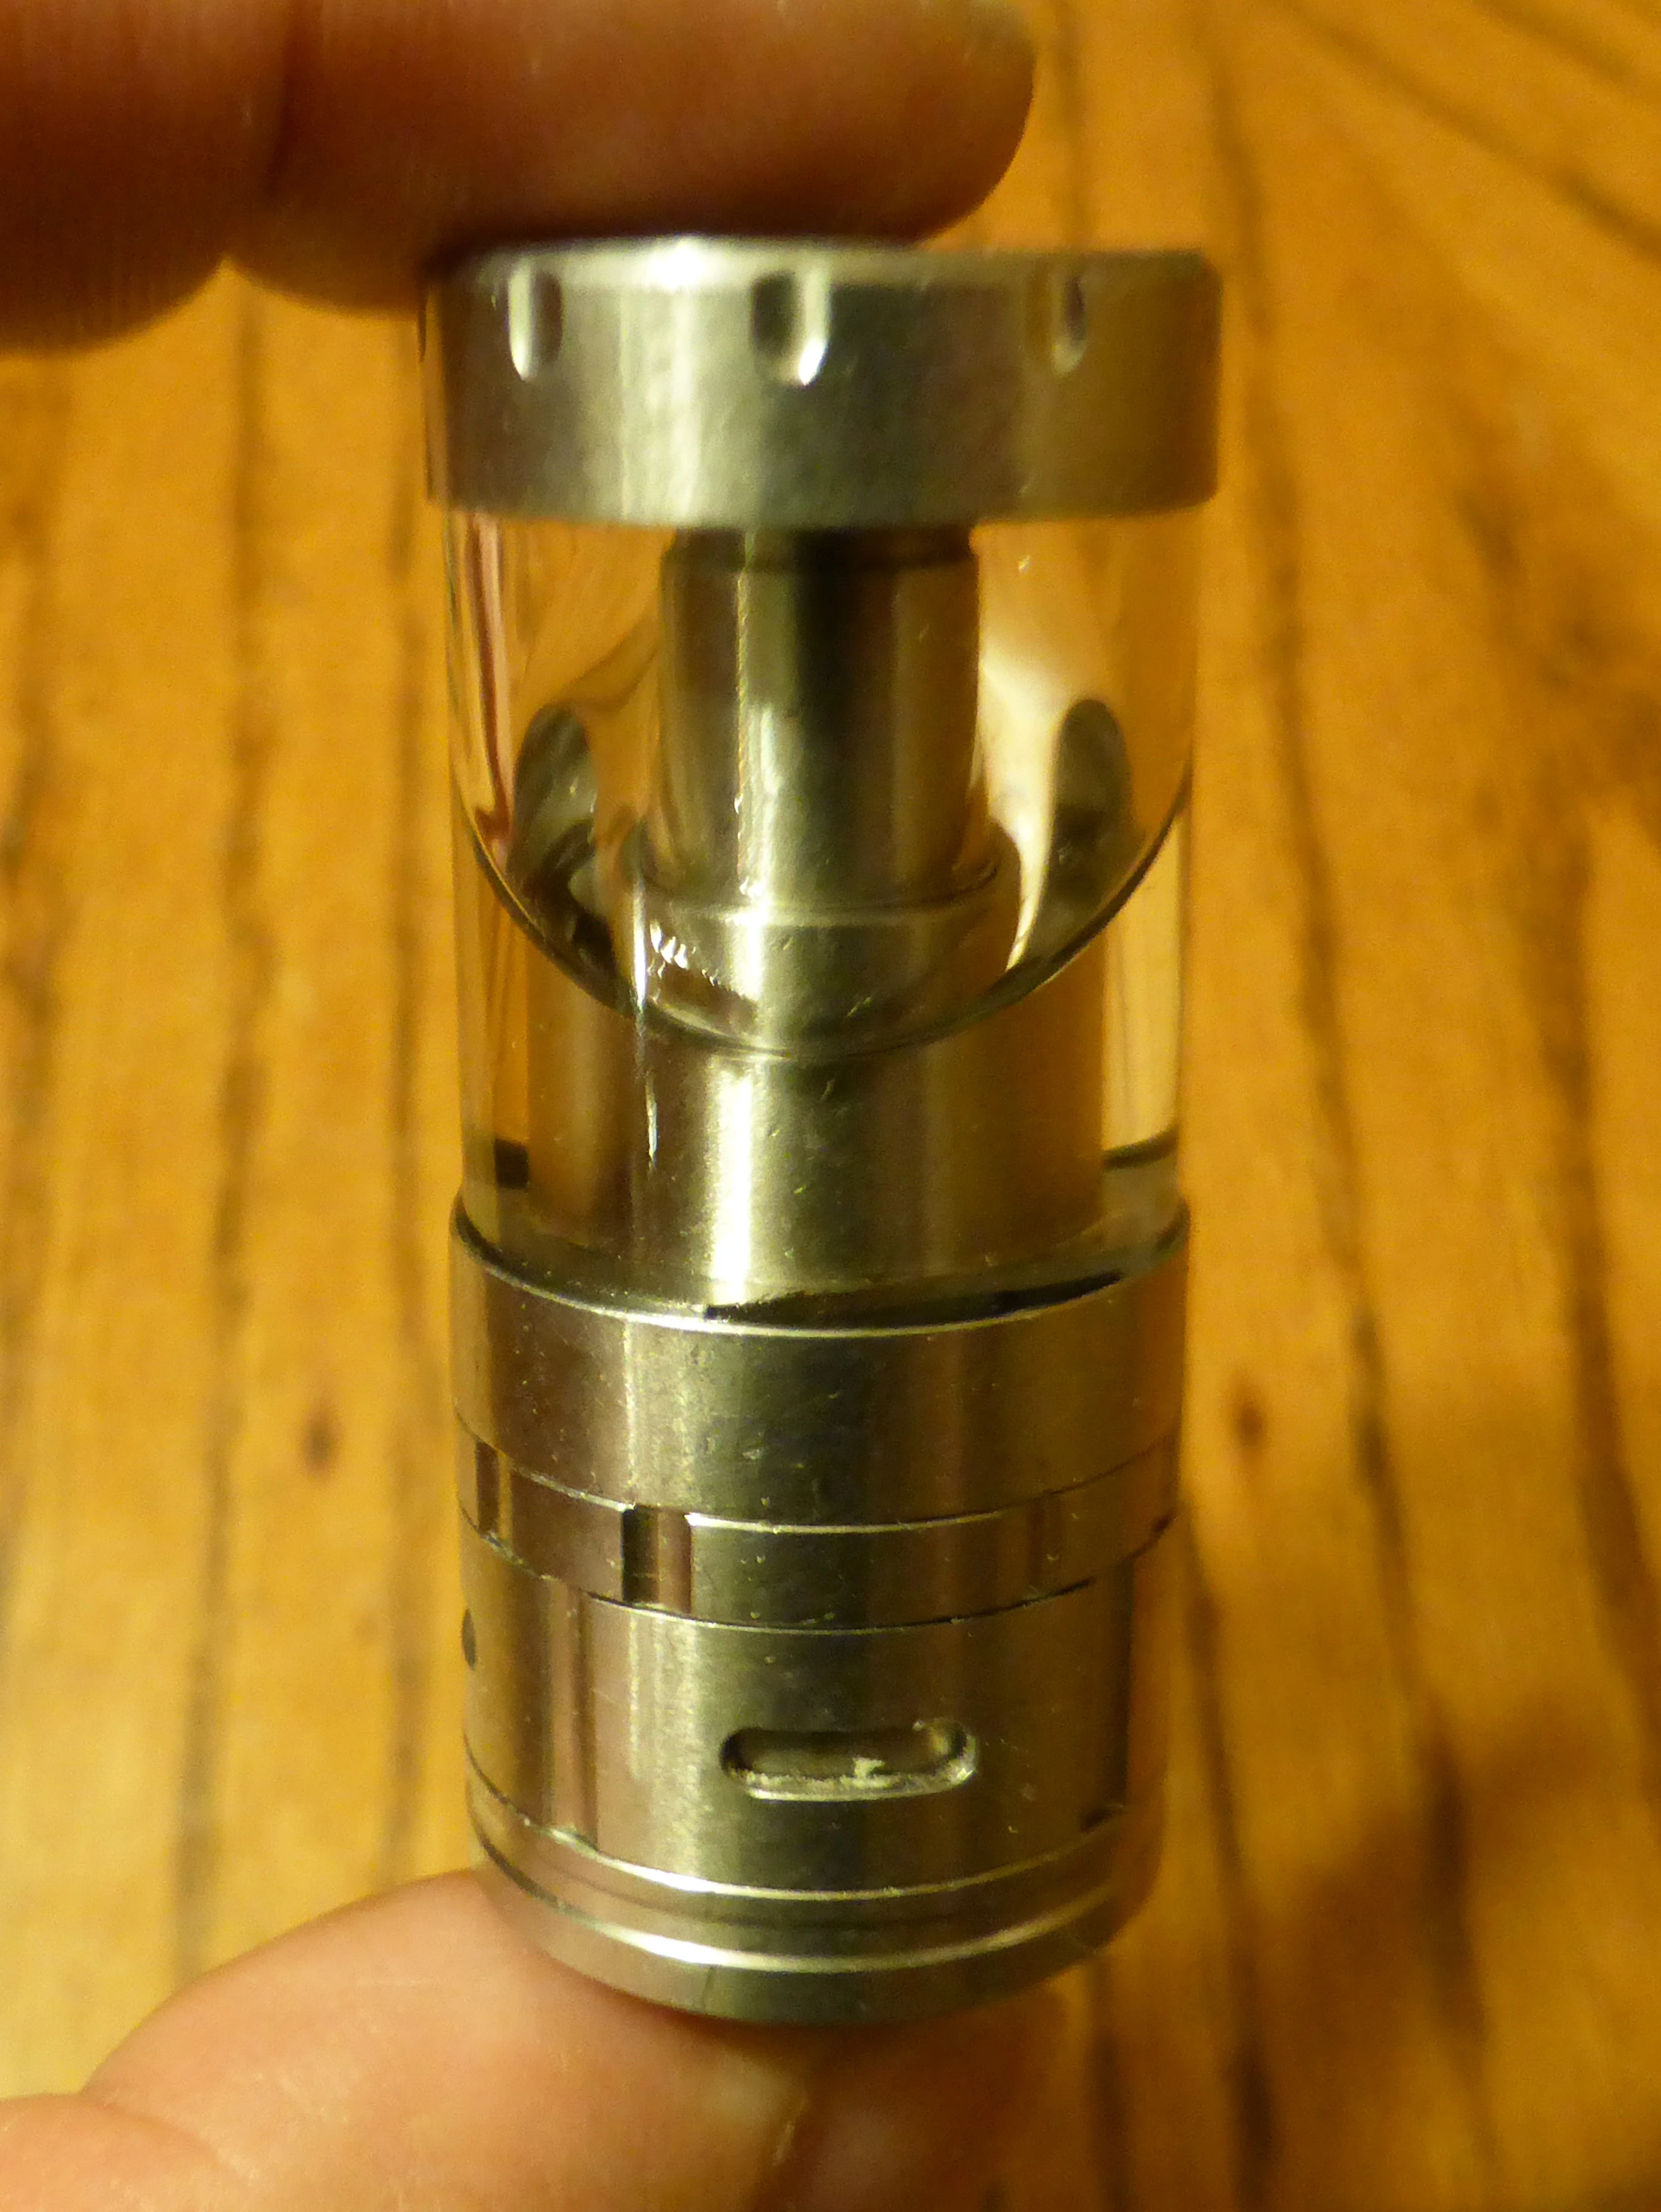
1. I found a ball that was hollow, not of foam, and had a diameter no greater than the length of my atomizer. These are just a *tiny* bit bigger than the tank I wanted to use but after the cutting holes for it, they turned out to be perfect.
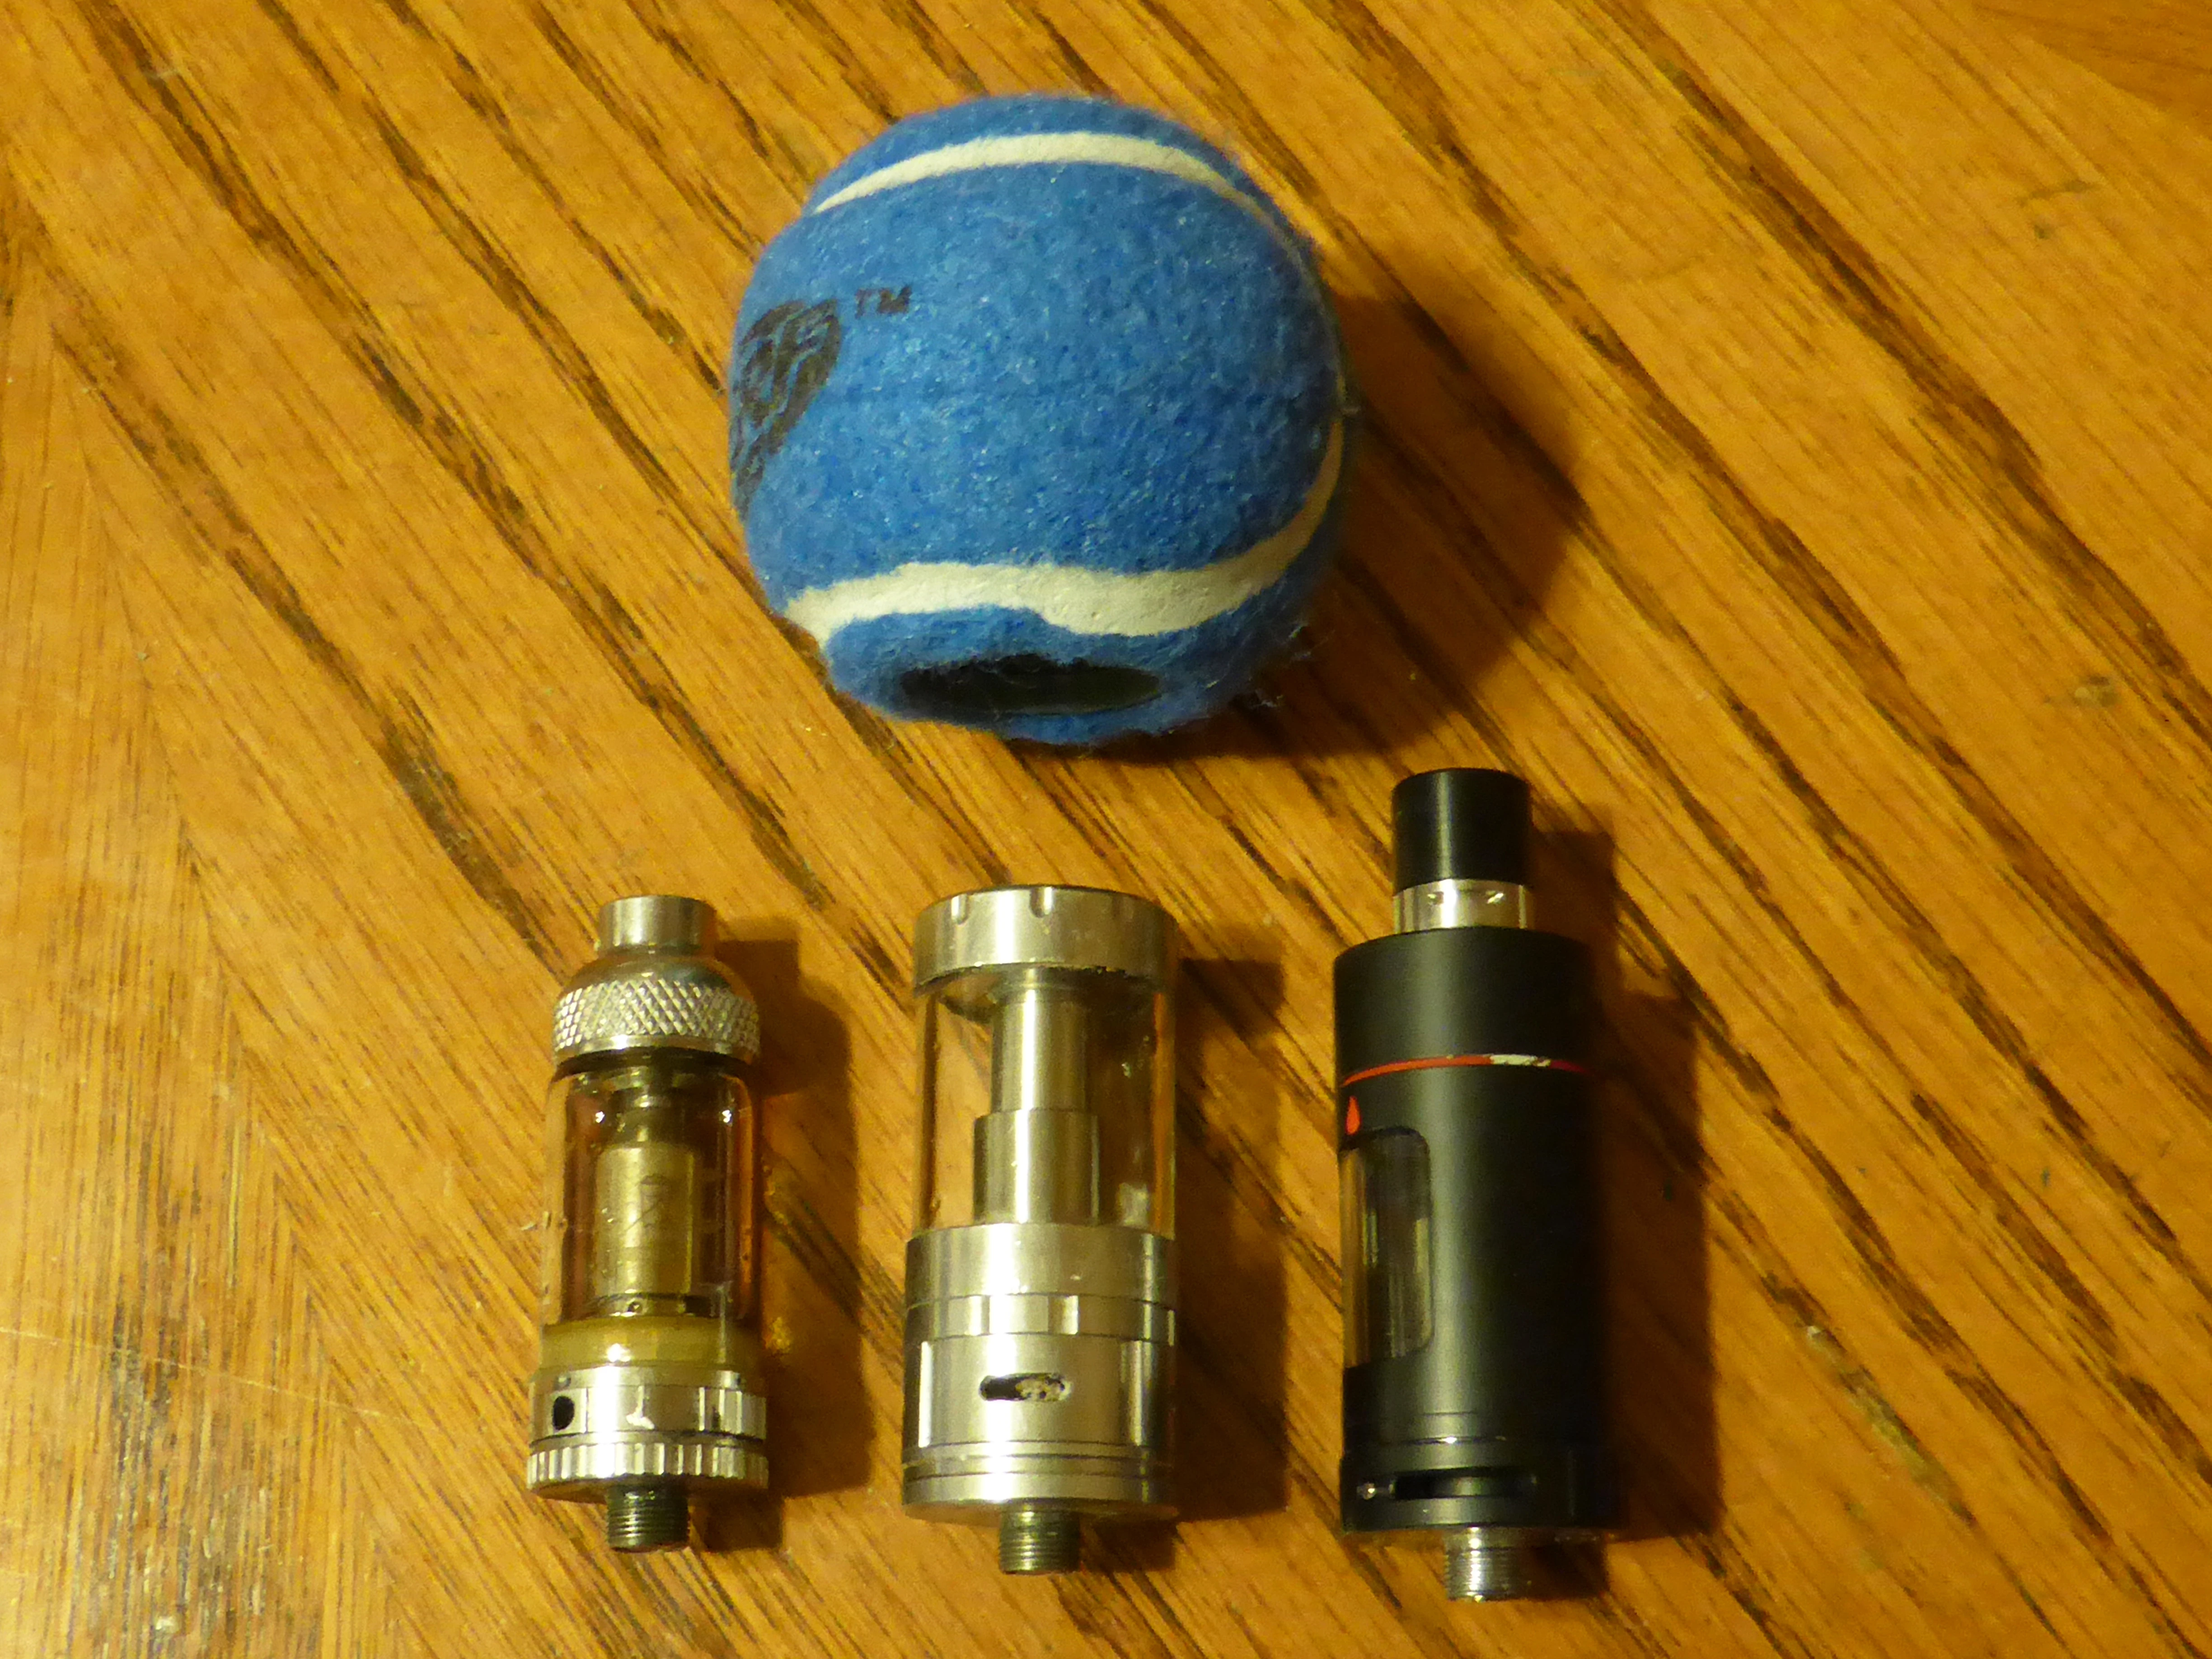
2. I chose the atomizer in the middle because its air intake vents aren't too close to the bottom or top.
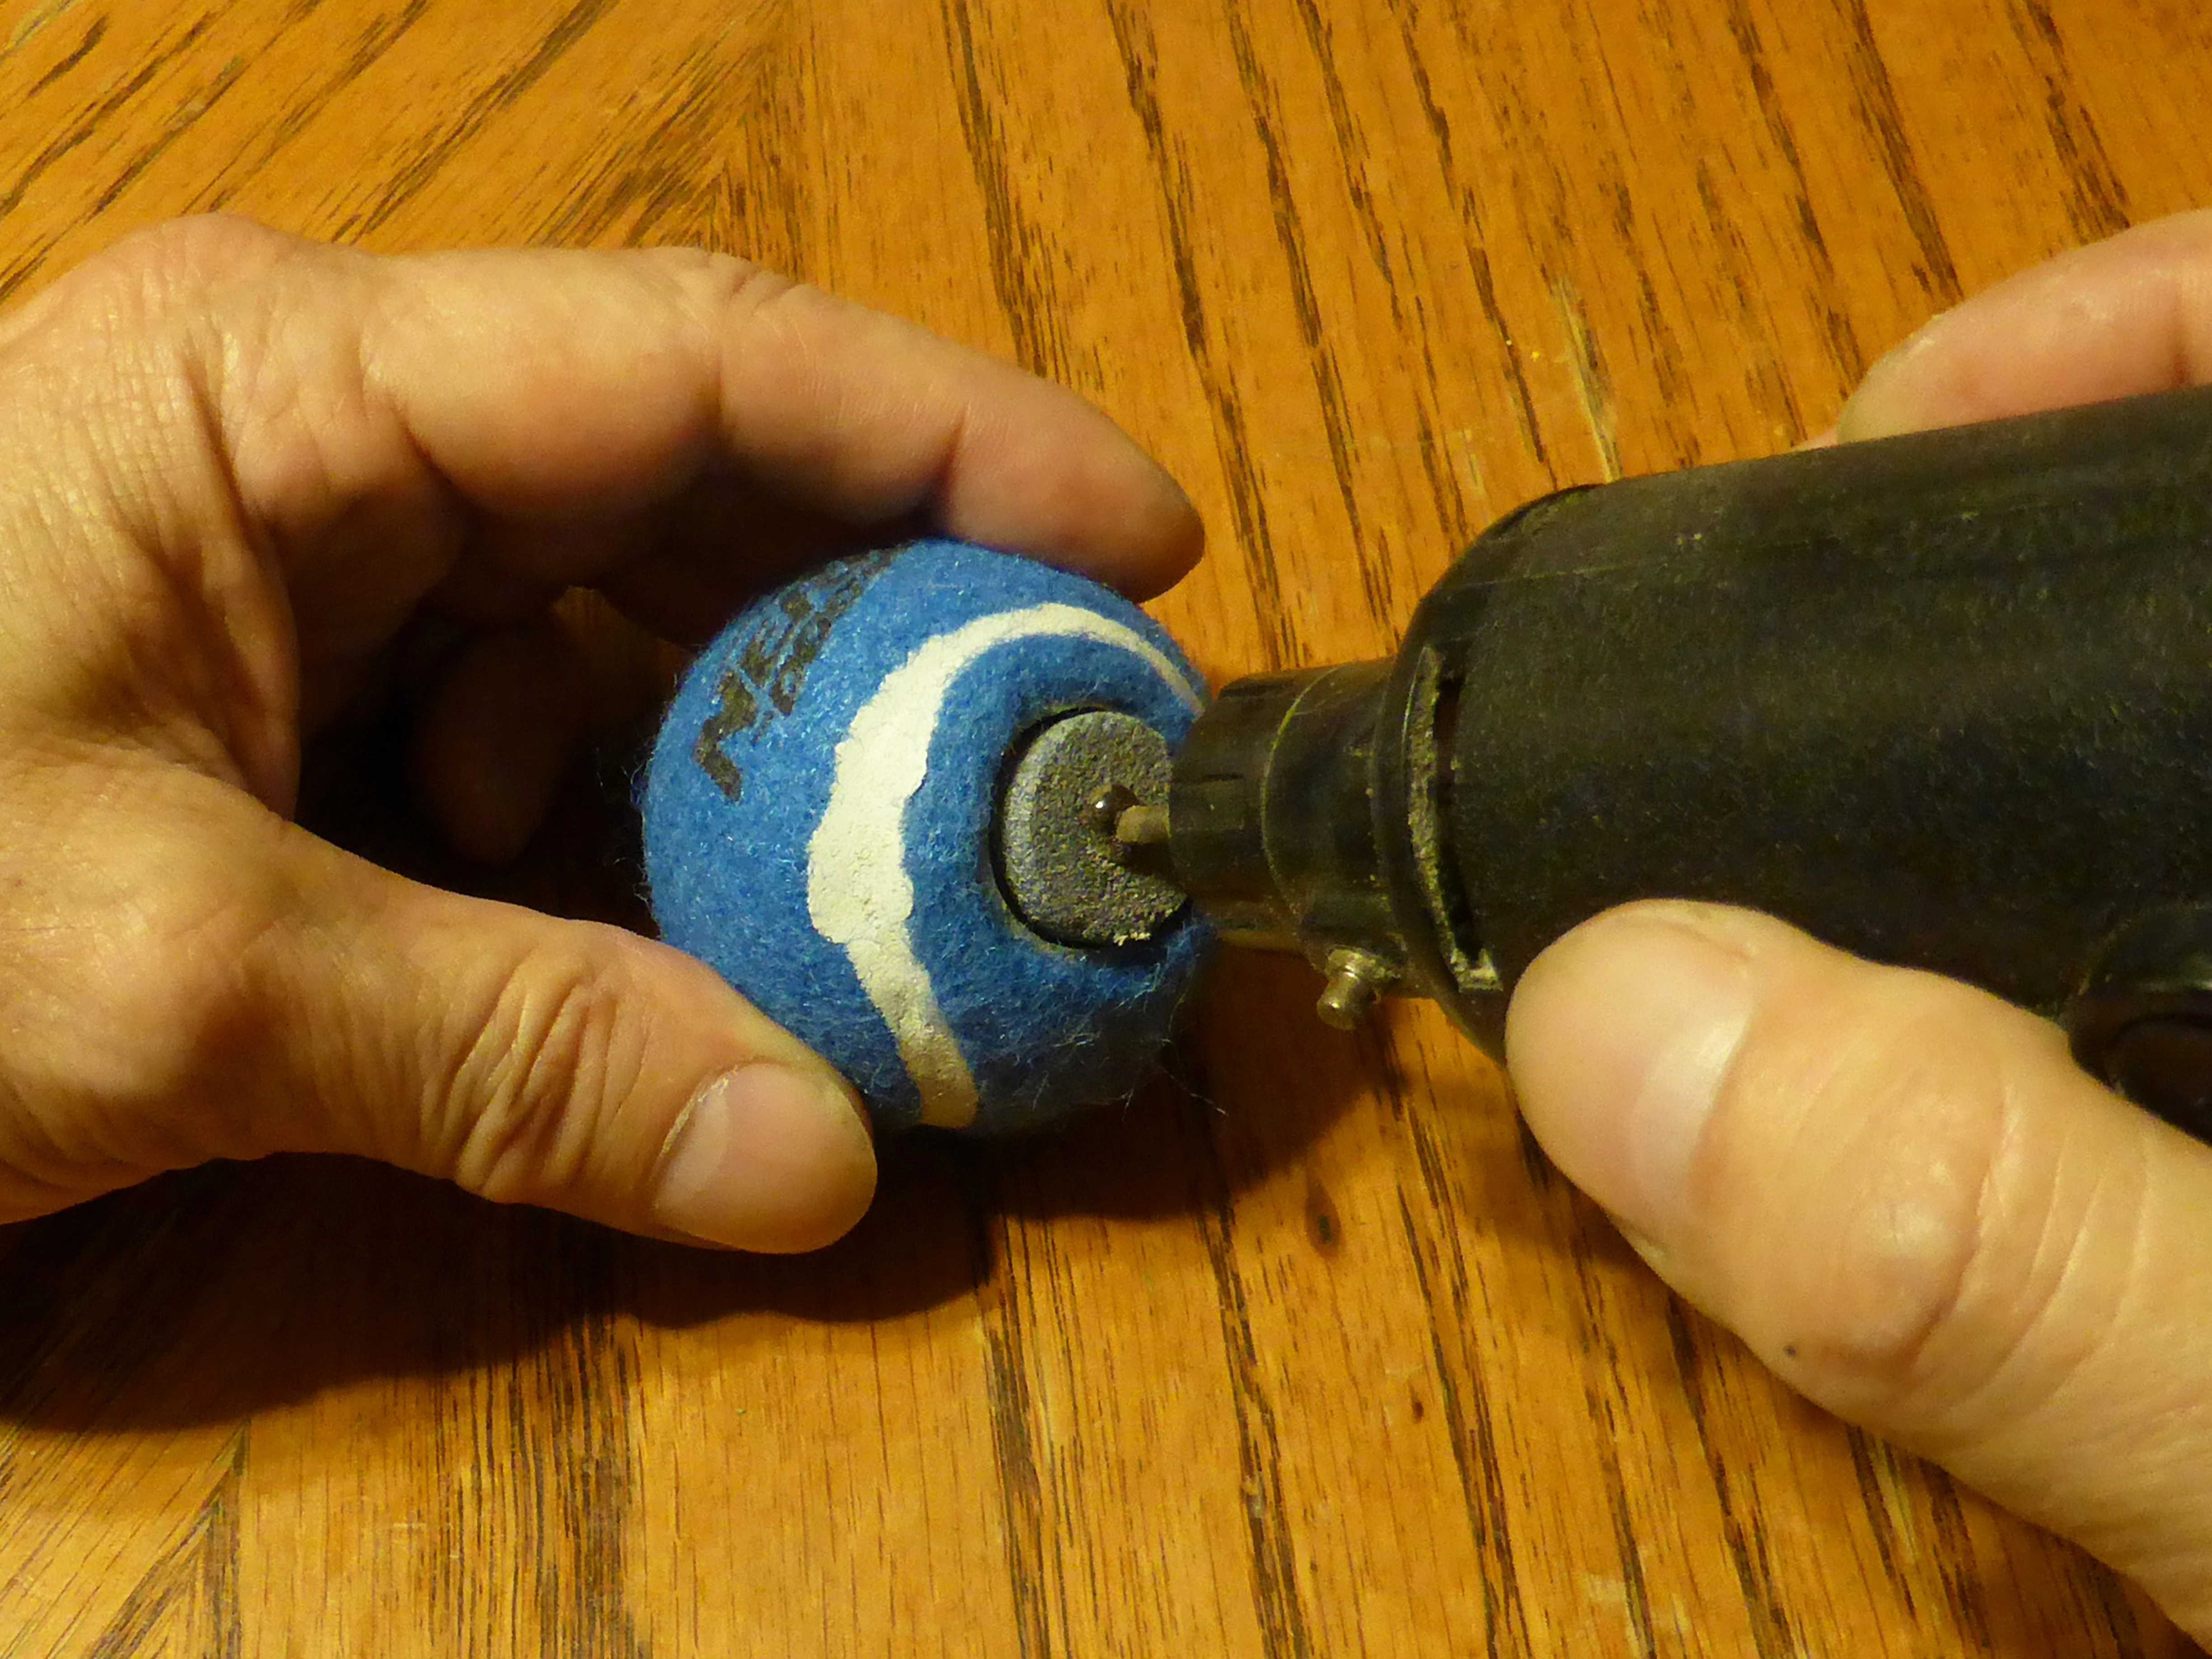
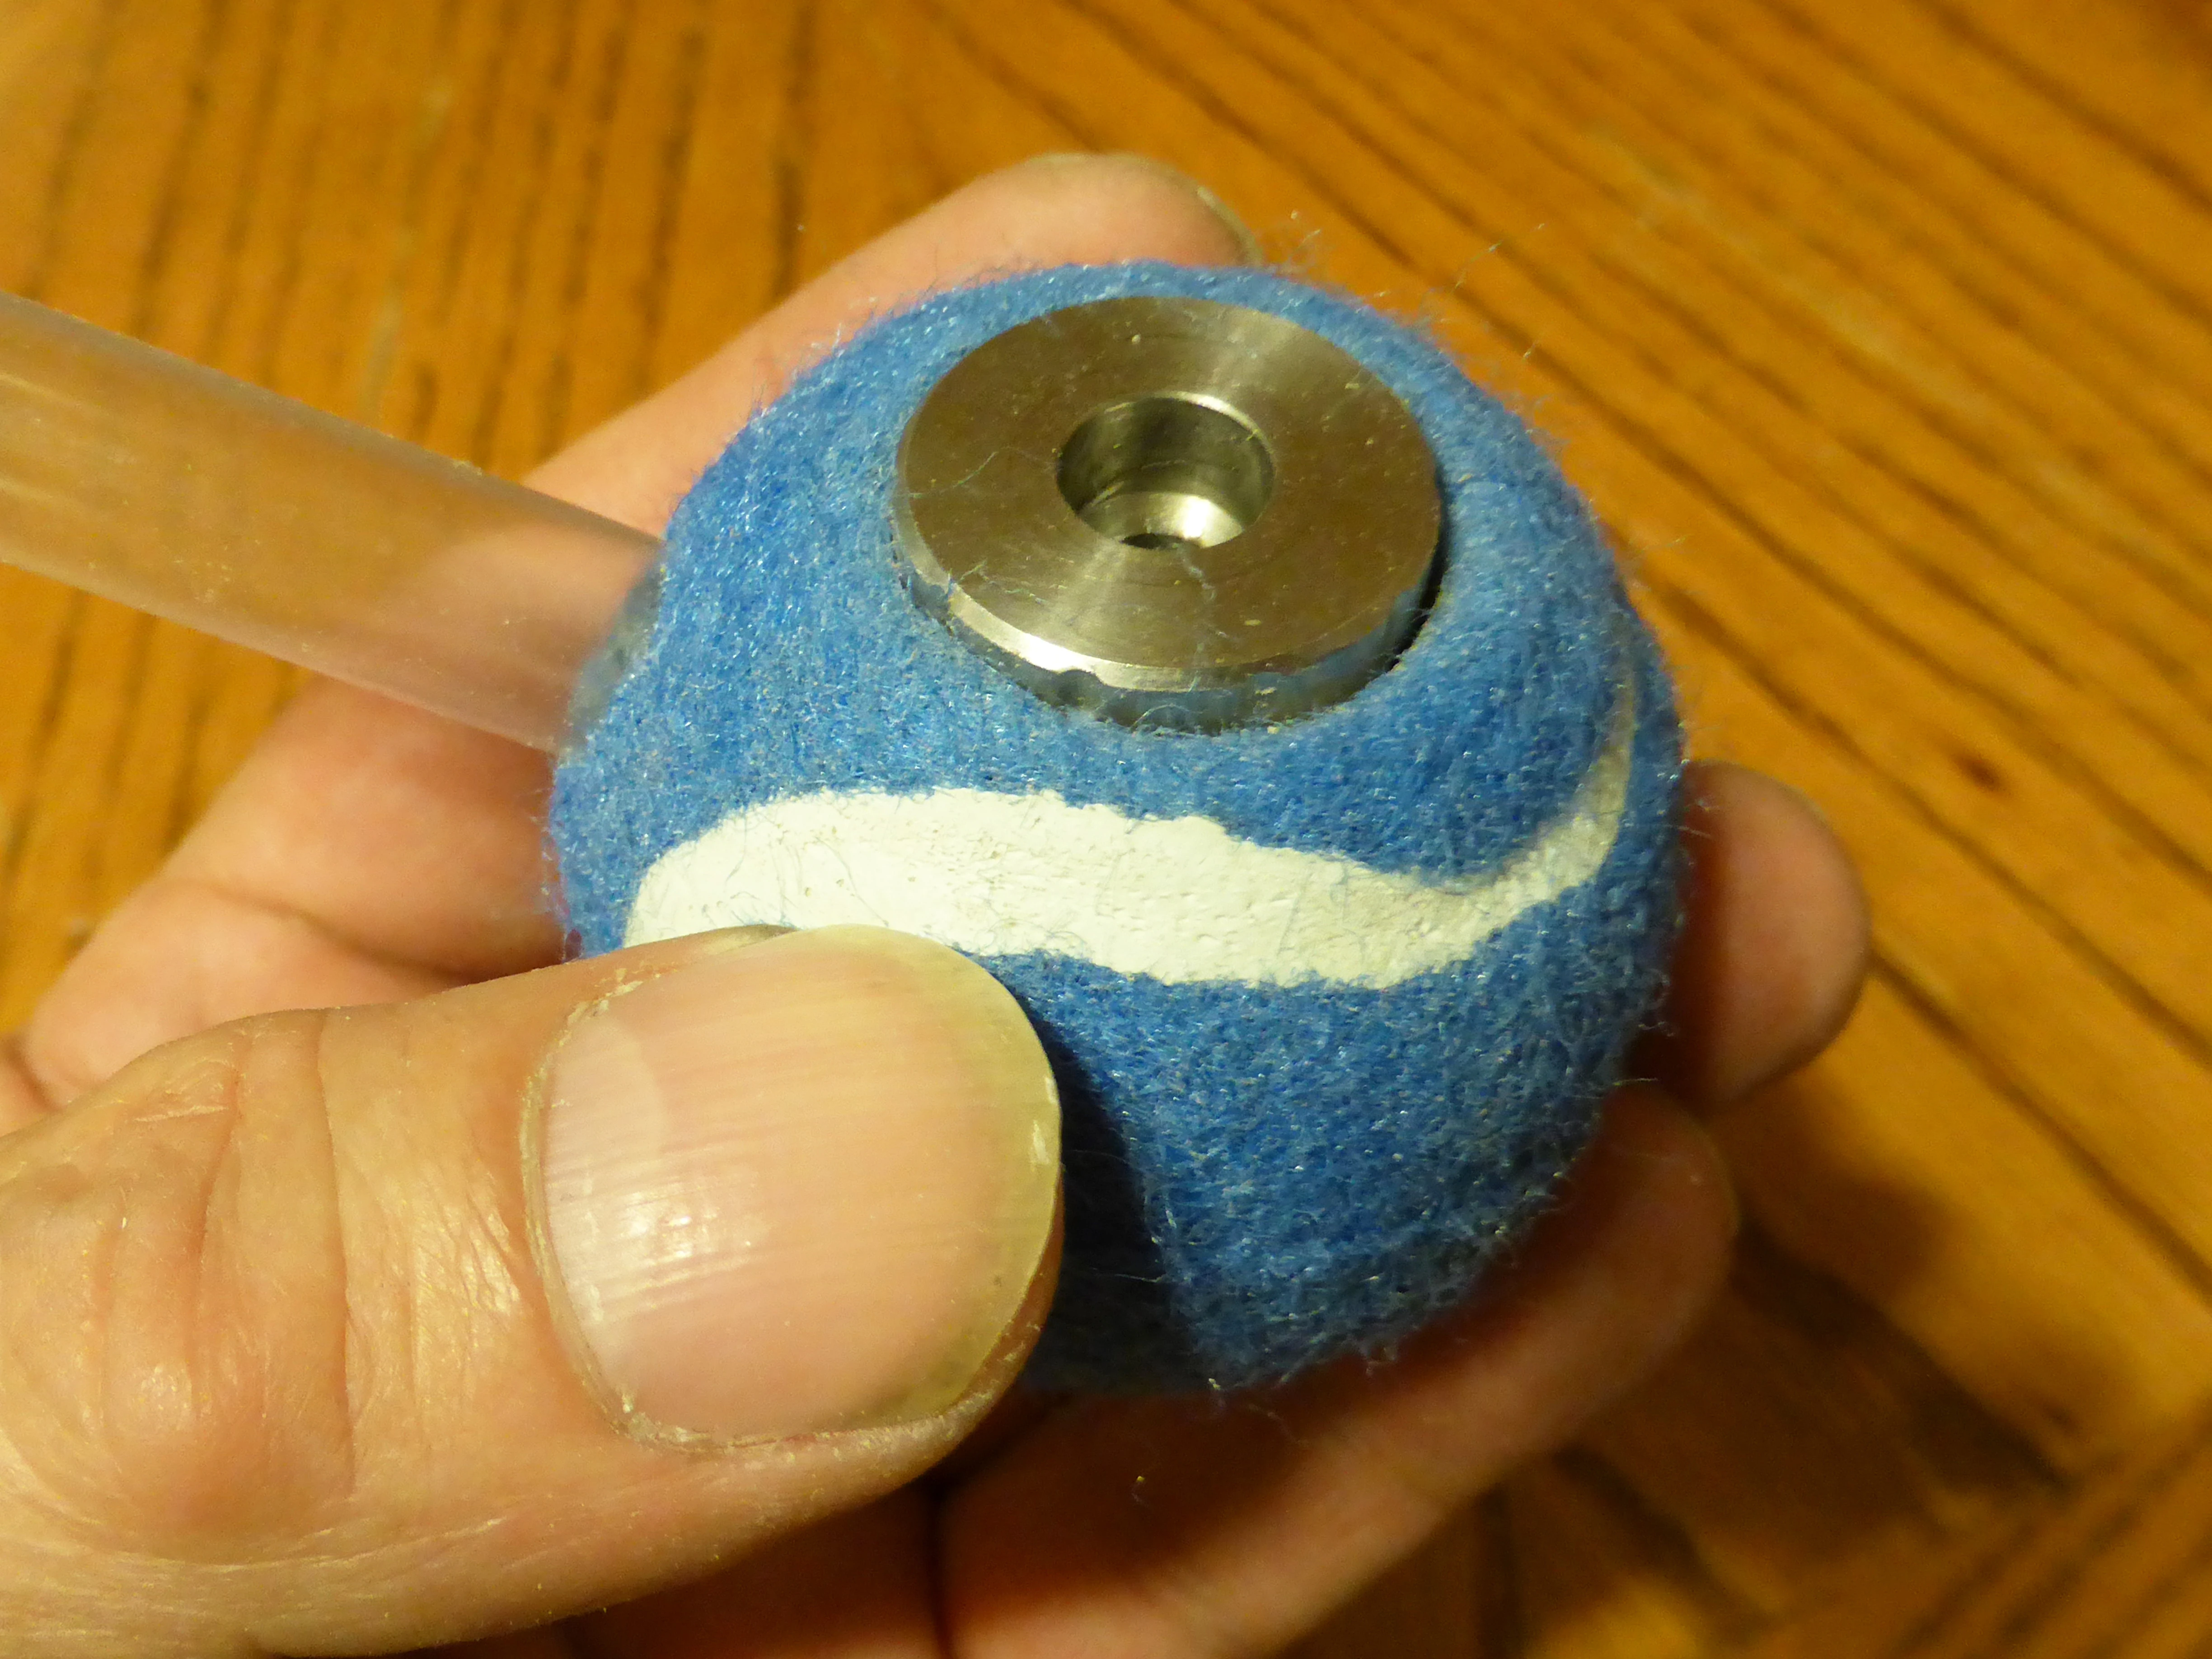
3. Cutting smooth-edged holes in the ball's rubber was a challenge. I started them by using an old e-cig battery compartment, into which I'd cut notches to make a sort of hole saw.

4. I finished the job with a grinding stone. This gives the edges a nice smooth finish. You want the hole to be just a little smaller than the widest diameter of your tank. But be careful not to make it too much smaller, or else you'll tear the rubber as you insert the tank.

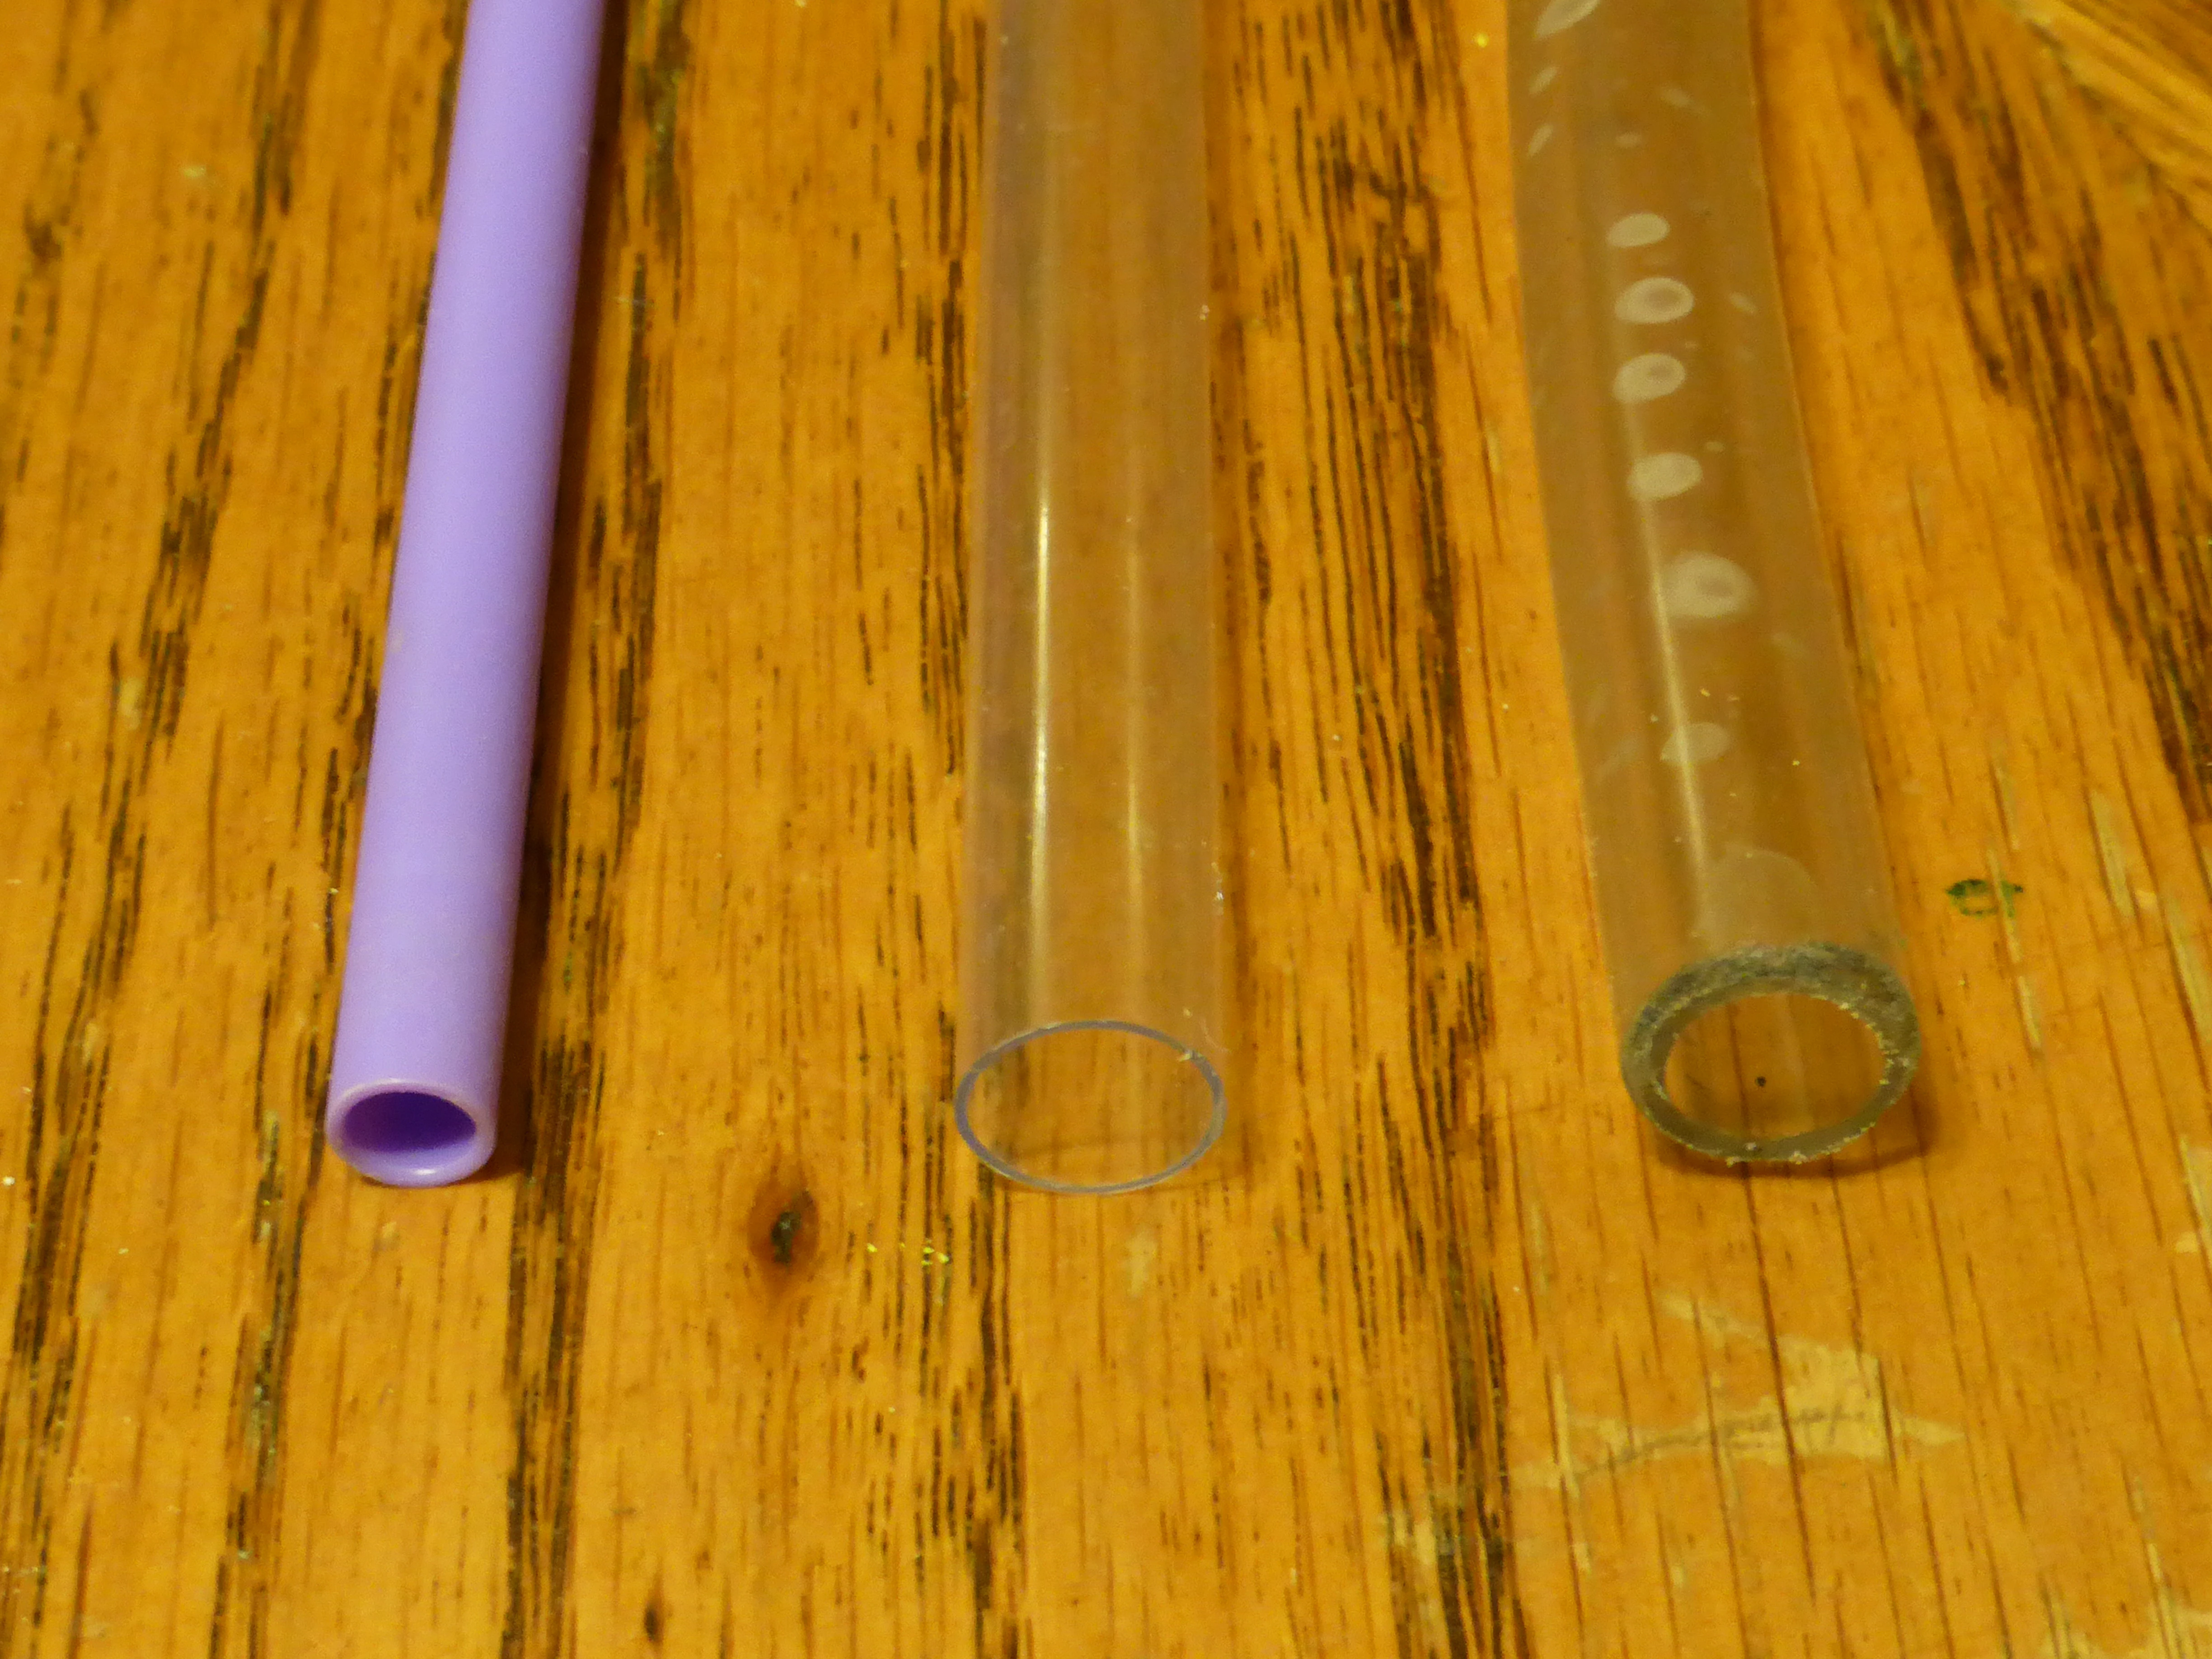
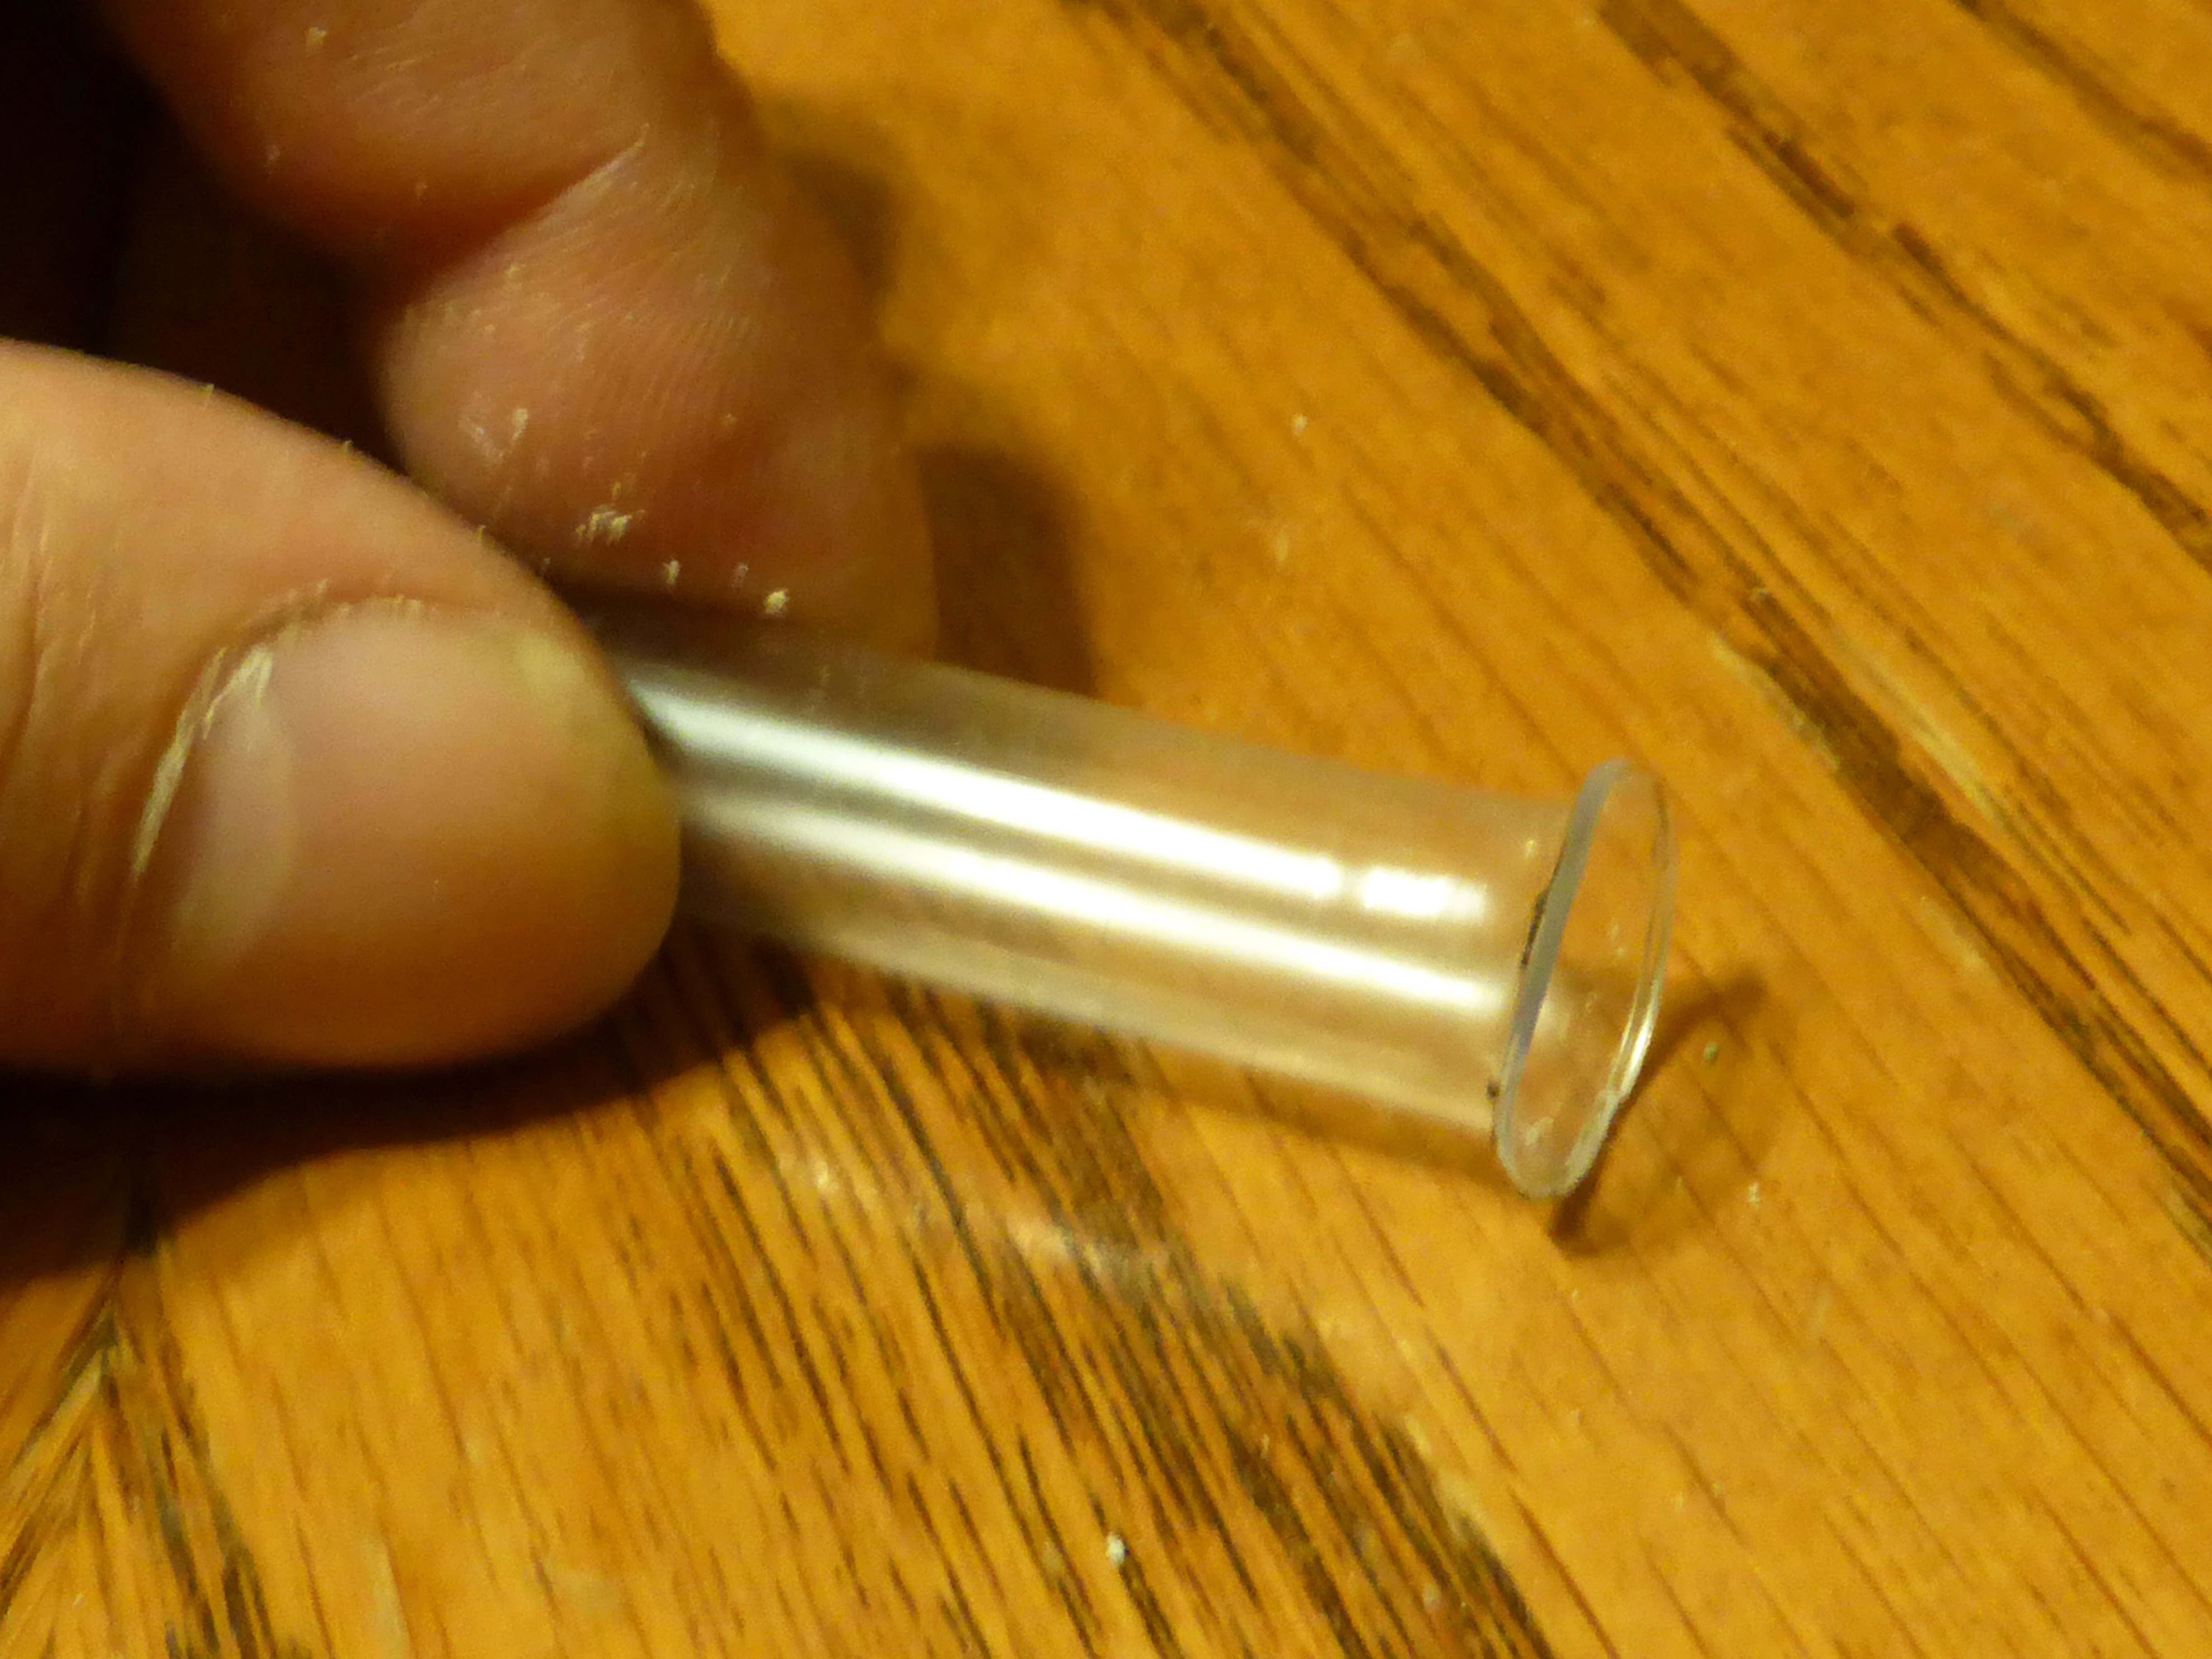
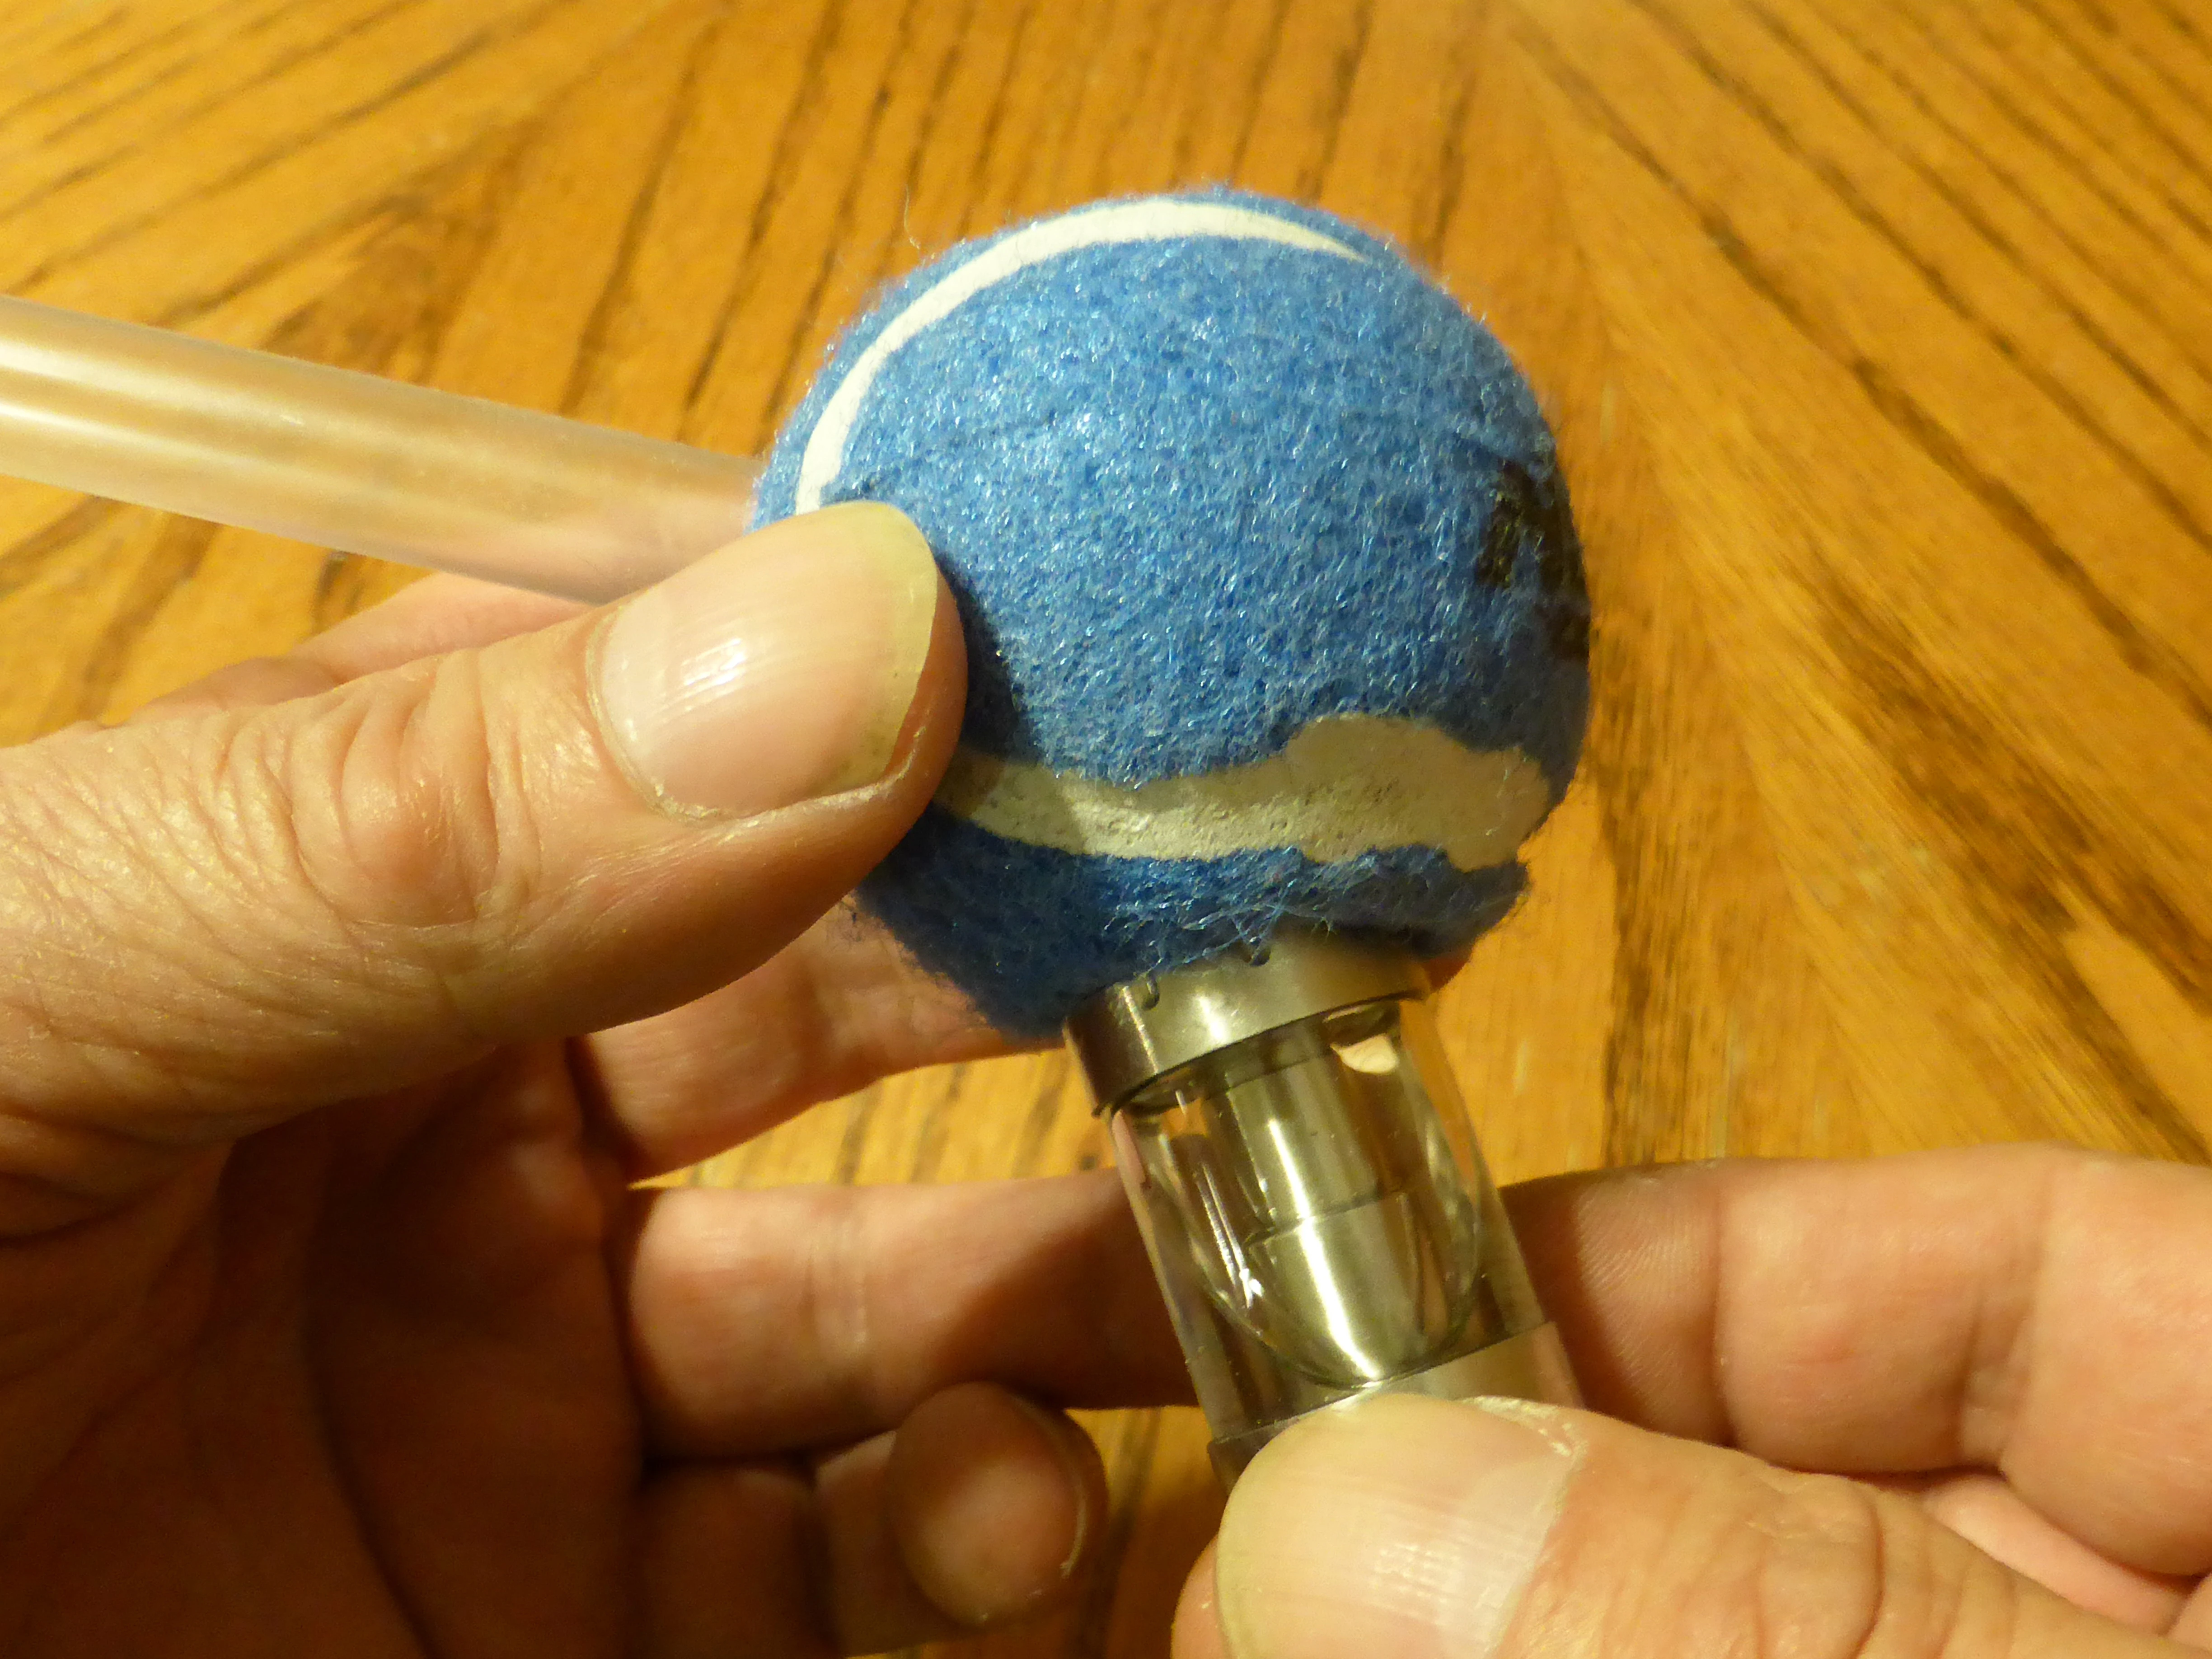
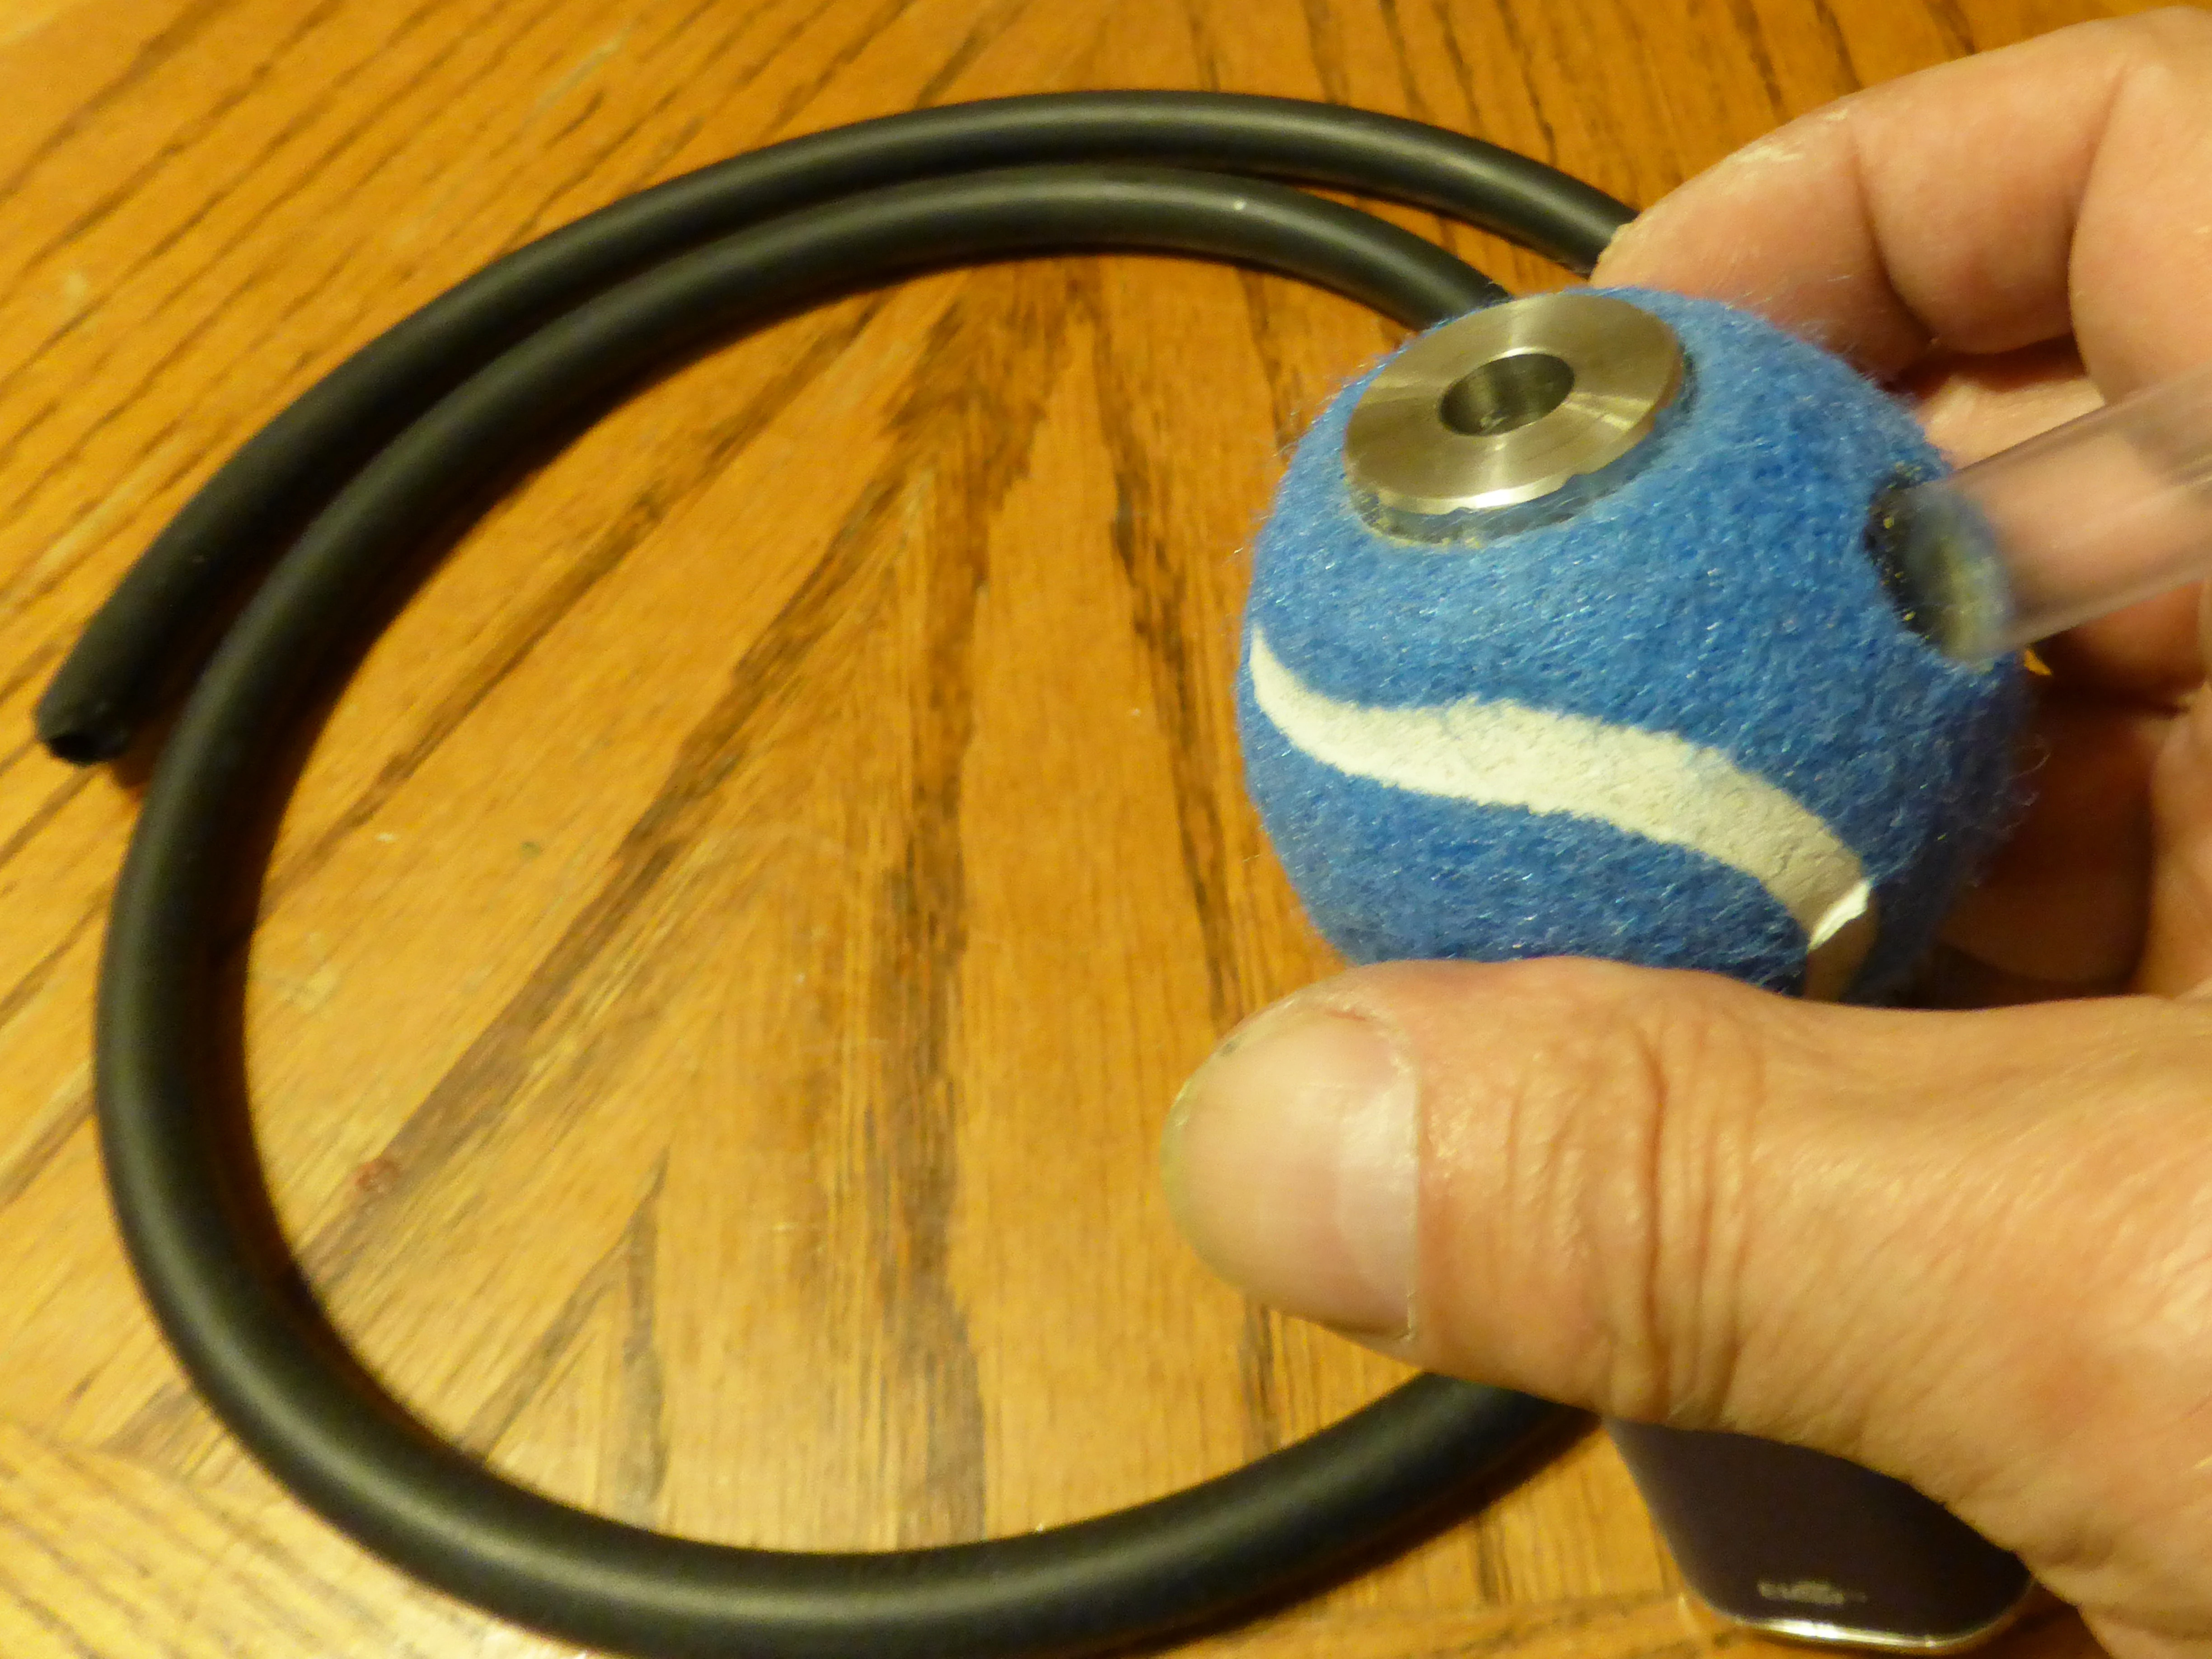
5. I wanted a mouthpiece that was fairly rigid and had at least a 1/4" inner diameter. I tried the tube in the middle.

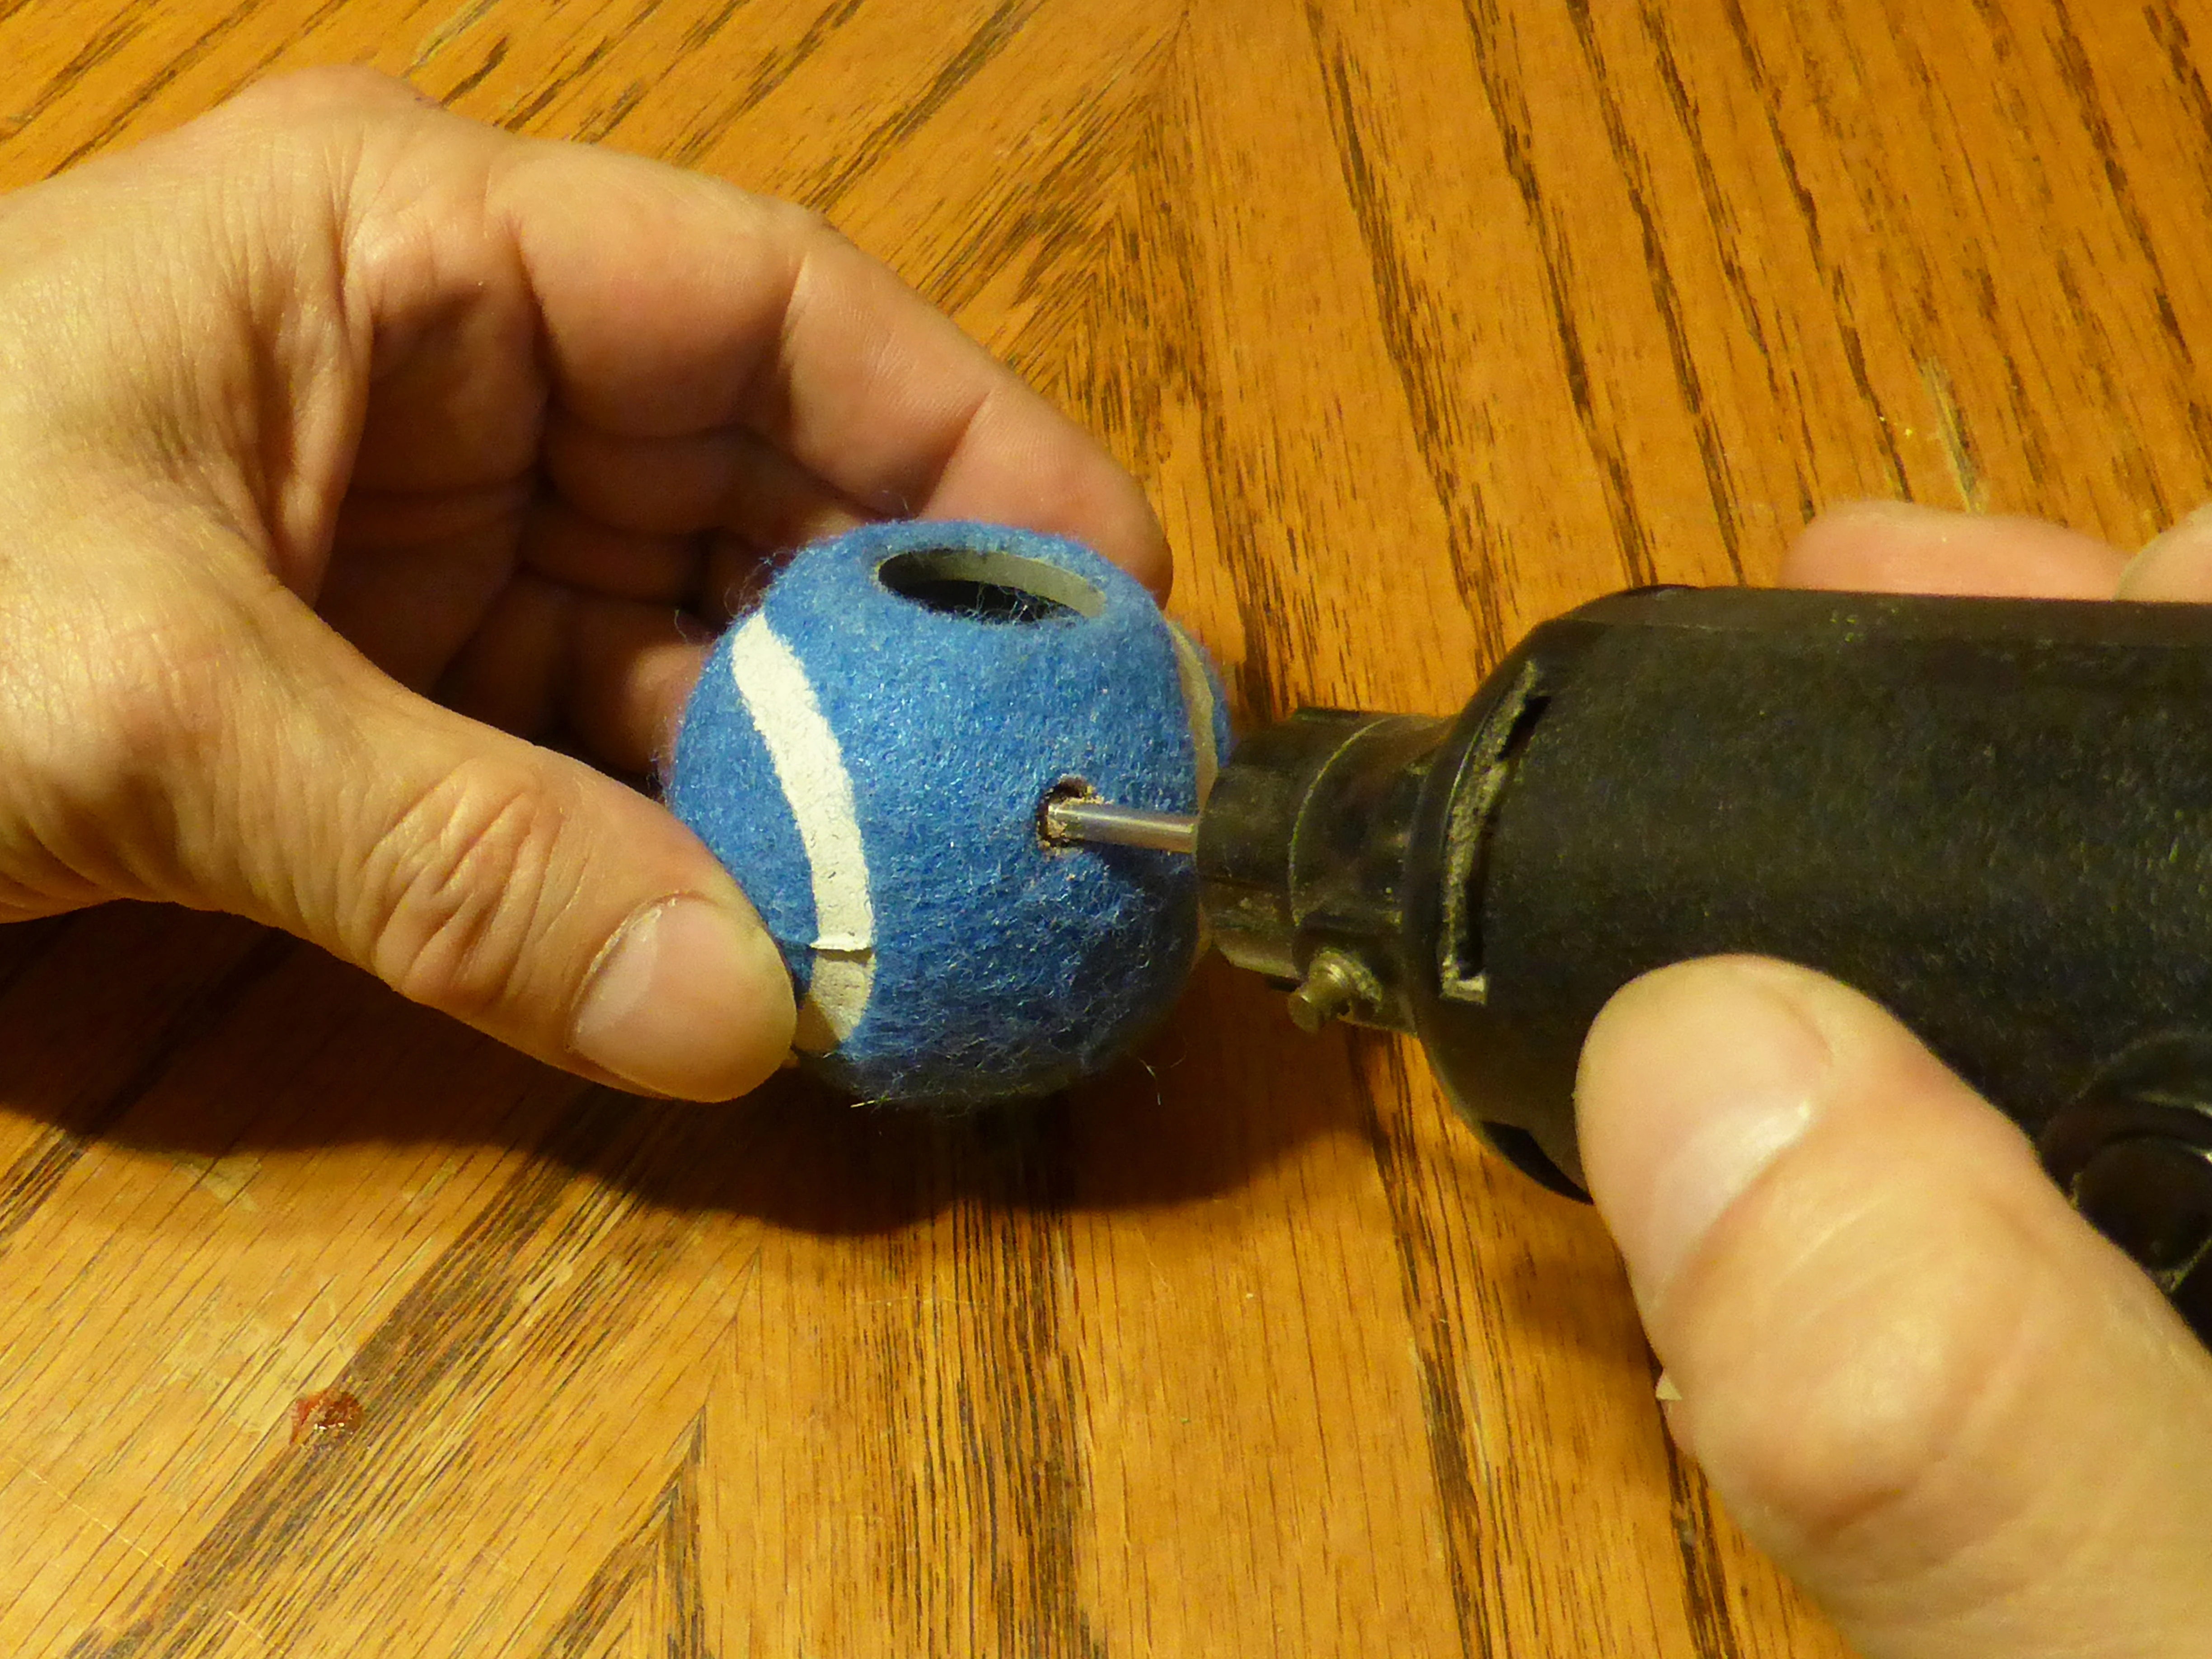
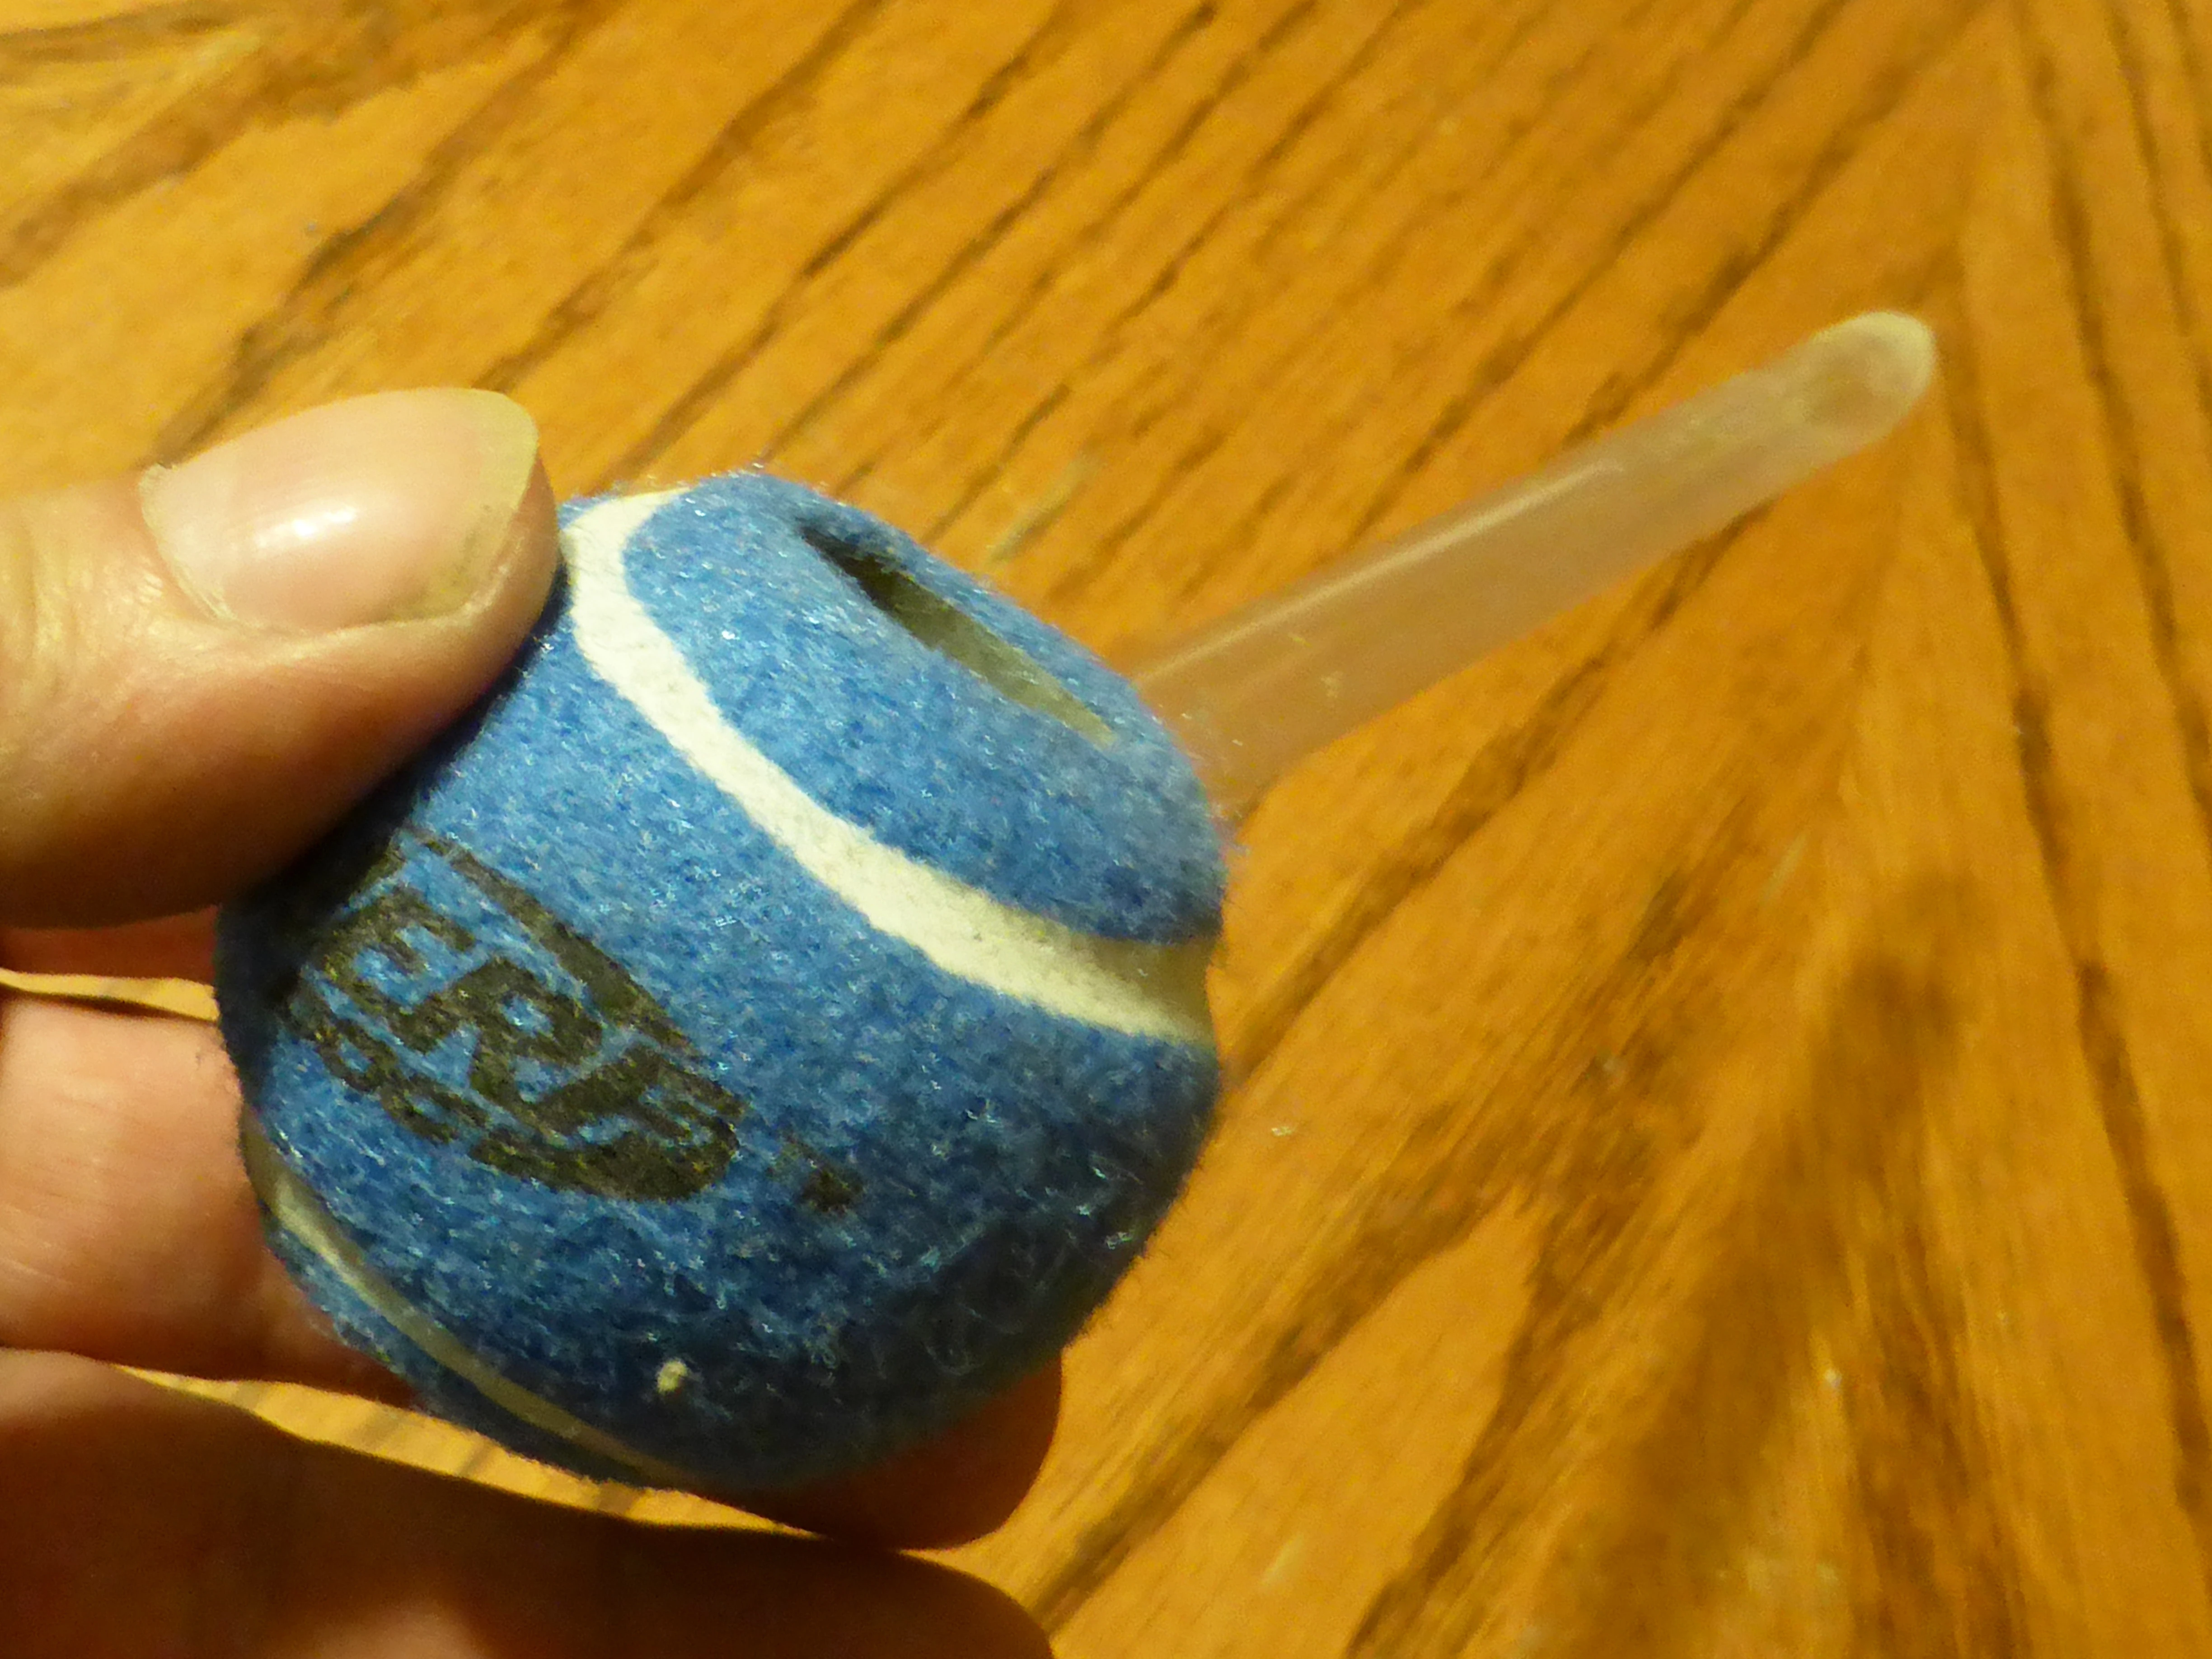
6. I made a hole for the mouthpiece so it would be angled up slightly, between the 2 large atomizer holes. I tried using a reamer for this step but it tore the rubber. It's best to use a round file, grinding stone, or burr tool.

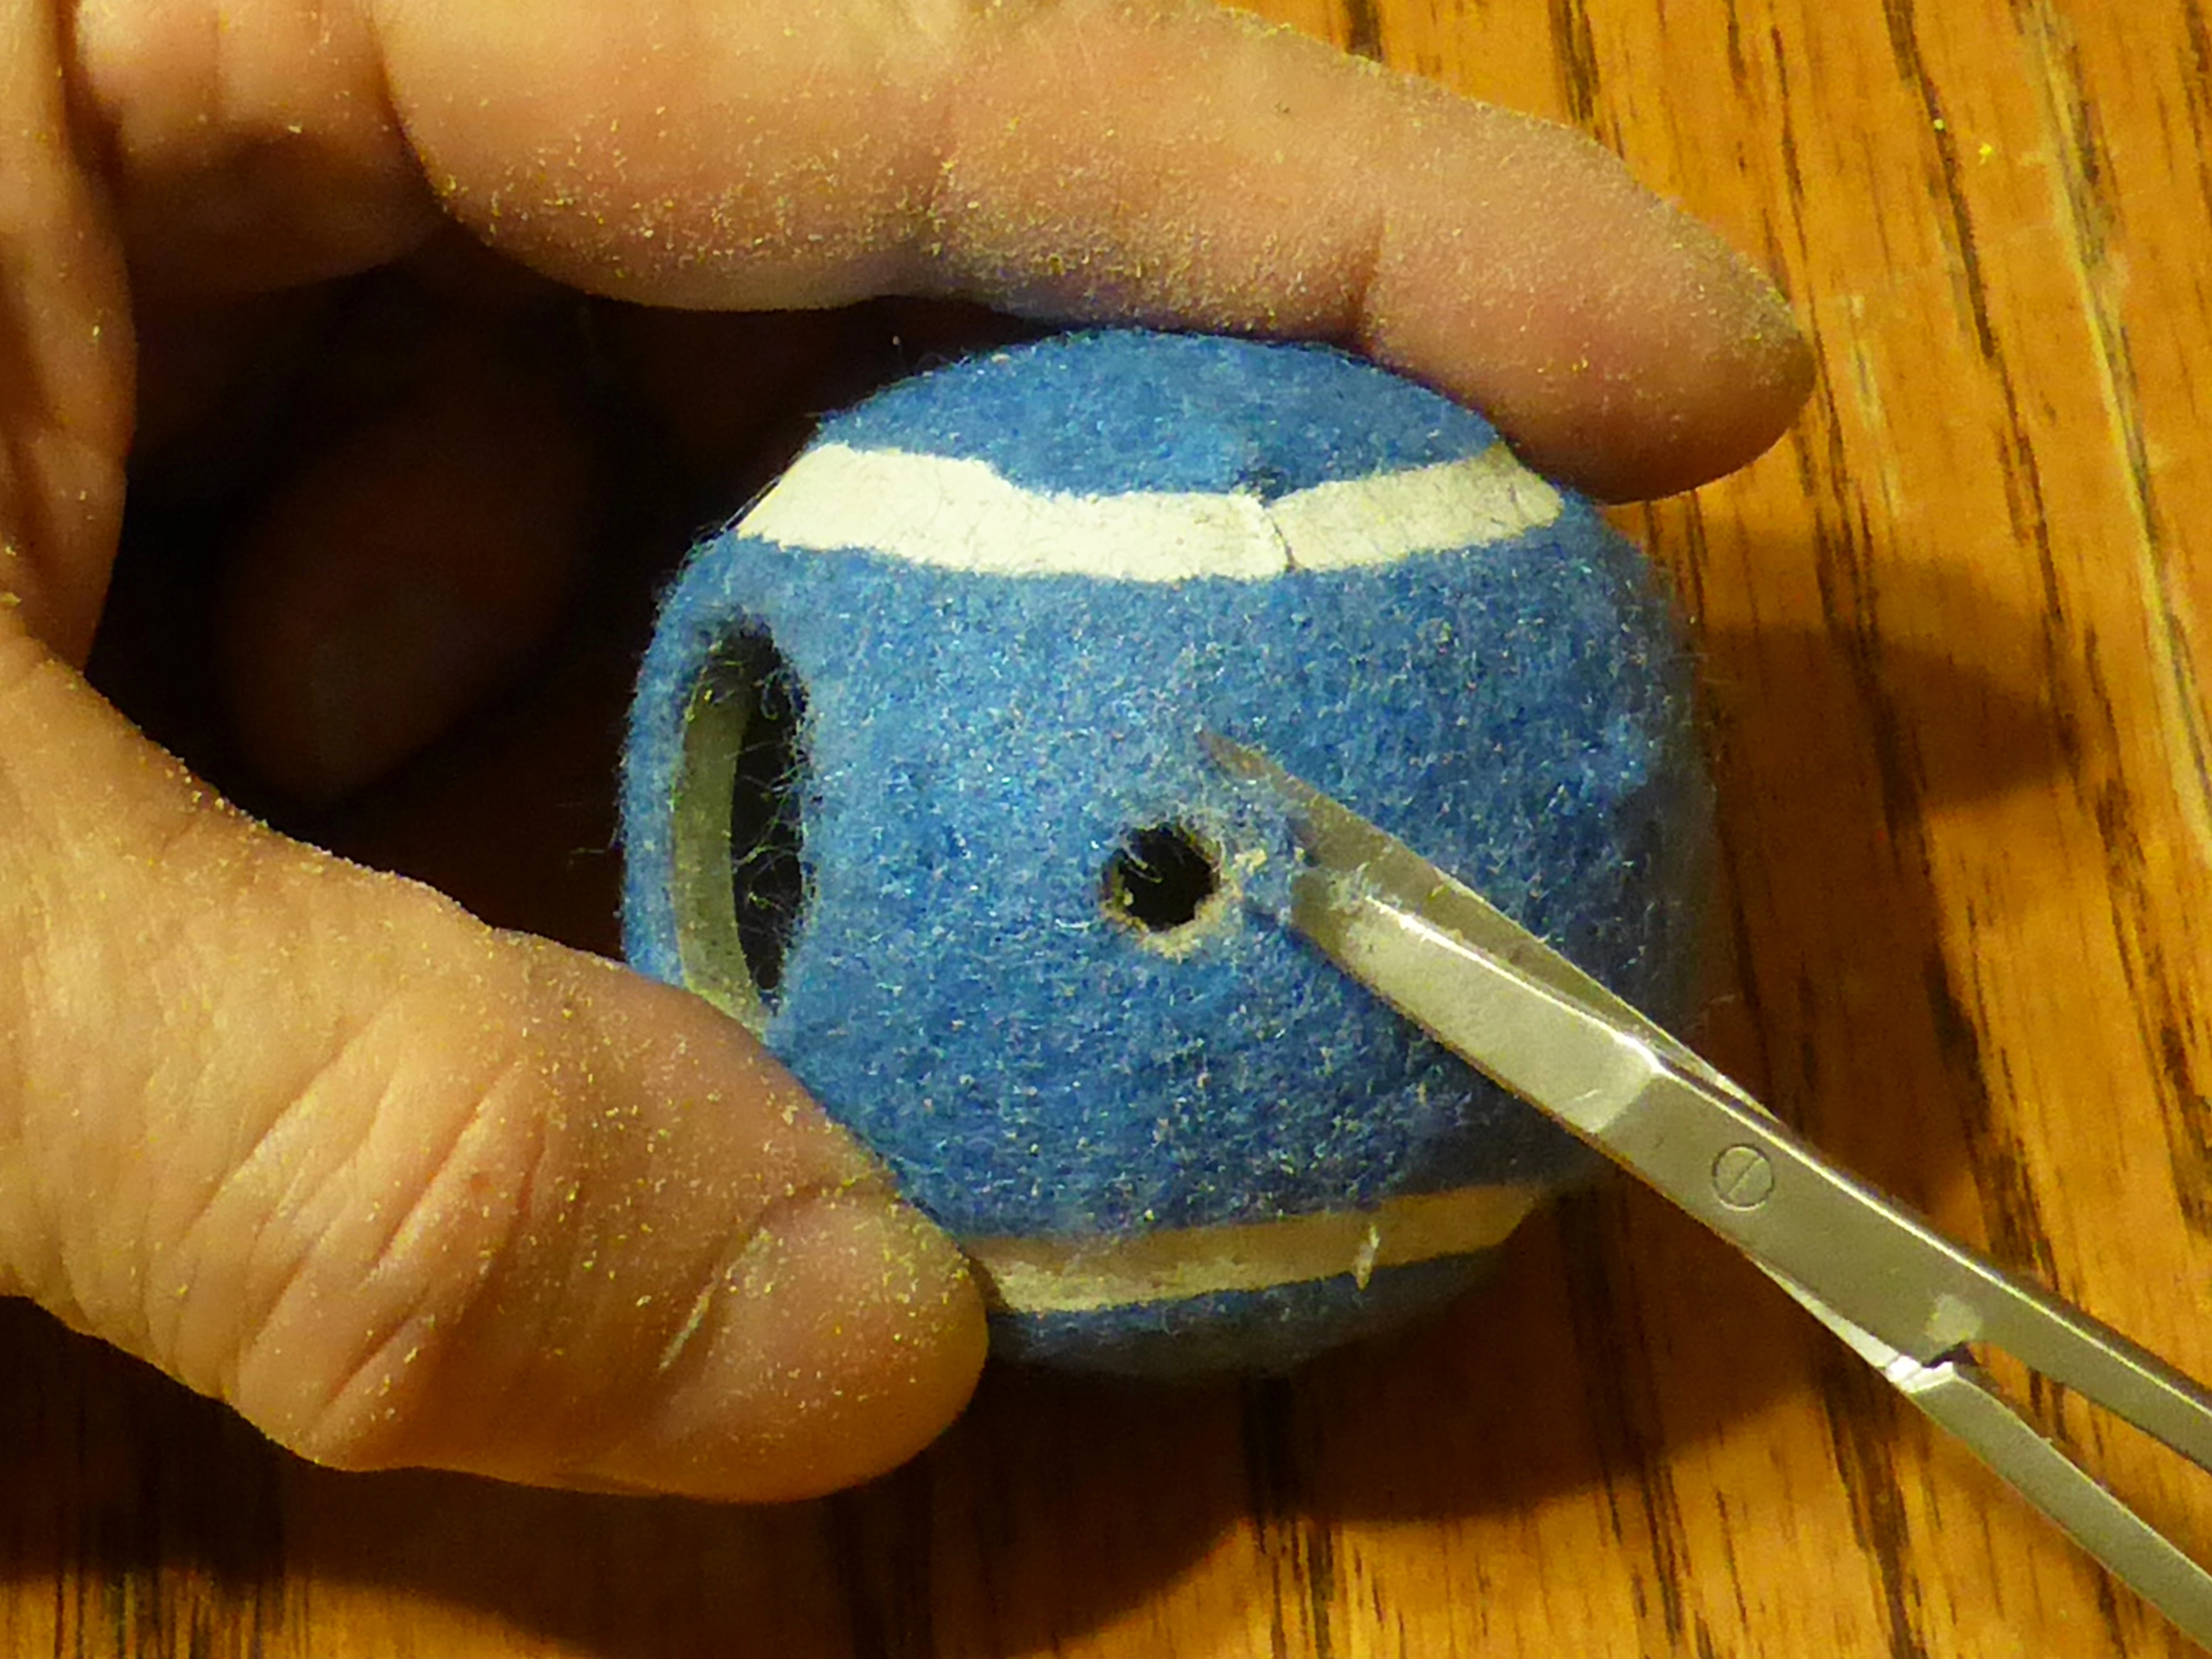
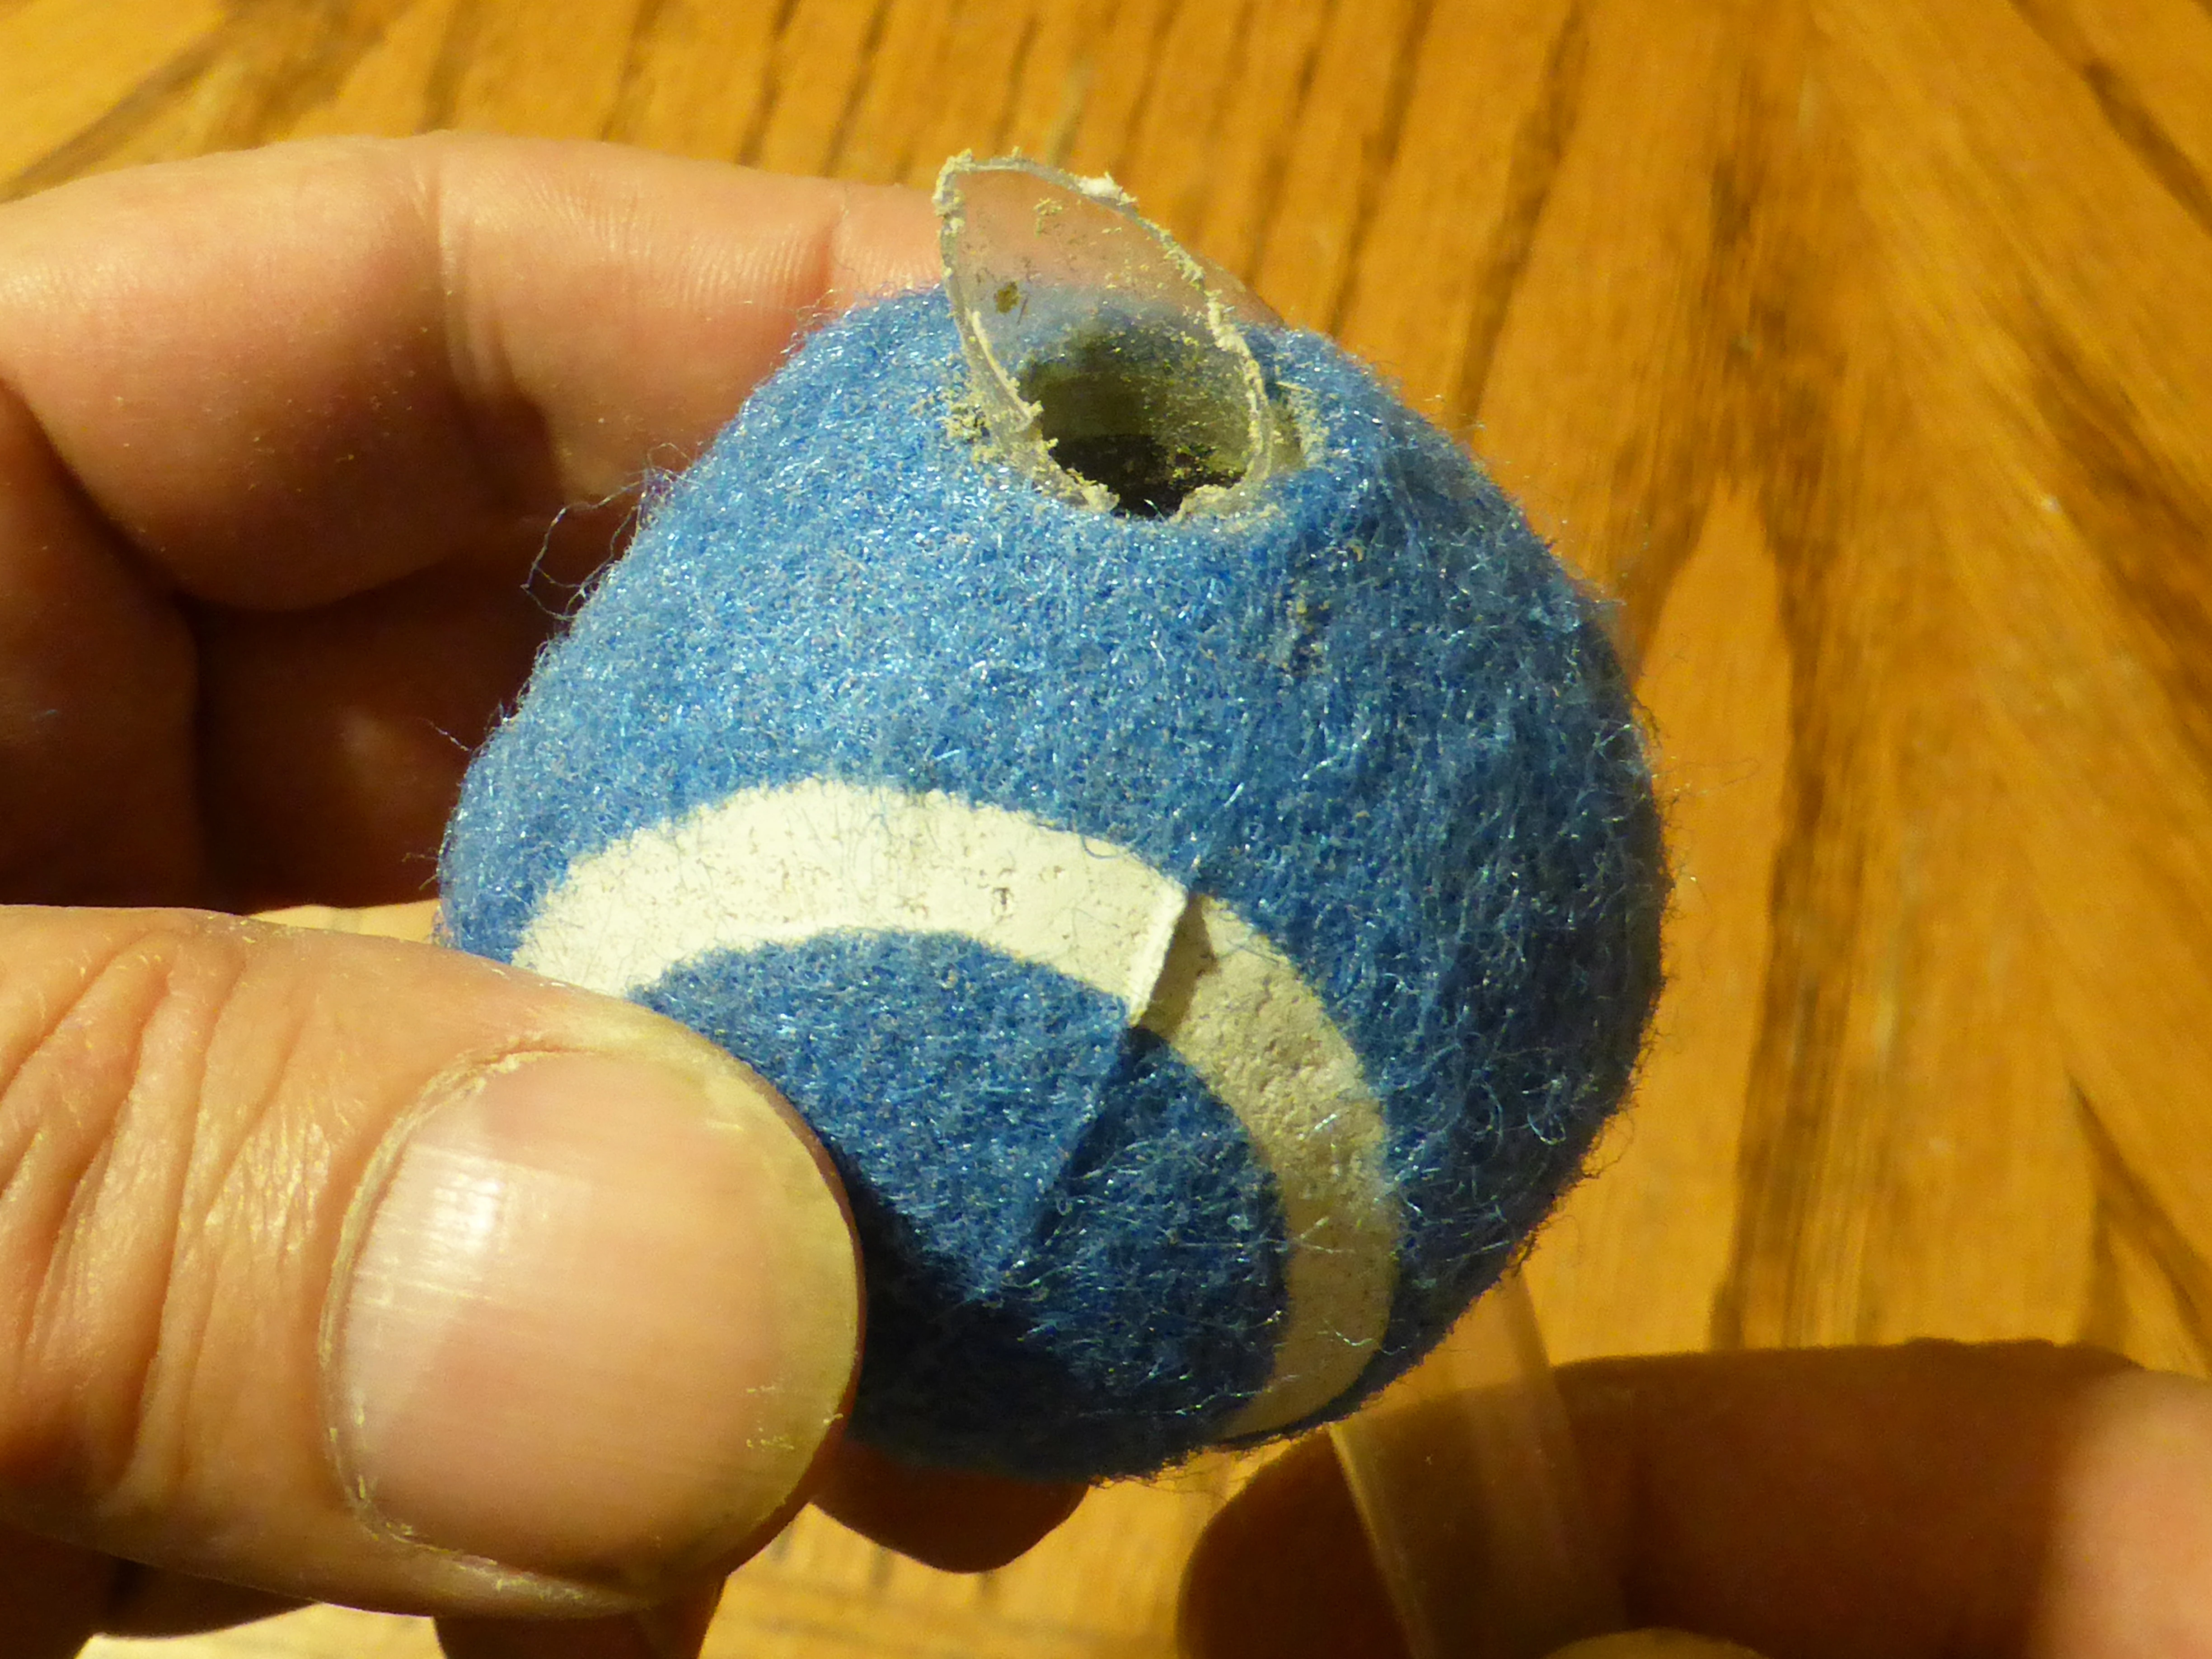
7. You have to snip away the tennis ball fuzz once in a while to check the progress of the drilling.

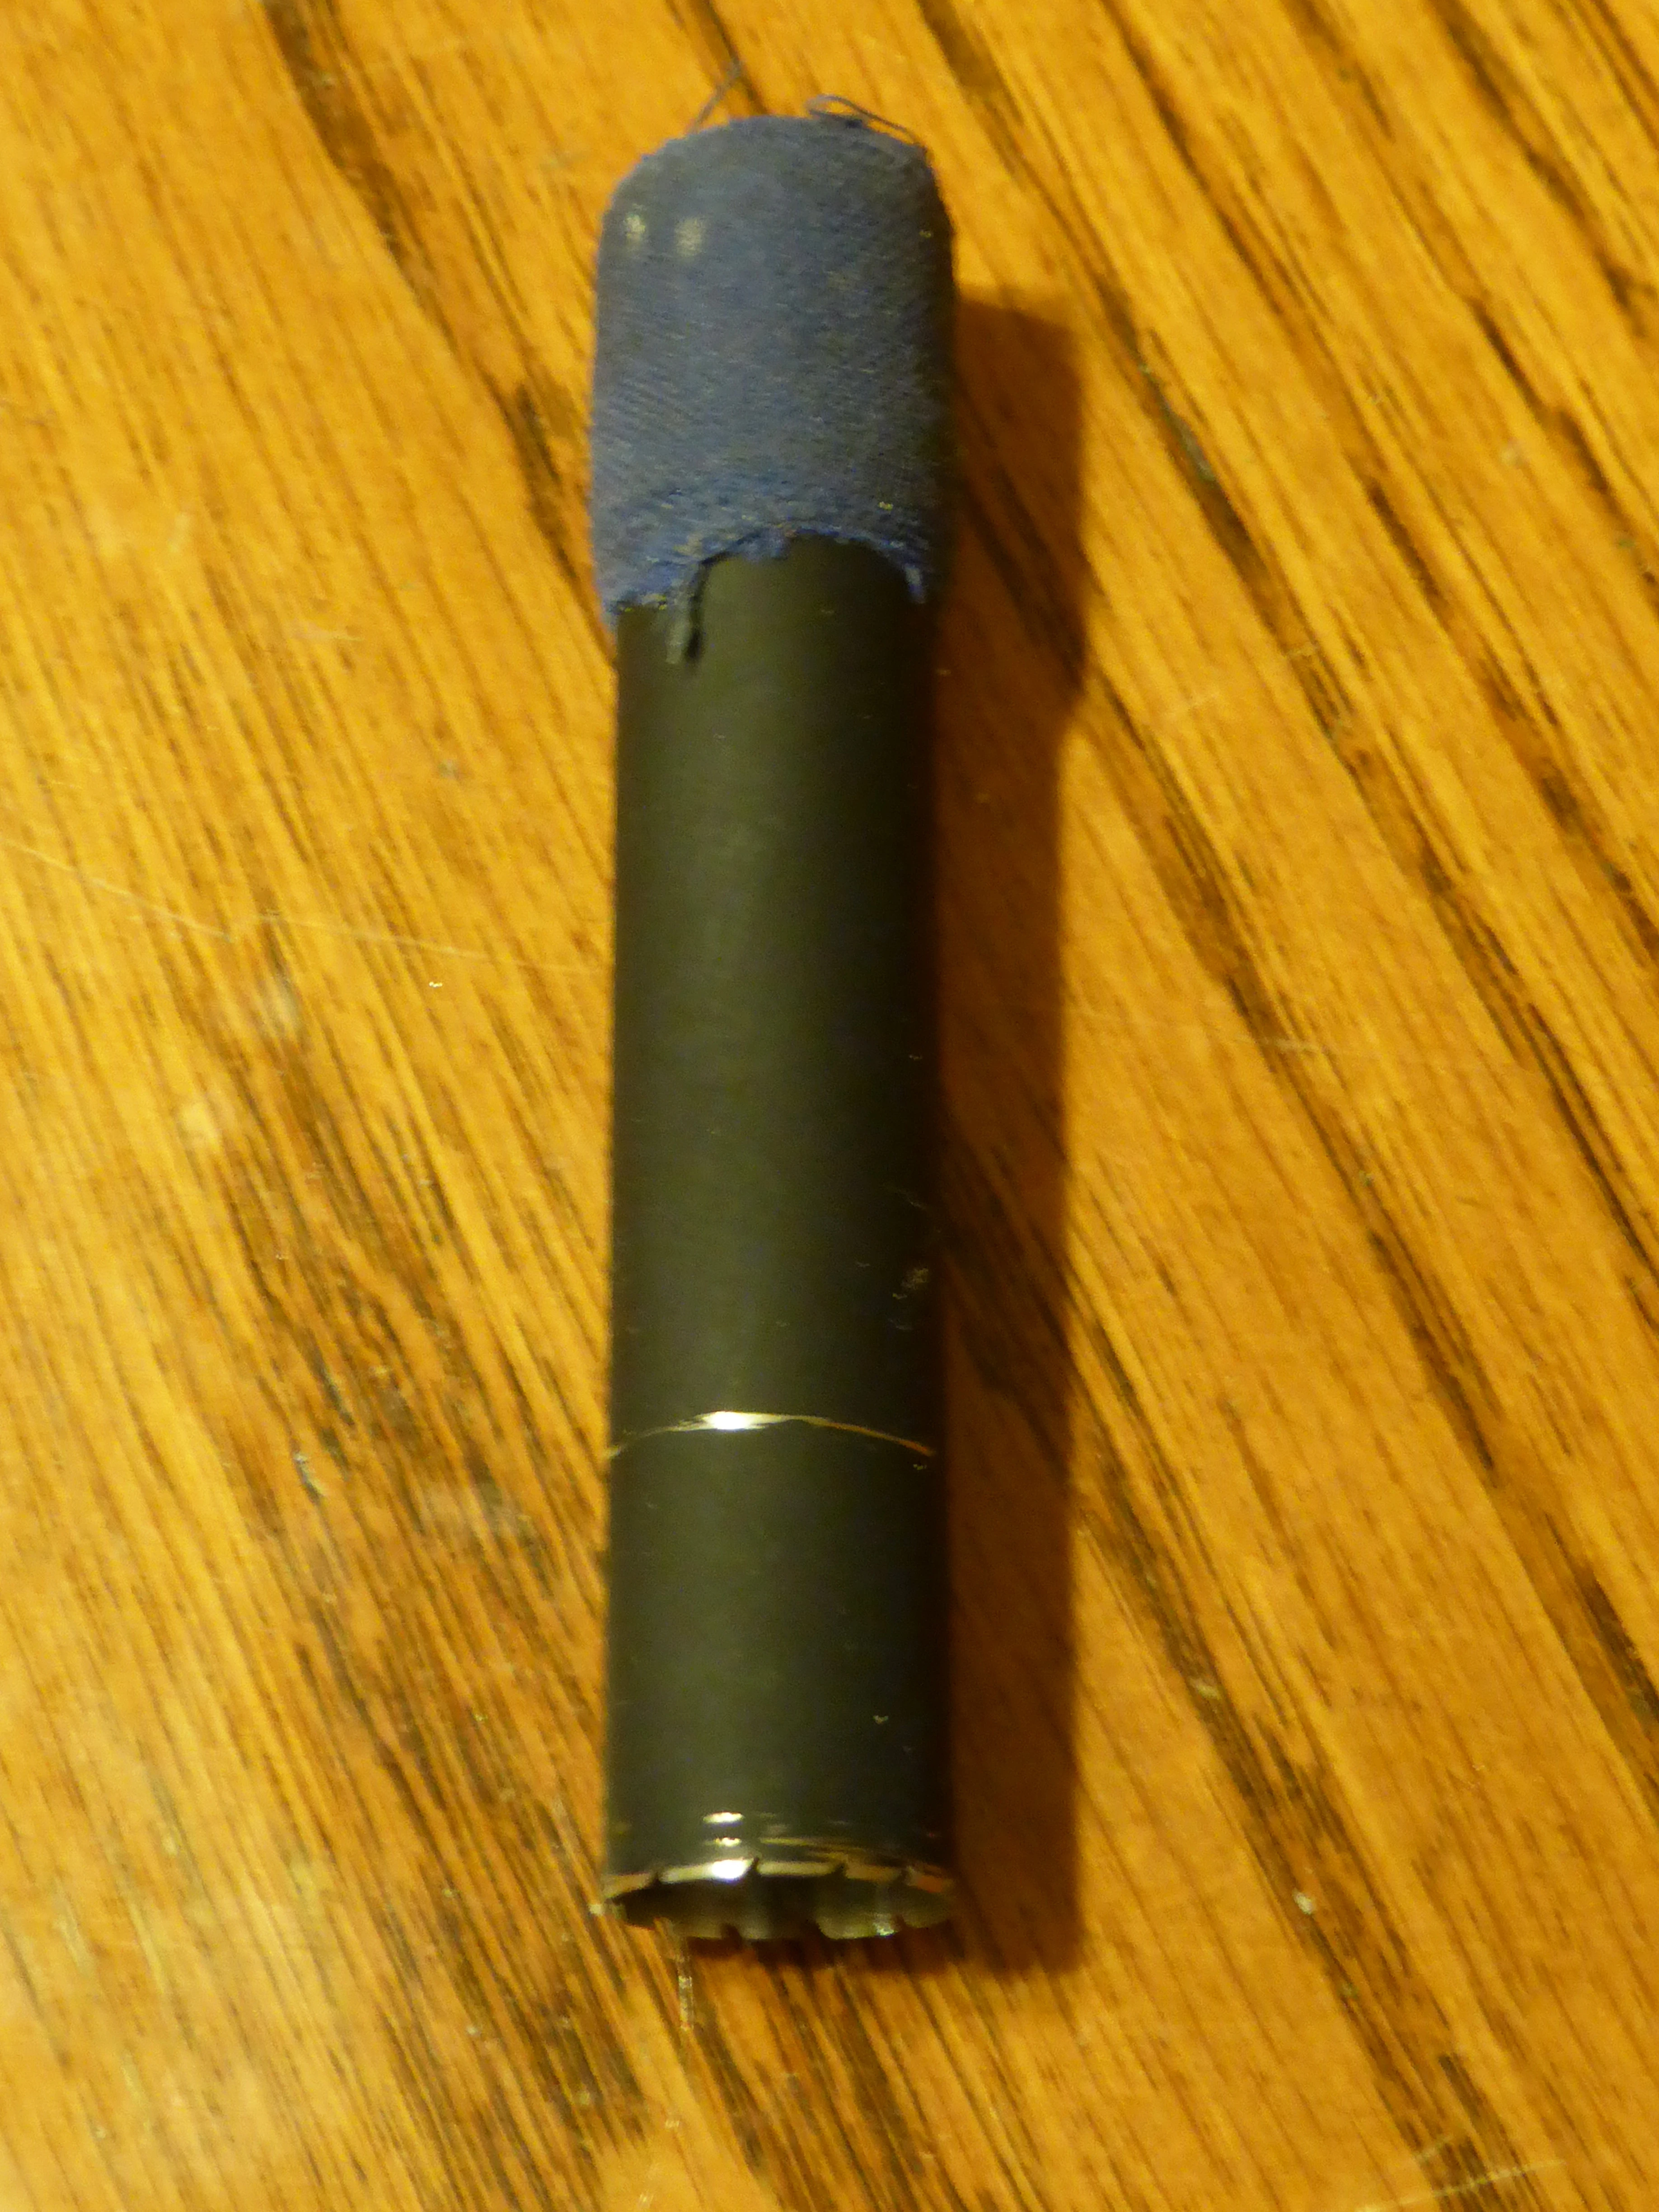
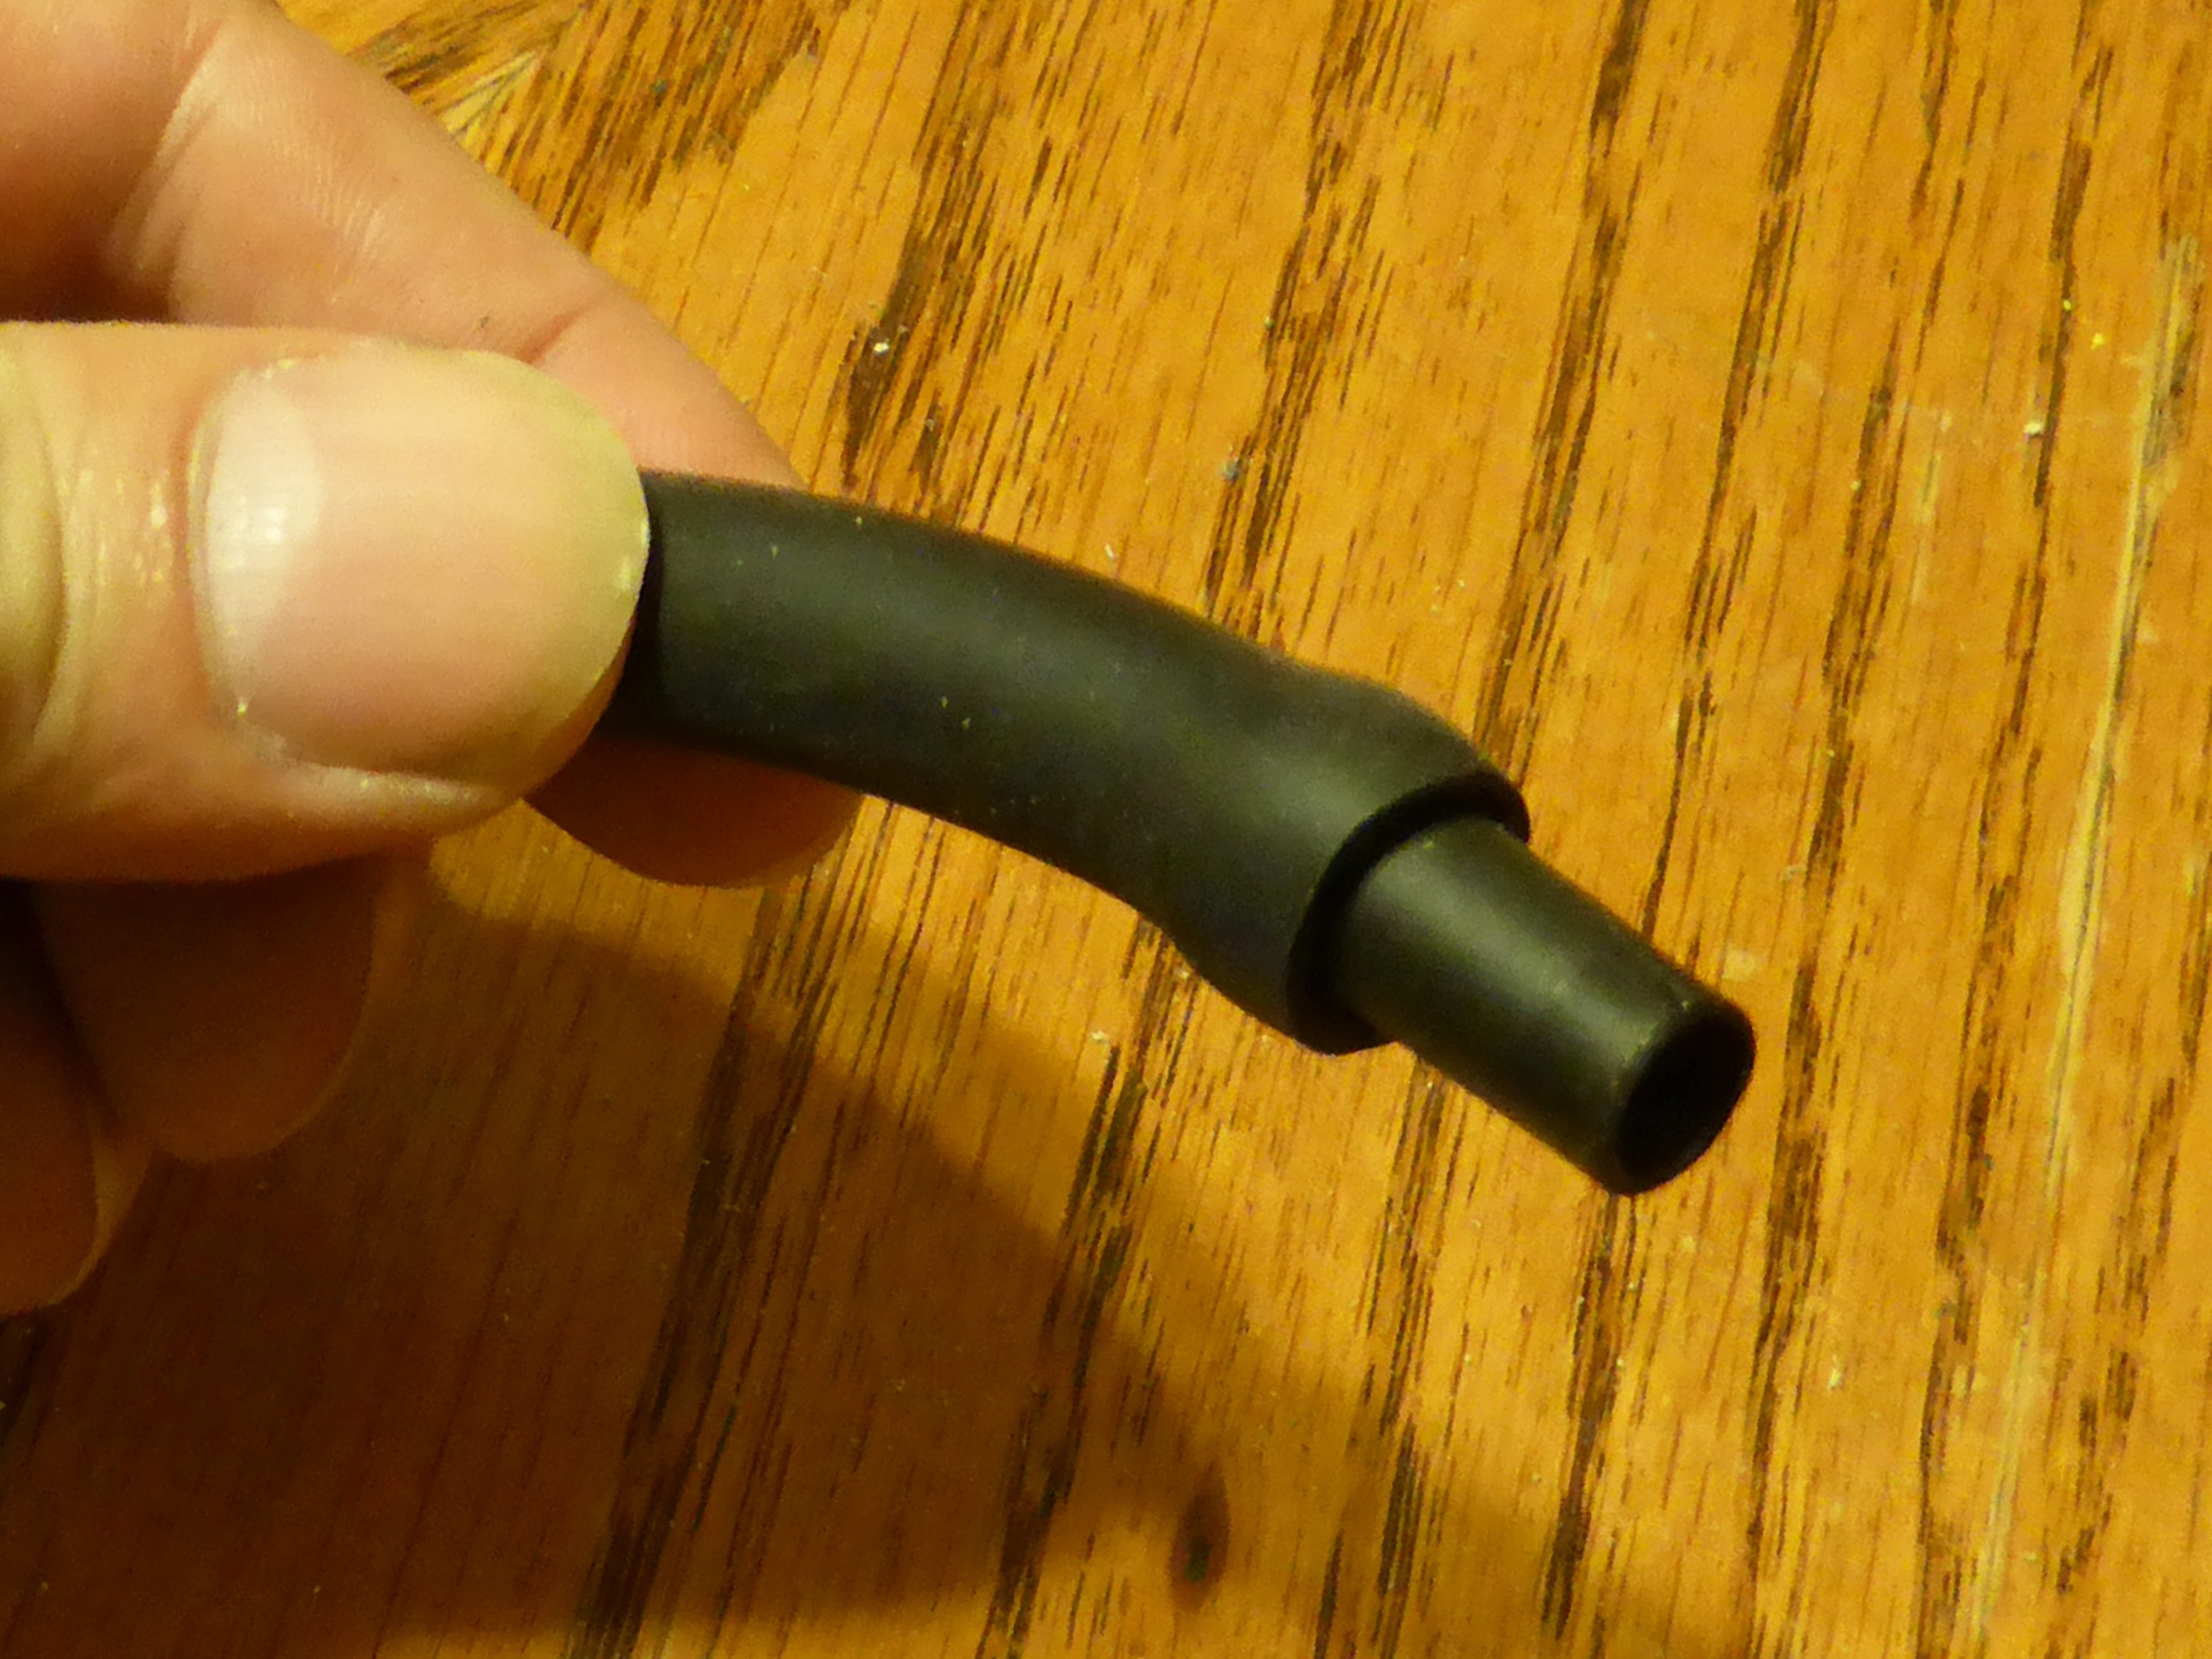
8. The tubing I chose has the happy property of being easily shaped when heated. I created a flange at one end of it to keep it from pulling out from inside the ball.

9. The flanged mouthpiece tube.


10. To make it easier to feed the mouthpiece through its hole, I cut its end at a sharp angle.
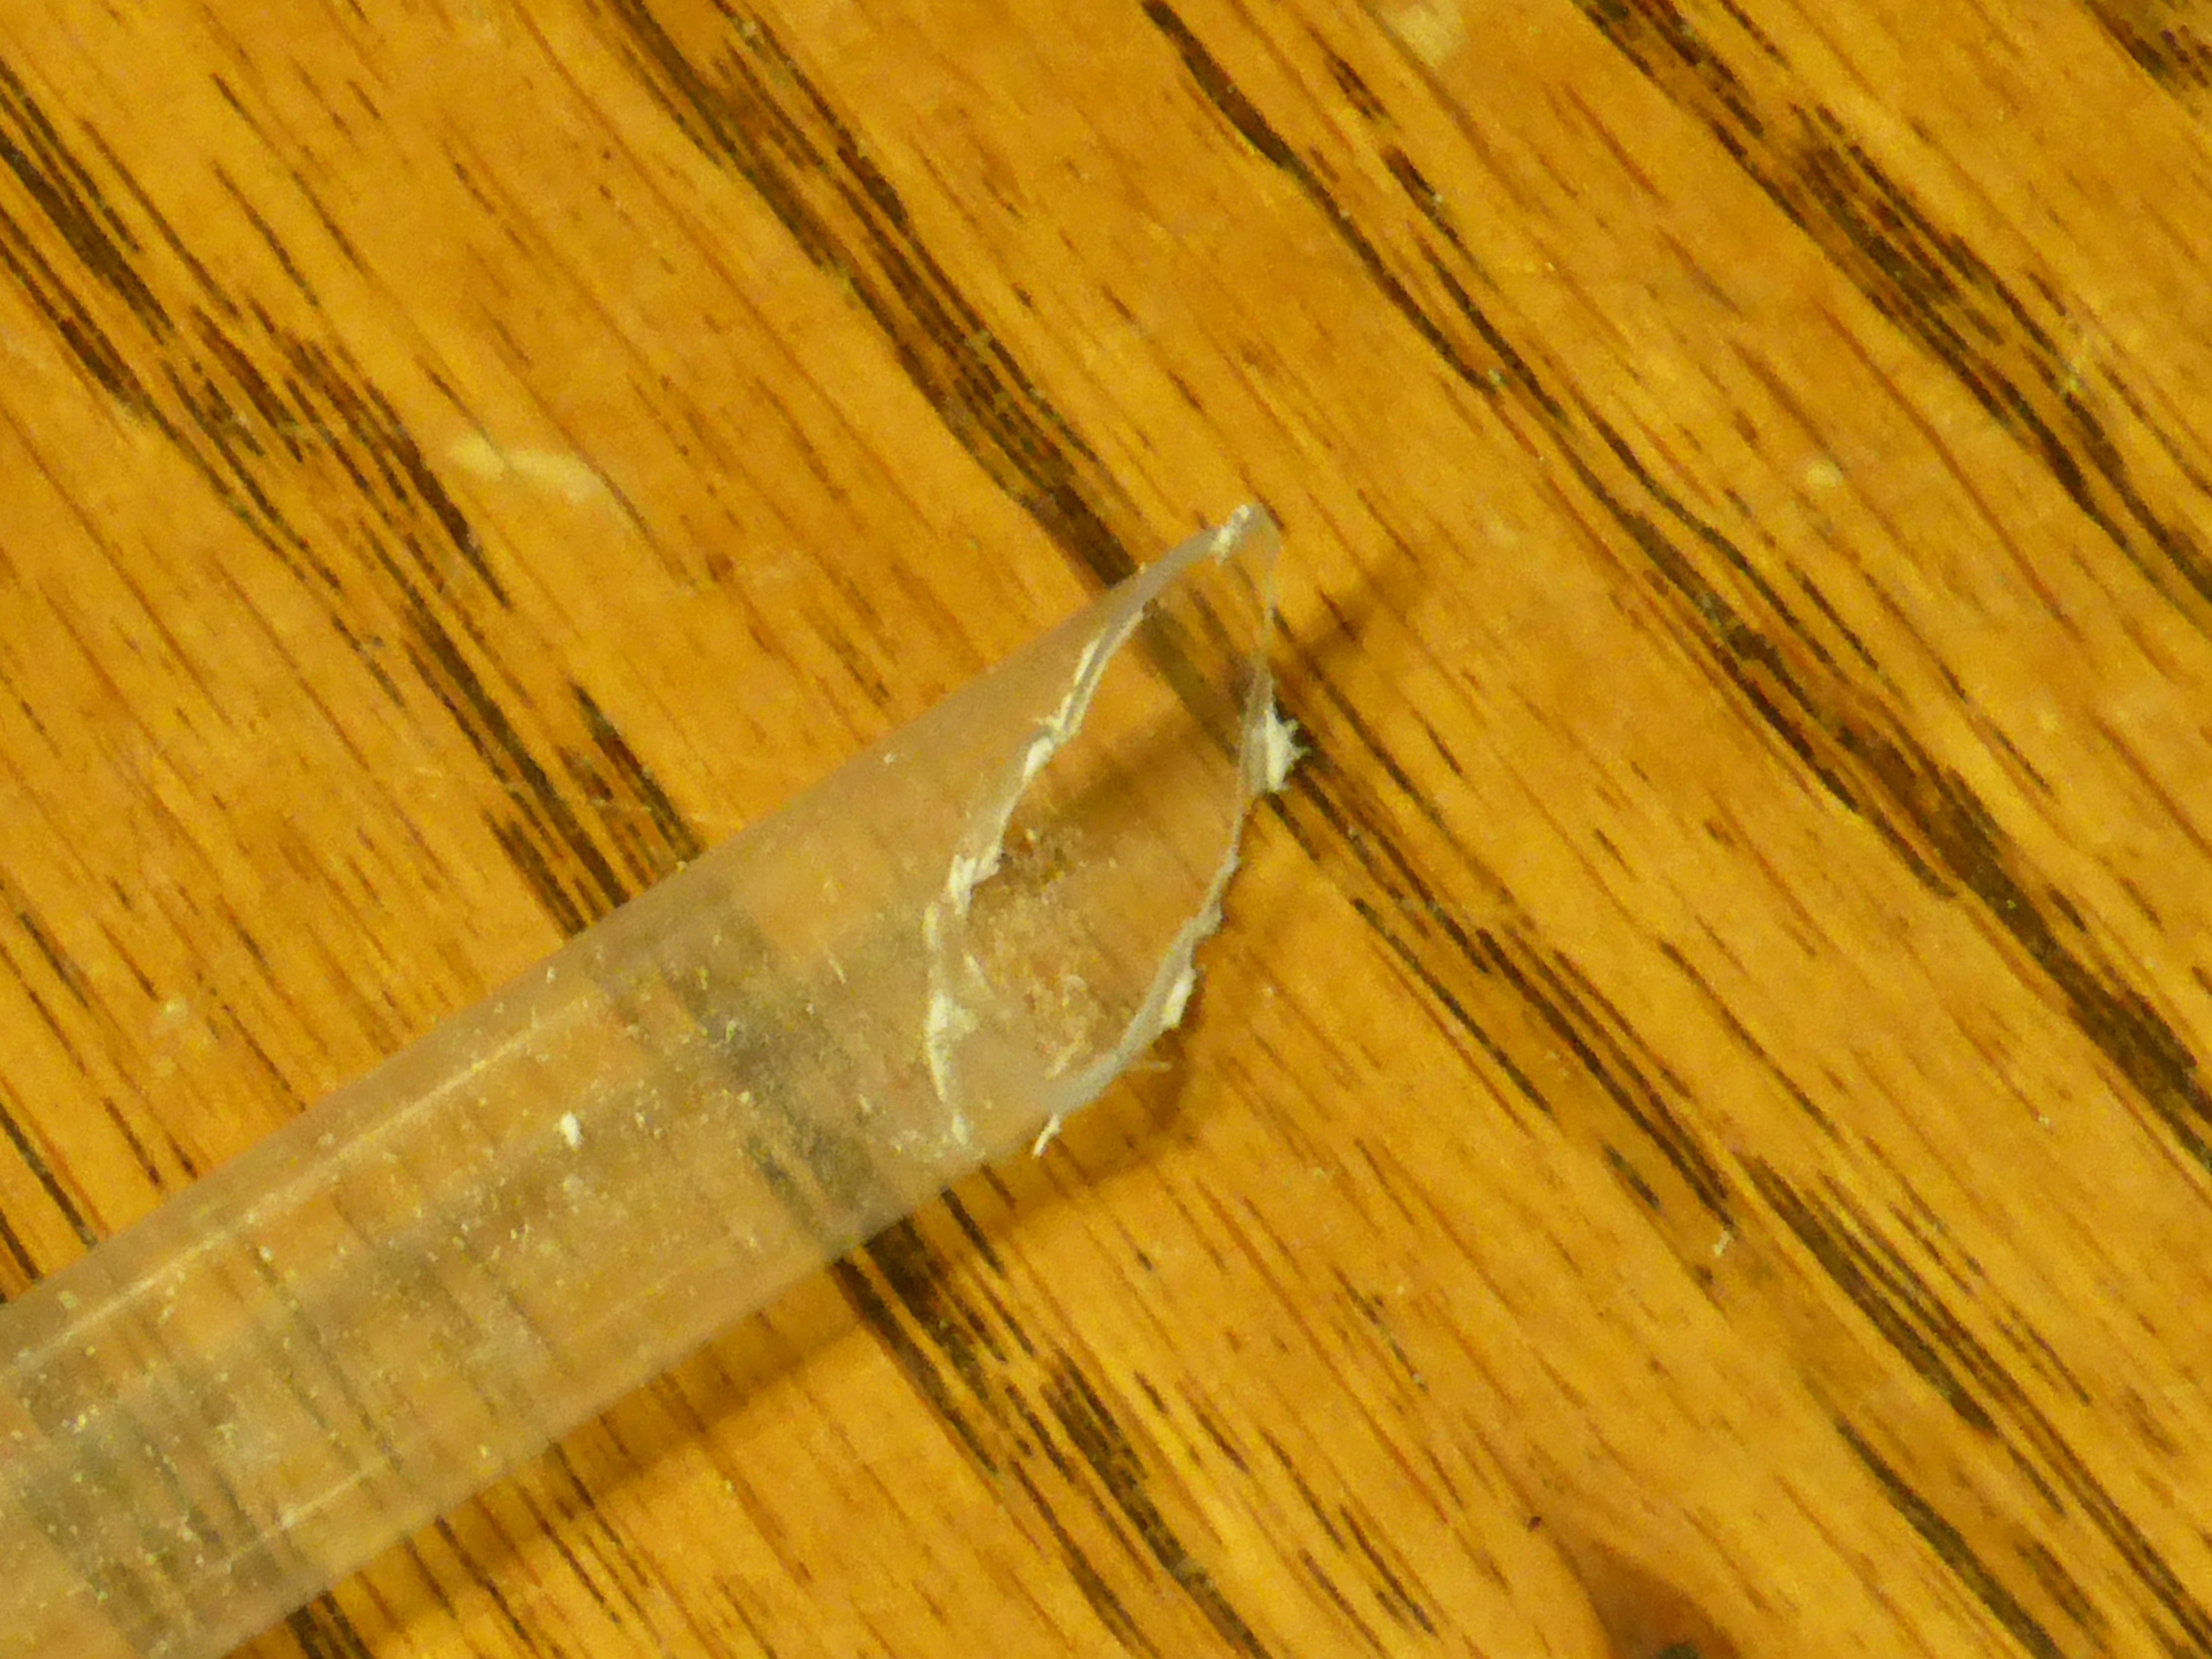

11. The cut needn't be tidy, just pointy.

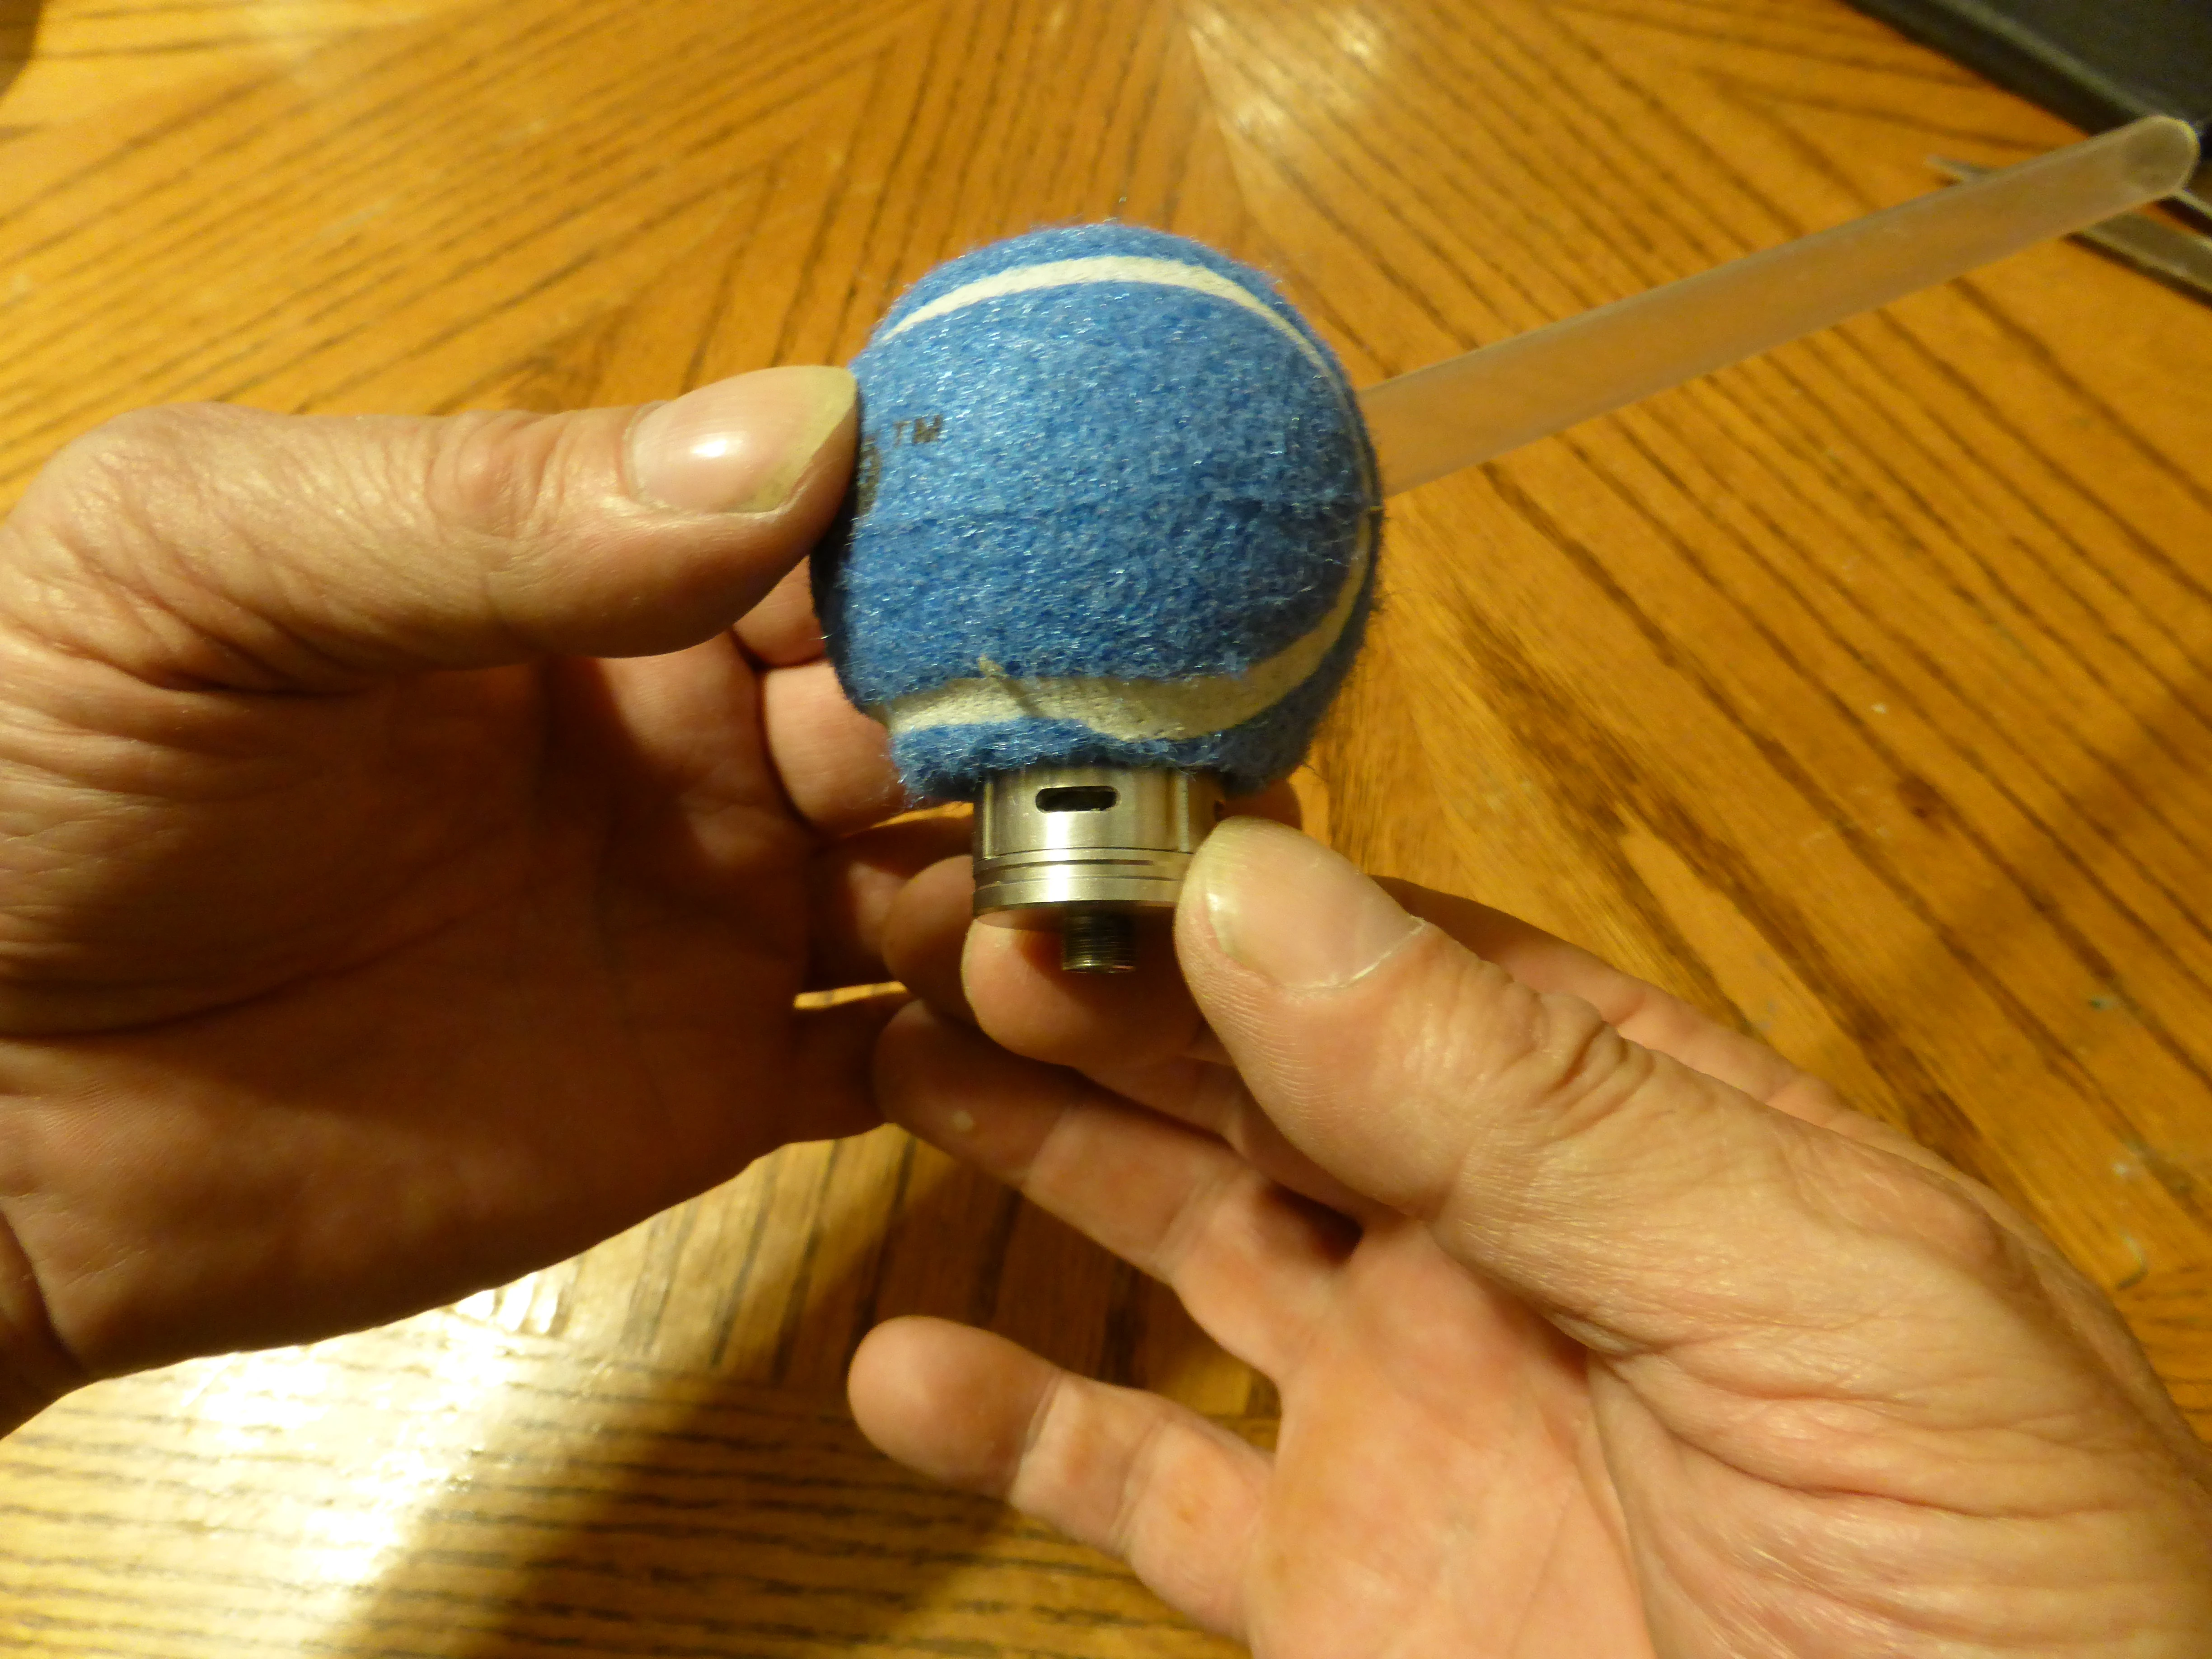
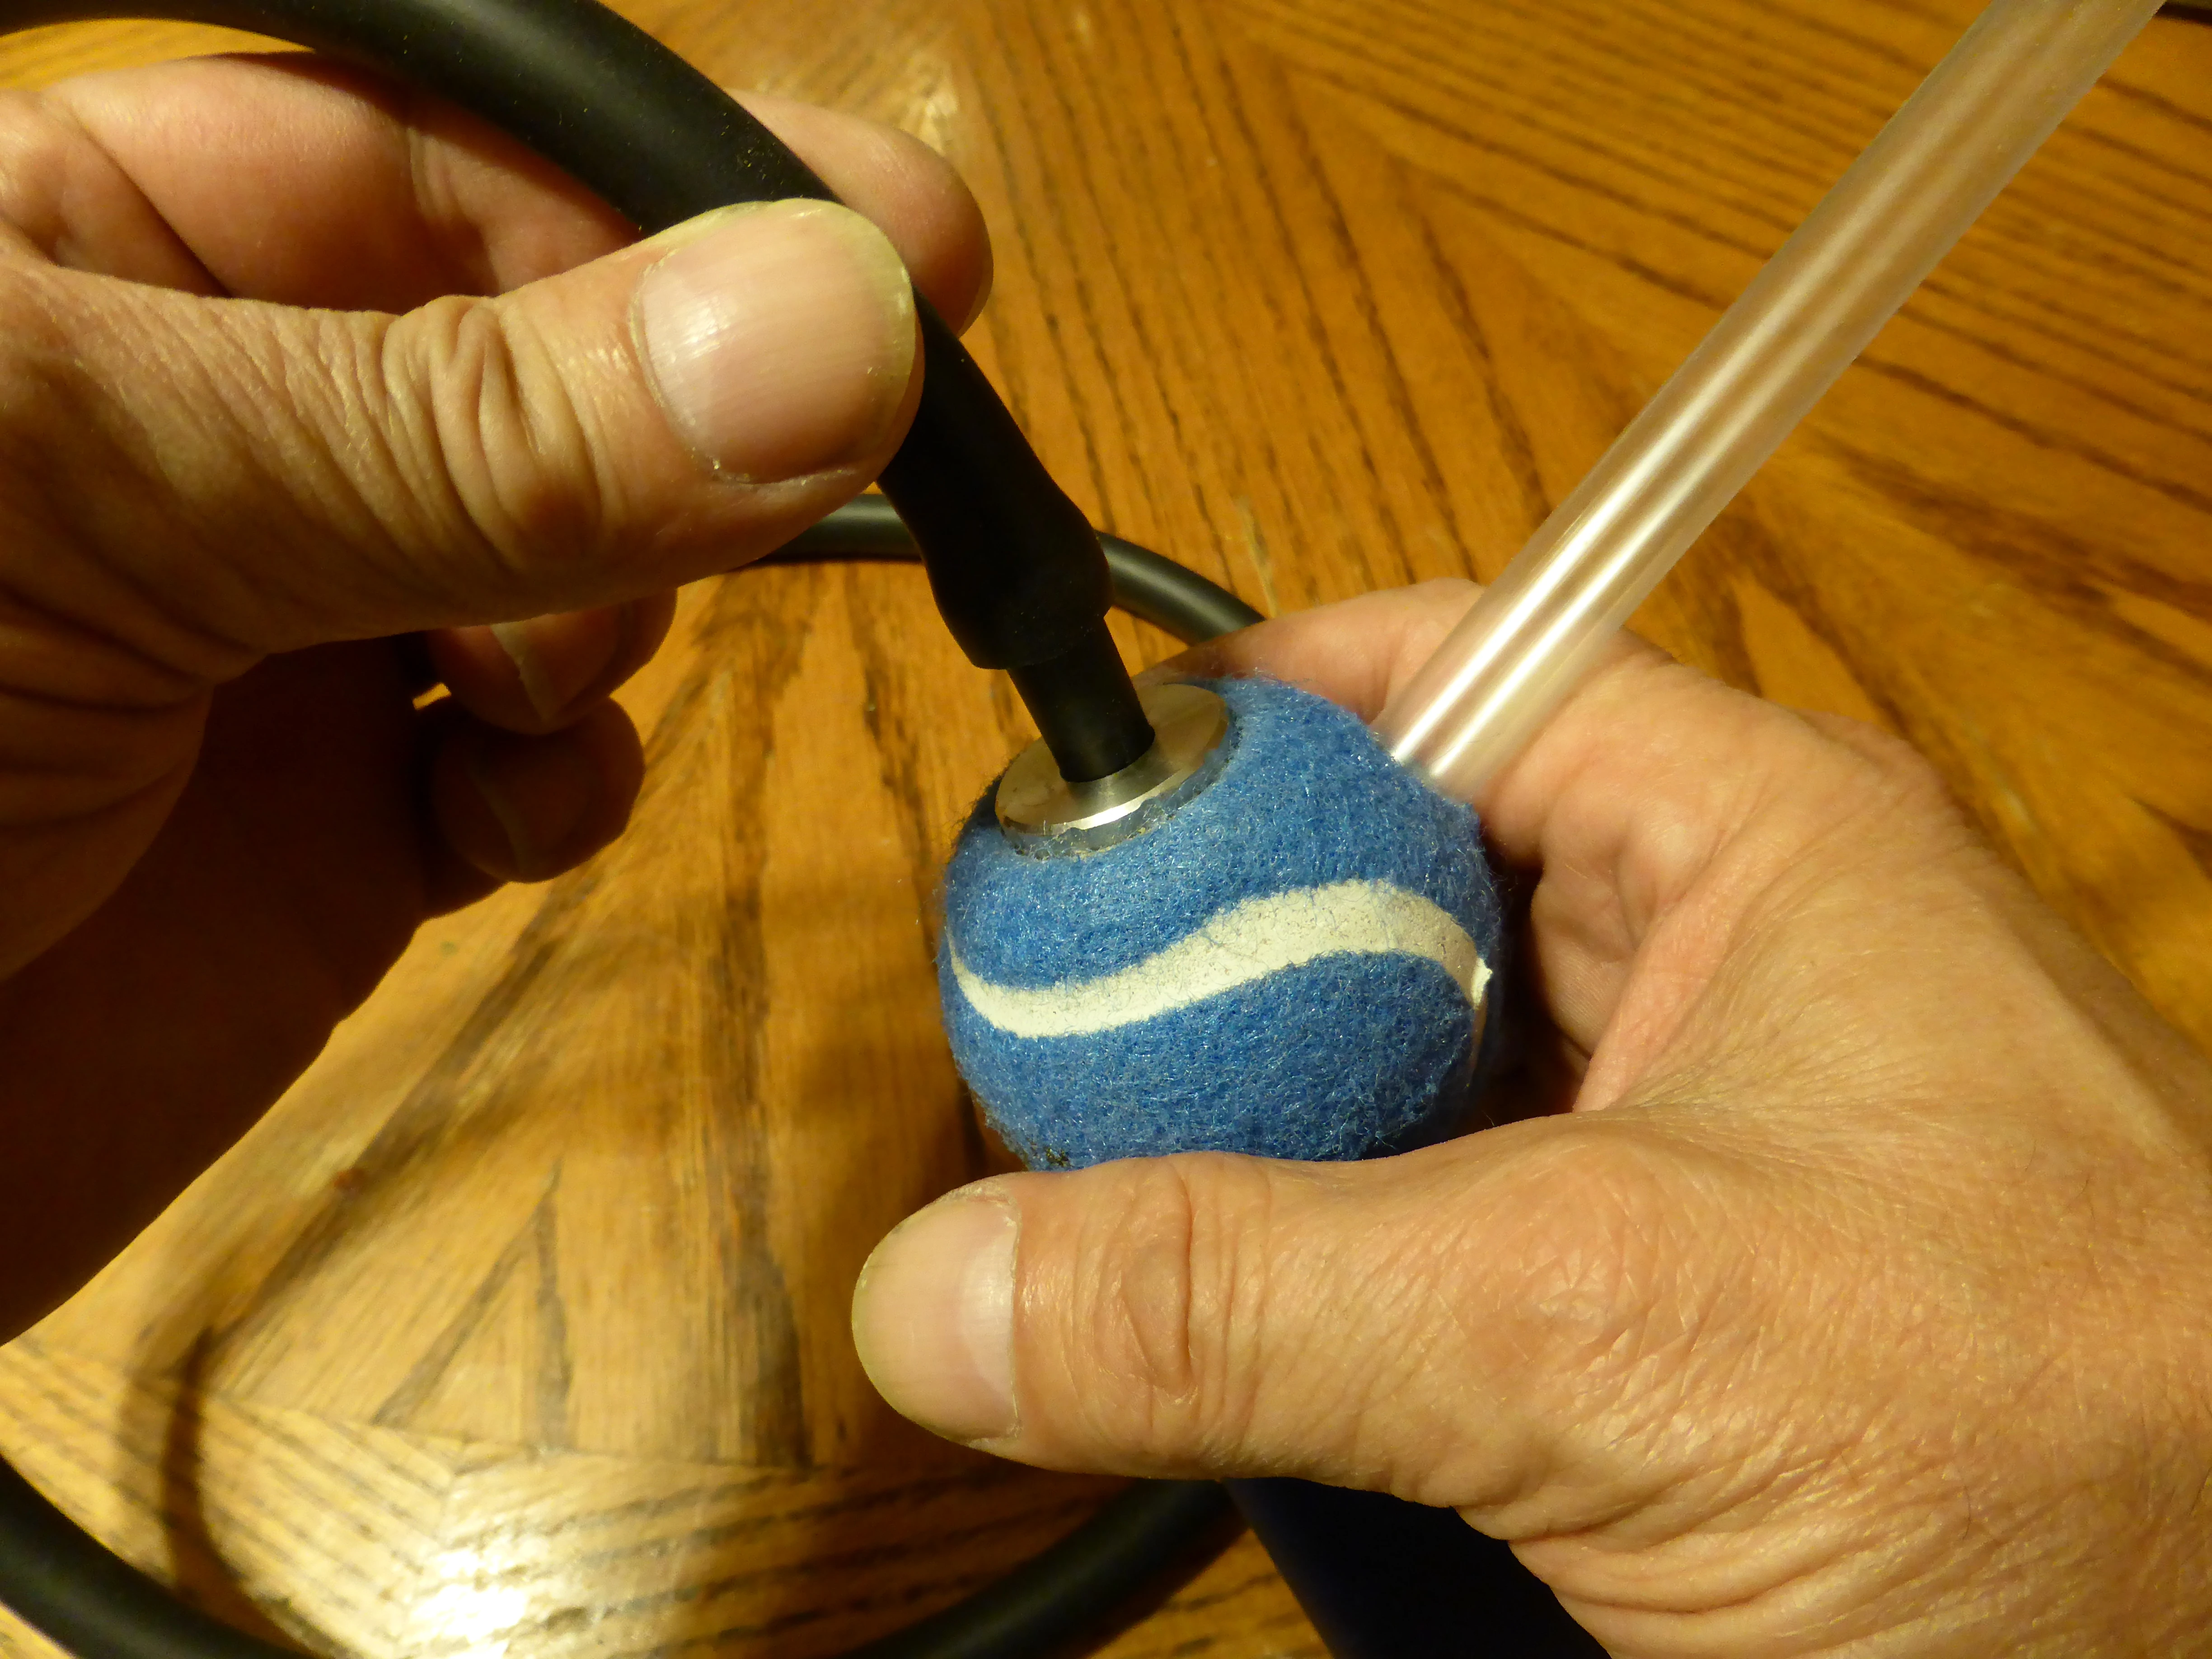
12. Inserting the mouthpiece through its hole, from the inside.

13. Mouthpiece installed.


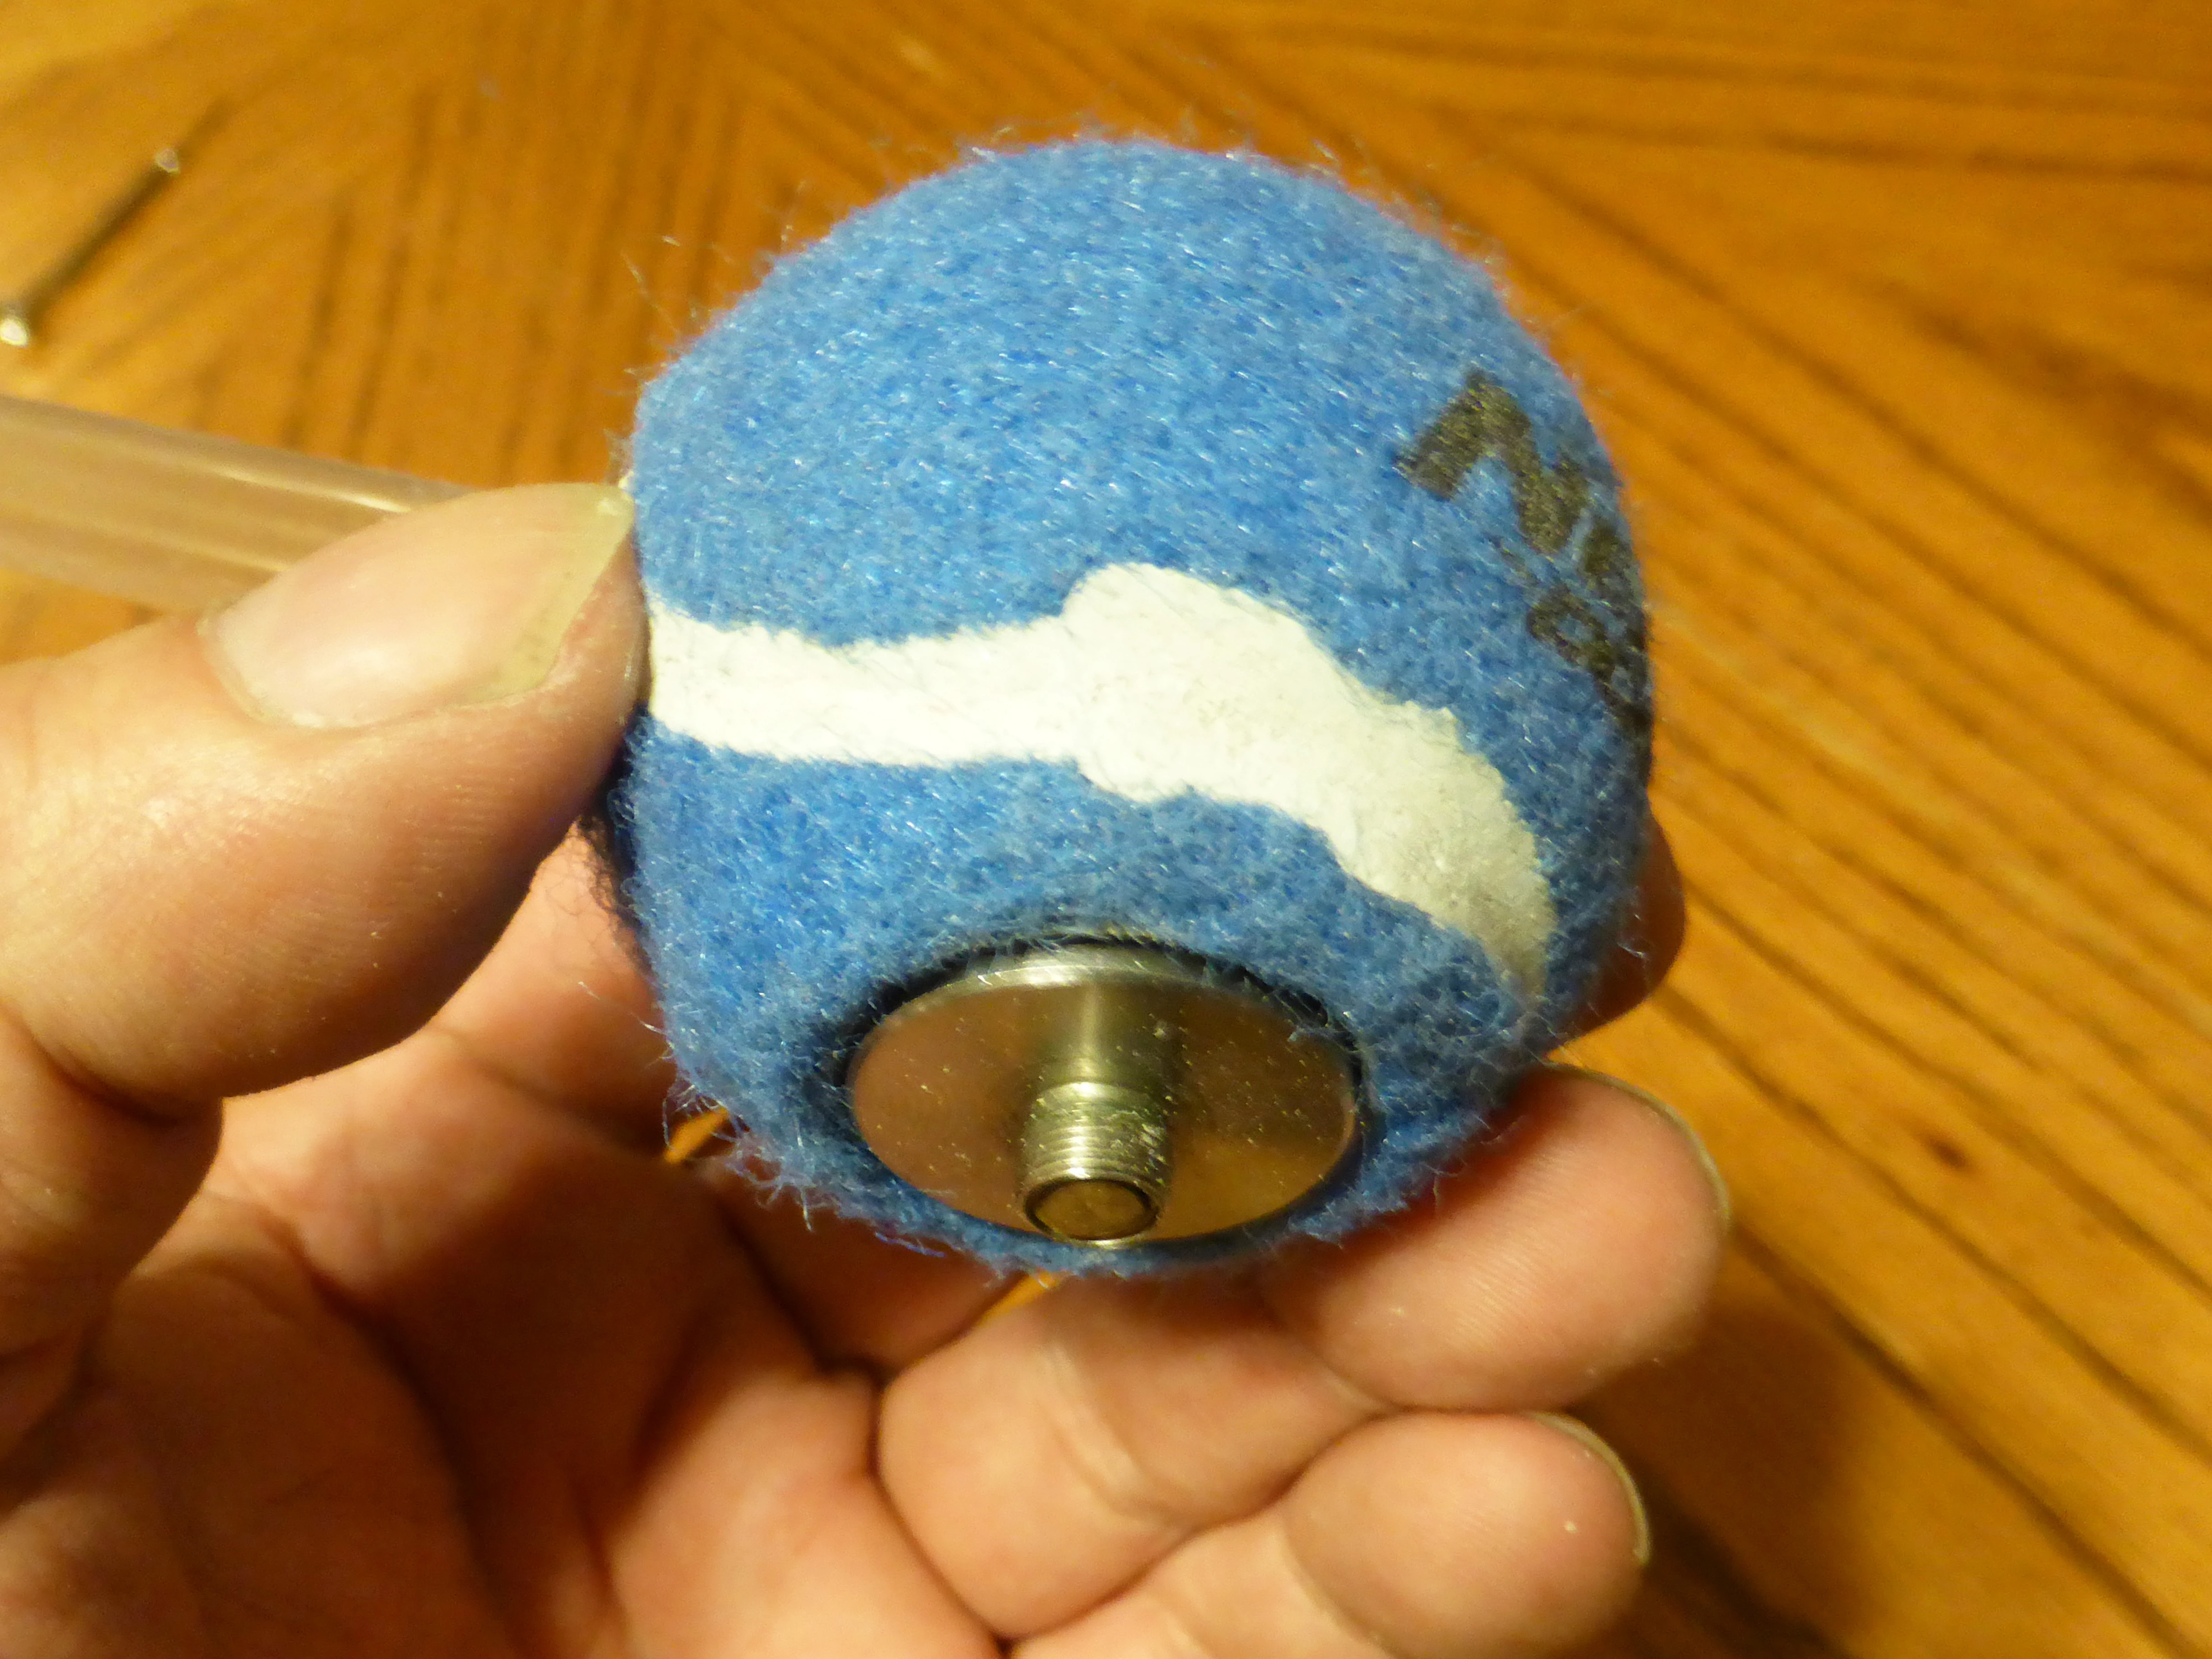
14. With the mouthpiece installed, I cut the slanted end square and tidied up its edges.

15. Fill the tank.

16. Inserting the atomizer into the ball's bottom hole.

17. As you're fitting the ball over the atomizer, make sure its vents are wide open.

18. In my case the atomizer's top and bottom came very near those of the ball.

19. Top view.

20. I used flexible rubber hose for my output line.

21. I cut up a pen cap so it fits snugly into the atomizer's output hole and my output hose.

22. Inserting the output hose assembly into the atomizer.

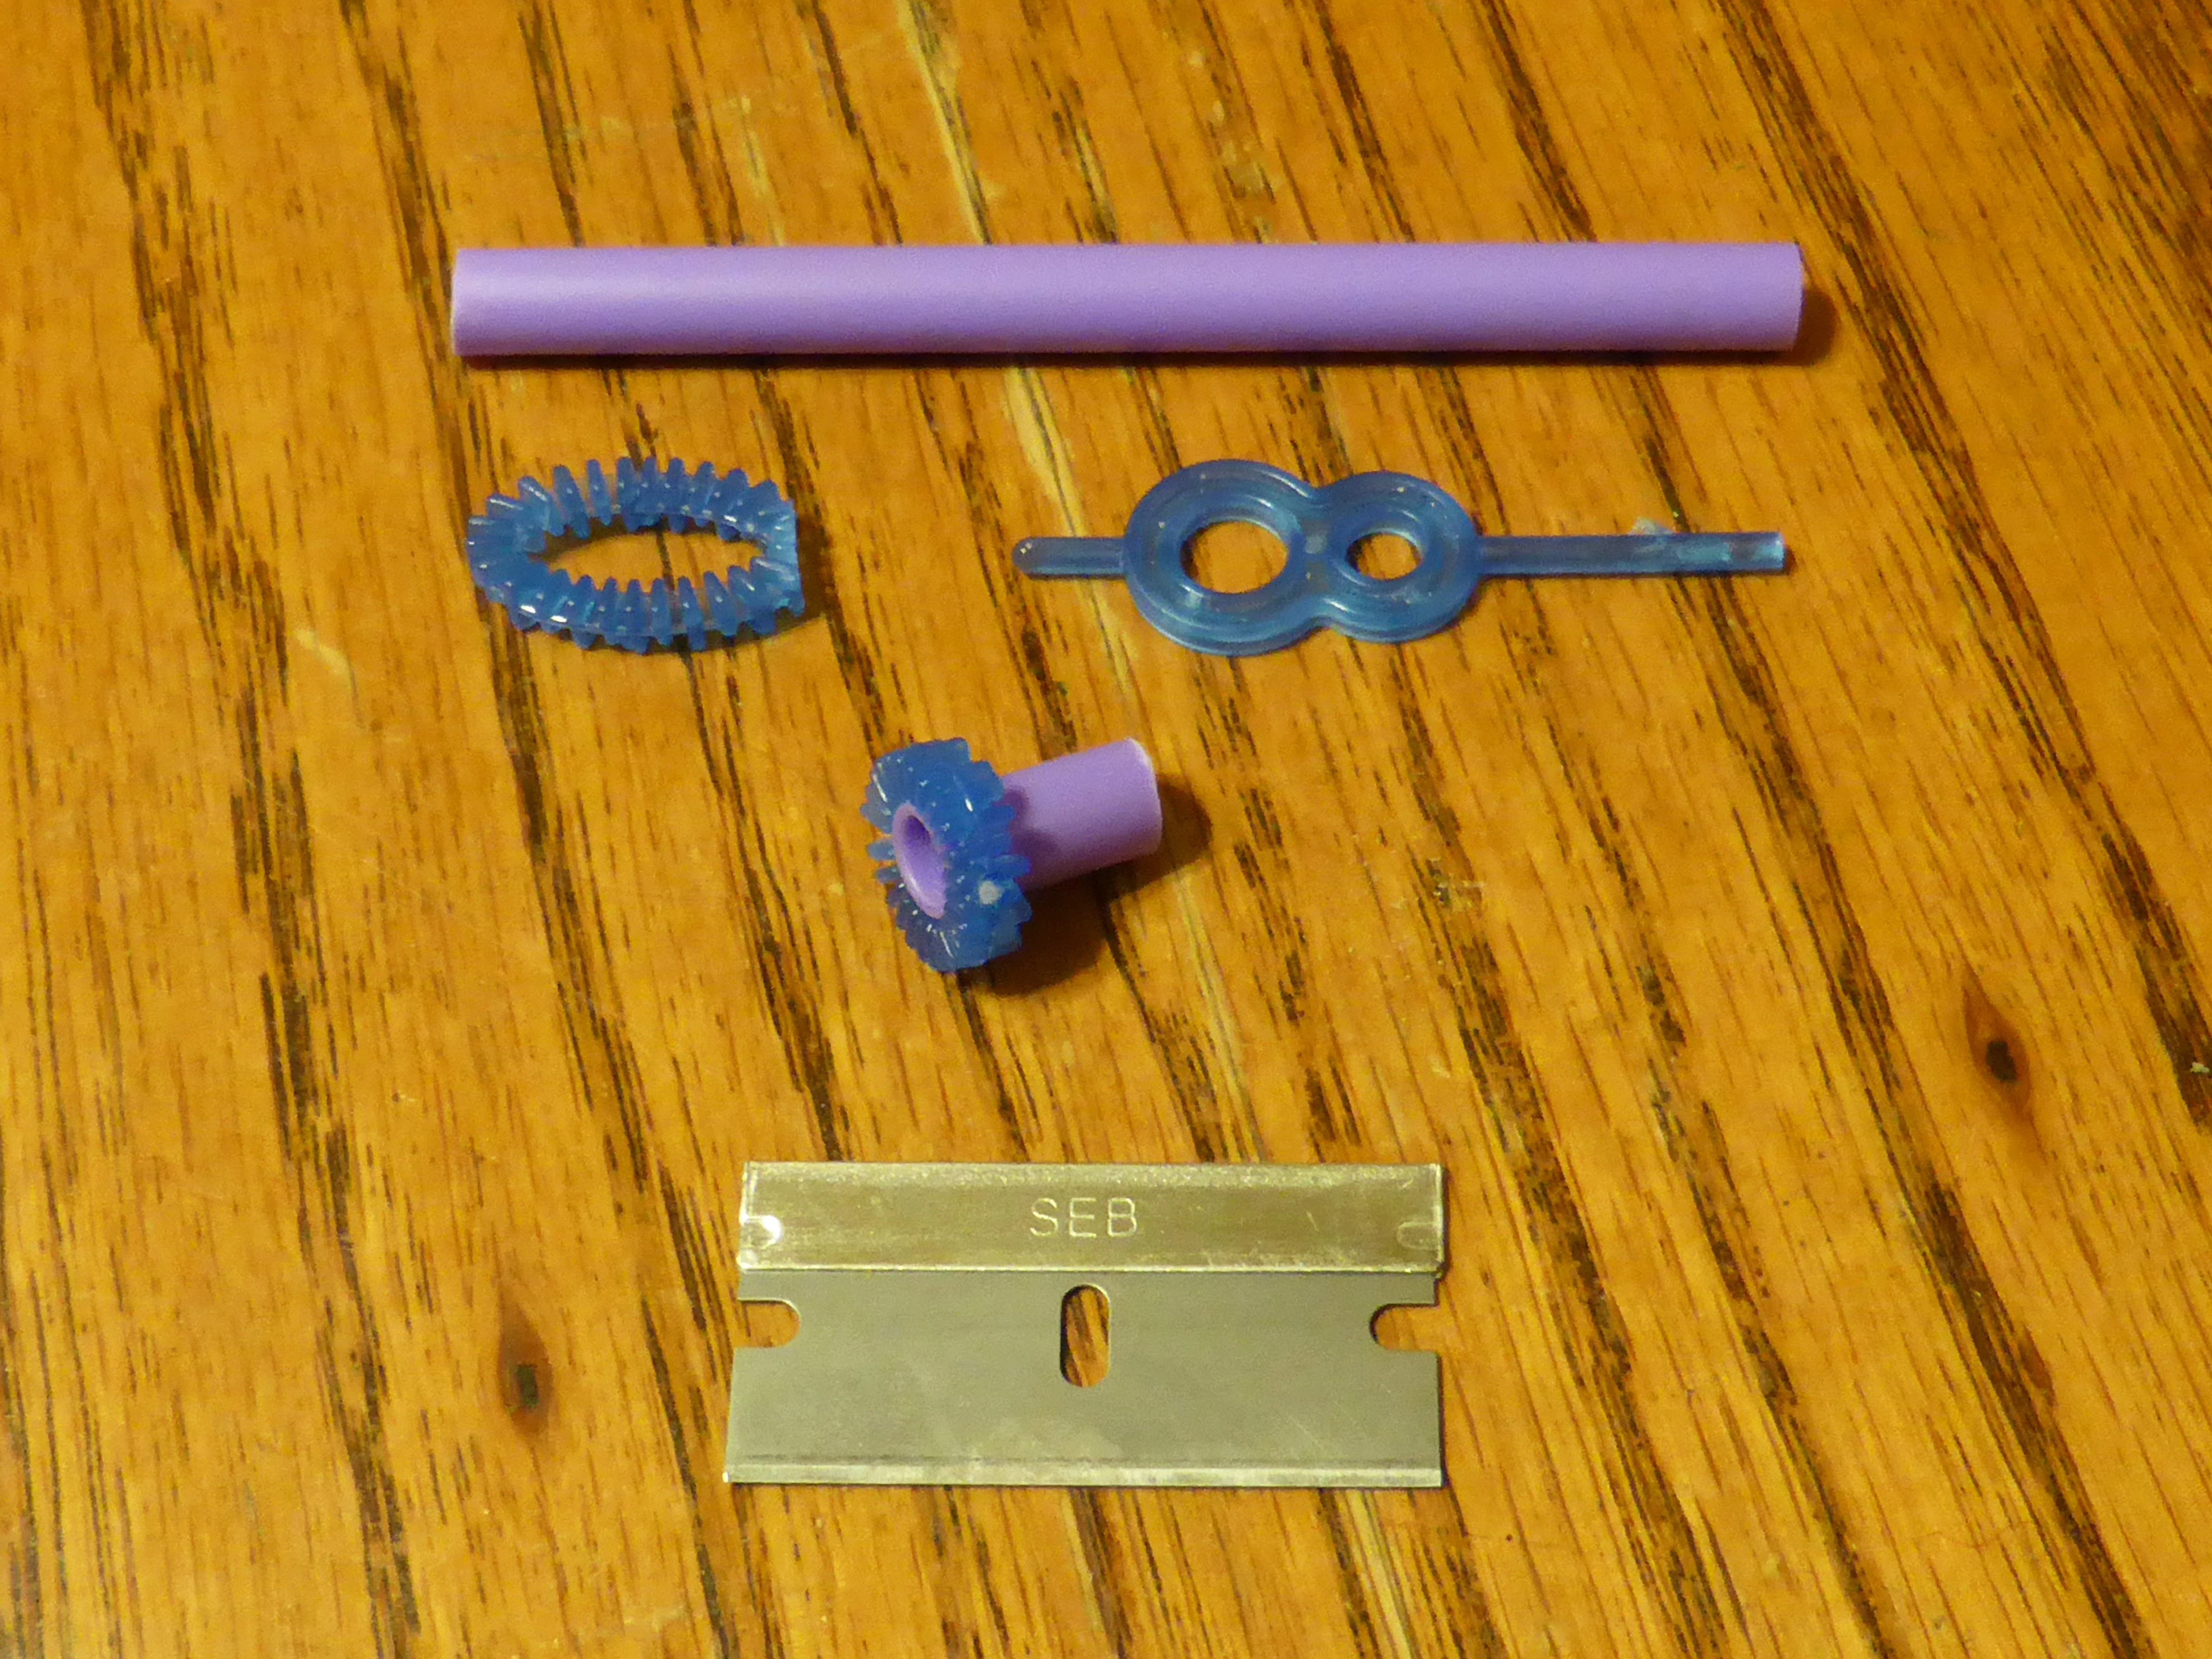
24. For blowing bubbles direct from the blower, rather than filling clear bubbles, it helps to modify the output hose's tip. These are the materials I used.

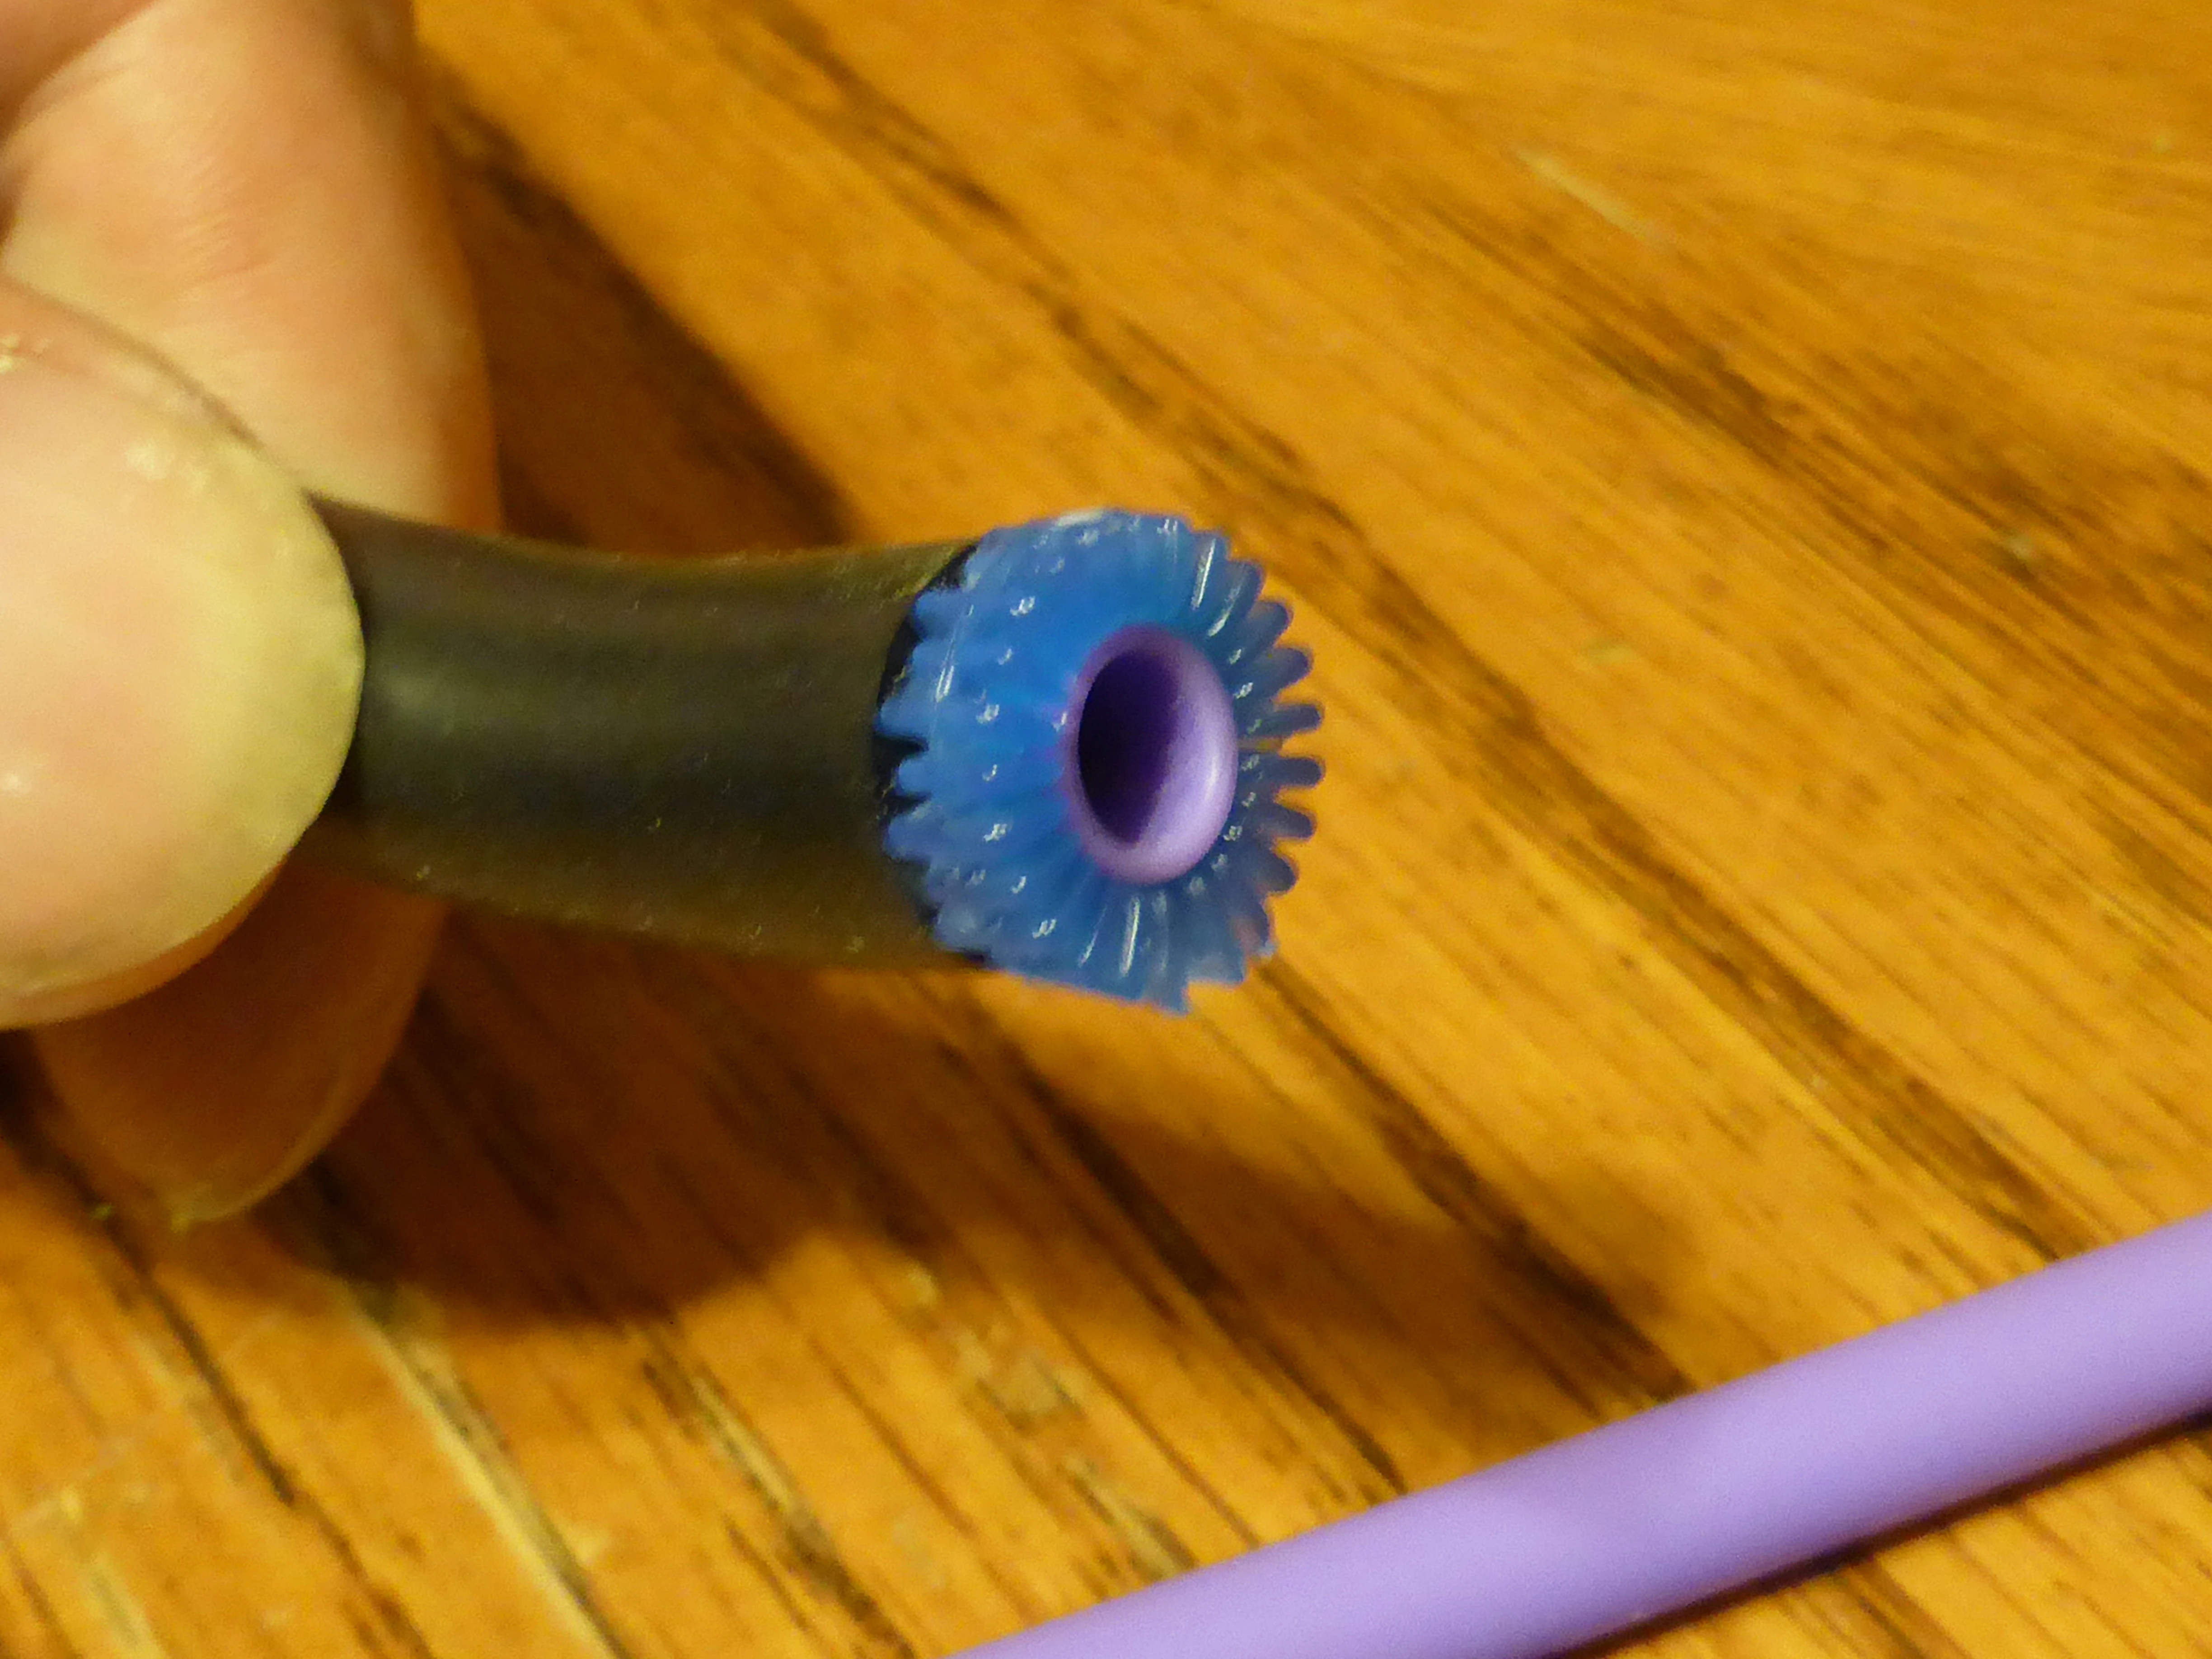
25. Modified output hose tip.

Squeaky toy vape blower-0
The vape blower in action