Garland wands are great for making LOTS of small to medium sized bubbles all at once. They are tolerant of stronger breezes and they always make people smile! Garlands can be nearly foolproof in operation too.
There is one thing about garlands that can be frustrating though, and that is tangles. With so many loops it is easy for a loop to catch on the knot or hardware used to connect one loop to the next. Sometimes the bottom of a loop will twist over the top making smaller than desired openings. Fishing swivels inserted between the loops can help take out twists, but they also add weight and cost and create a place for a loop to catch.
Presented below is how I make my tangle resistant garlands without the added weight of swivels between each loop.
Instead of knots that can catch and hold the line in a tangle, I use nice smooth lock splices to attach the loops, hollow braided line is very easy to splice. The line I use is fairly stiff, which also helps to keep it from twisting on itself.
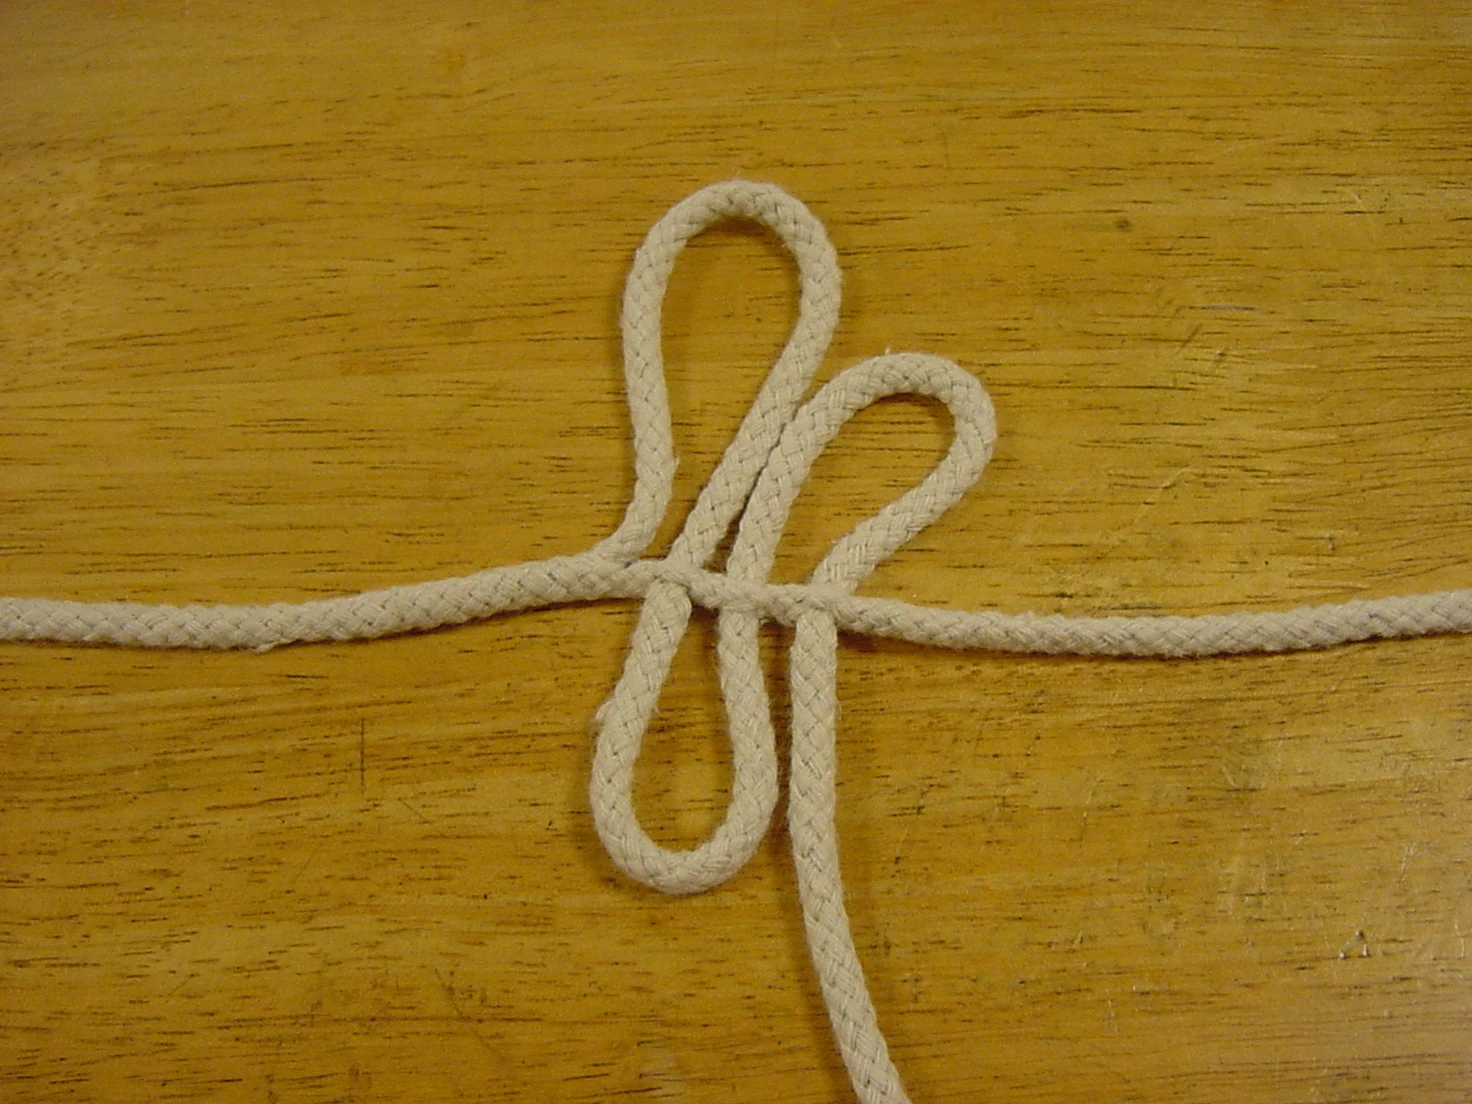
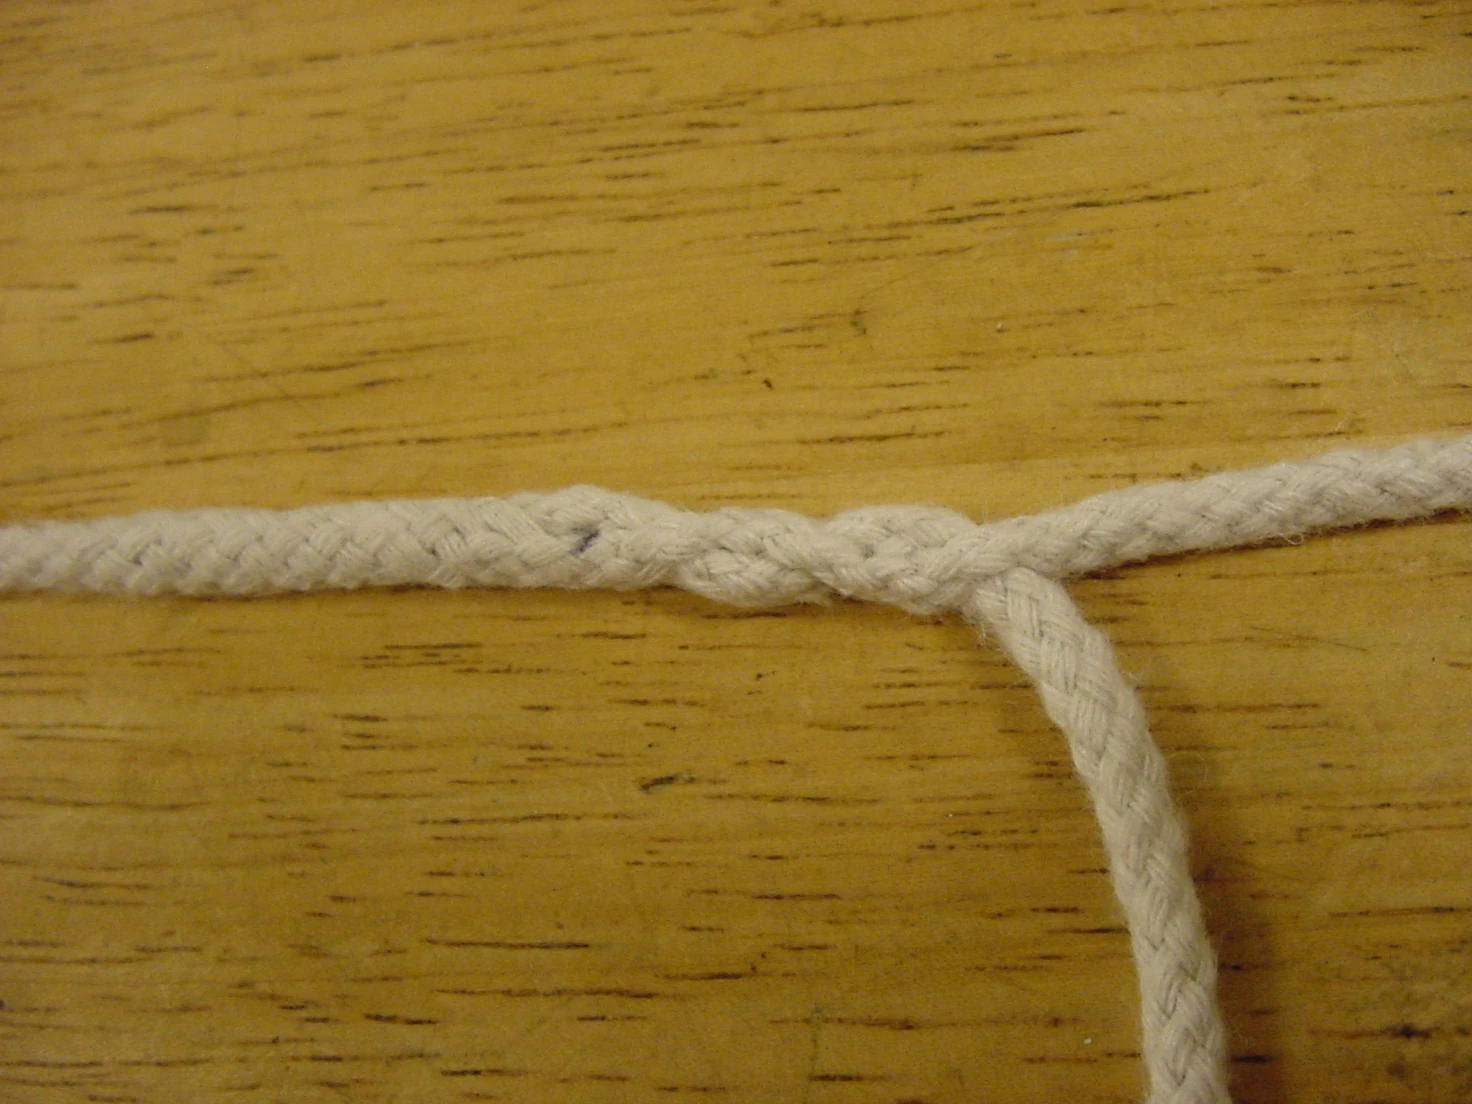
A completed splice - nice and smooth
The space between the loops created by the splice keeps the bubbles from sticking to each other as they are released.
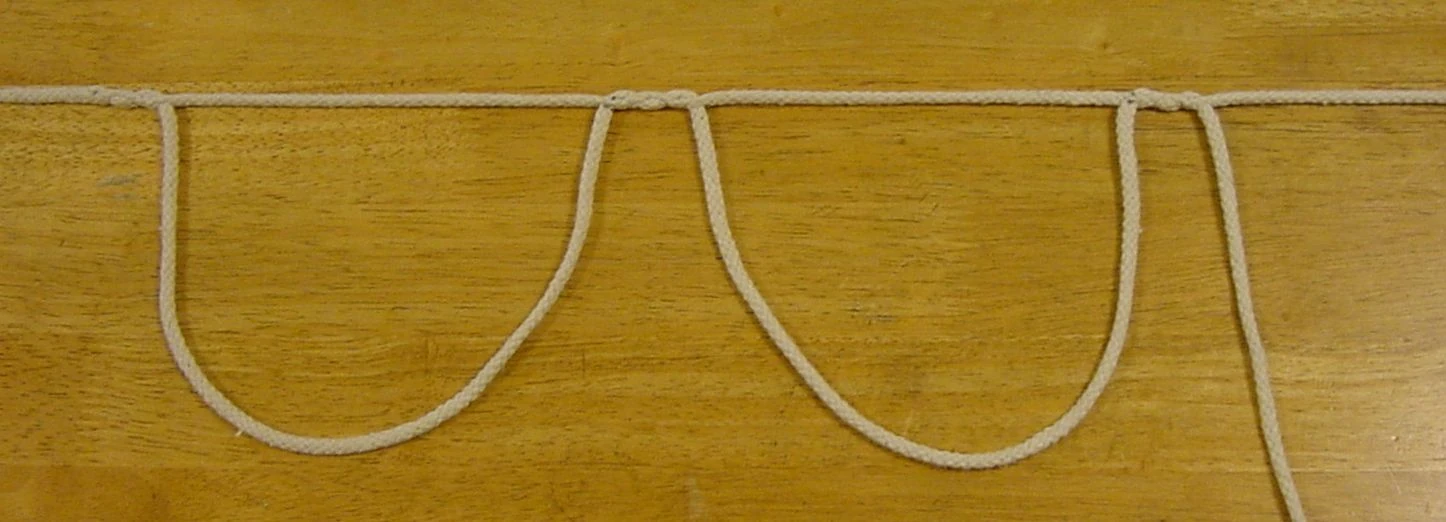
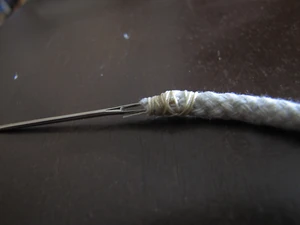
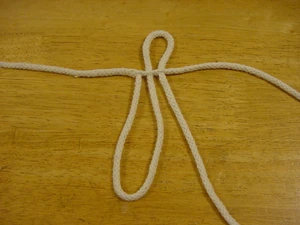
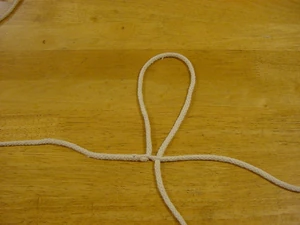
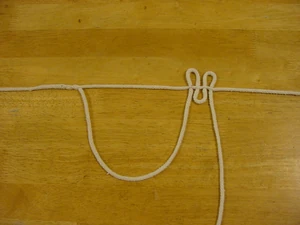
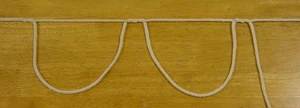
Two loops of a garland made by splicing
The splicing method can also be used to make a tangle resistant bubble net for clouds of big bubble foam.
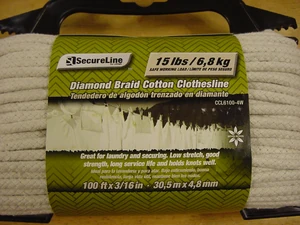
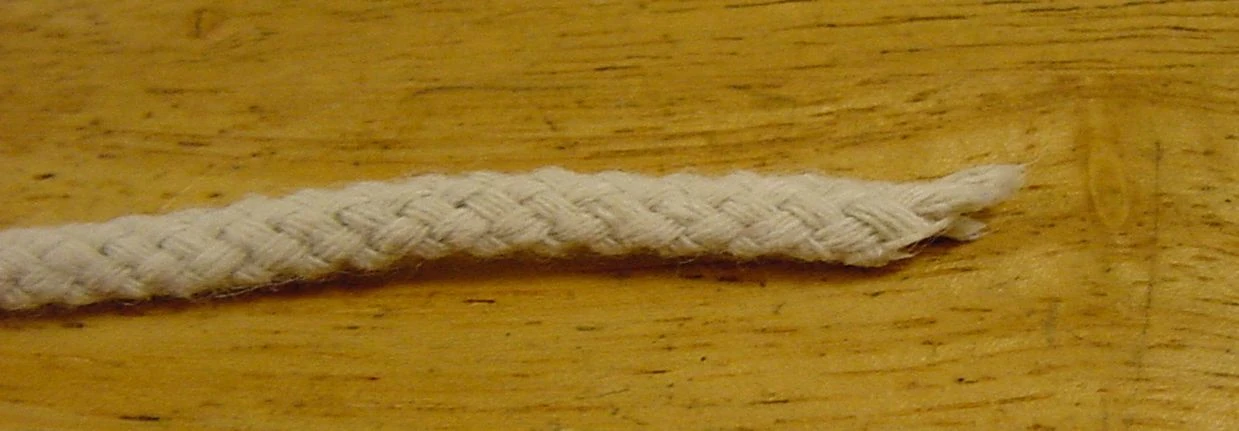
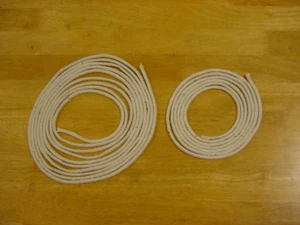
I use the Diamond Braid Cotton Clothesline from Walmart with the synthetic core pulled out. Sold under the SecureLine brand, it is rated at 15 lbs strength and is said to be 3/16 inch in diameter.
You may want to wash the braid after removing the core so that it is pre-shrunk before building a garland. Washing may also help prepare the fibers for use in bubbling (See this page for information on pre-washing.) As of this writing, I don't pre-wash my braid. I do wash the completed garland in dish soap before the first use.
Diamond Braid Cotton Clothesline from Walmart
To remove the core:
Slide the braid back on the core until you can grasp the core.
Continue sliding the braid down the core as far as you can.
Cut off the exposed core.
Pick the end of the core out through the side of the braid and continue sliding the braid down to expose more core.
Repeat this process of exposing and cutting the core until you have enough raw braid for your project.
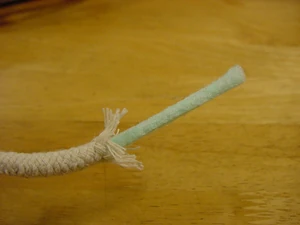
Core inside the hollow diamond braid
The Tool - Fid[]
To make the smooth splices in the line you need a tool to help pull one line through the braid of another, as in the picture at right. In this section I describe the making of one type of tool for this, some alternative tools are shown in the next section.
Forming a splice with a fid
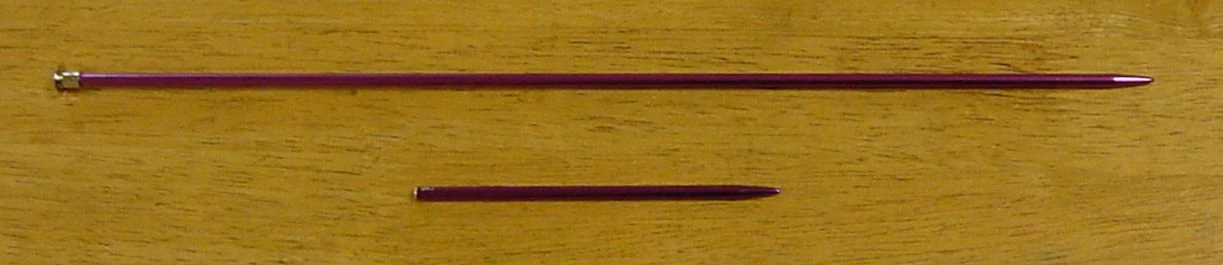
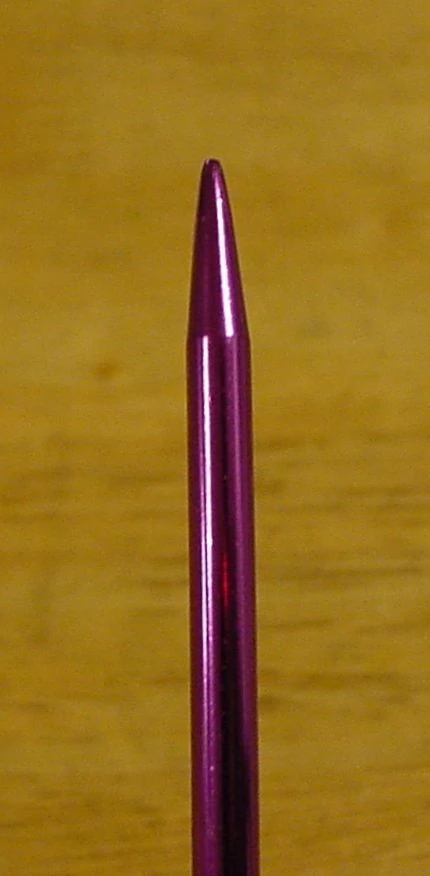
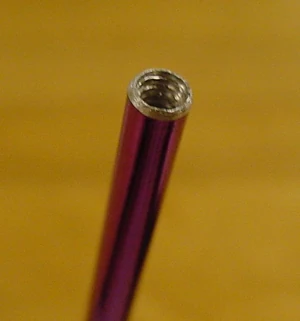
I make splices using a hollow fid made from an aluminum knitting needle. Knitting needles are available in a wide range of sizes in .5 mm increments. The blunt points on knitting needles are perfect for pushing through a braided line without damaging the strands. You can also purchase pre-made fids - search online for "hollow fid".
I select a needle that is small enough in diameter to pass easily through the braid of the line but large enough to stuff the end of the line inside a hollowed out end of the needle. For the Walmart clothesline I am using a 4 mm needle (US size 6). I cut the pointed end off to roughly 3 - 4 inches (8 - 10 cm) long
4mm aluminum knitting needle - and the fid it makes
The blunt point of the needle is perfect for pushing through a hollow braid line
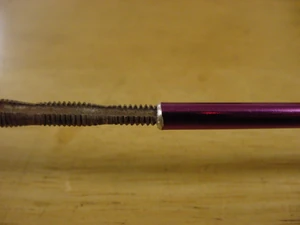
Next I drill a 3/16 inch diameter hole from the cut end to create a hollow tube roughly 1 inch deep (2.5 cm). (Some of the larger sizes are already hollow.) Then I select an appropriate threading tap (or a screw) and cut threads on the inside of the hollow end. ***Note - drilling a hole down the length of a knitting needle must be done with the needle secured by a tool. Don't hold it in your hand while drilling - you could easily slip and drill through your hand.***Deburr the drilled end
Close up of the tap in the fid
so that it won't catch on the strands.
cut end bored out and tapped
Thread cutting tap started in the end of the fid
The threads cut in the end allow the fid to be screwed securely to the end of the braided line. You don't need perfectly formed threads here, it just has to grip the line. The fid is then used to pull one piece of line through the braid of another.
Fid attached to the line
Hint: Cutting the end of the line at an angle can help to insert it in the end of the fid.
line cut at angle for easier insertion into fid
Alternative Tools[]
There are other methods for splicing a braided line - feel free to substitute your favorite.
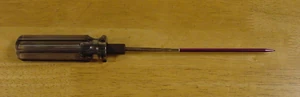
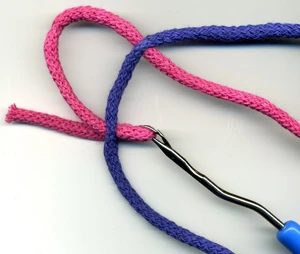
A latch hook tool as shown at right may work for you, and you may already have one around the house.
A latch hook tool being used to splice two braided lines
A folded over thin piece of solid wire can be used to pinch a doubled over end as shown with the latch hook above. The folded wire is first pushed through the braid, the loose end is inserted into the fold, then the wire is pulled back through.
Picture to be inserted here.
A large needle can be fastened to the end of the line with thread. Just don't poke yourself.
Faux fid
The Garland Construction: []
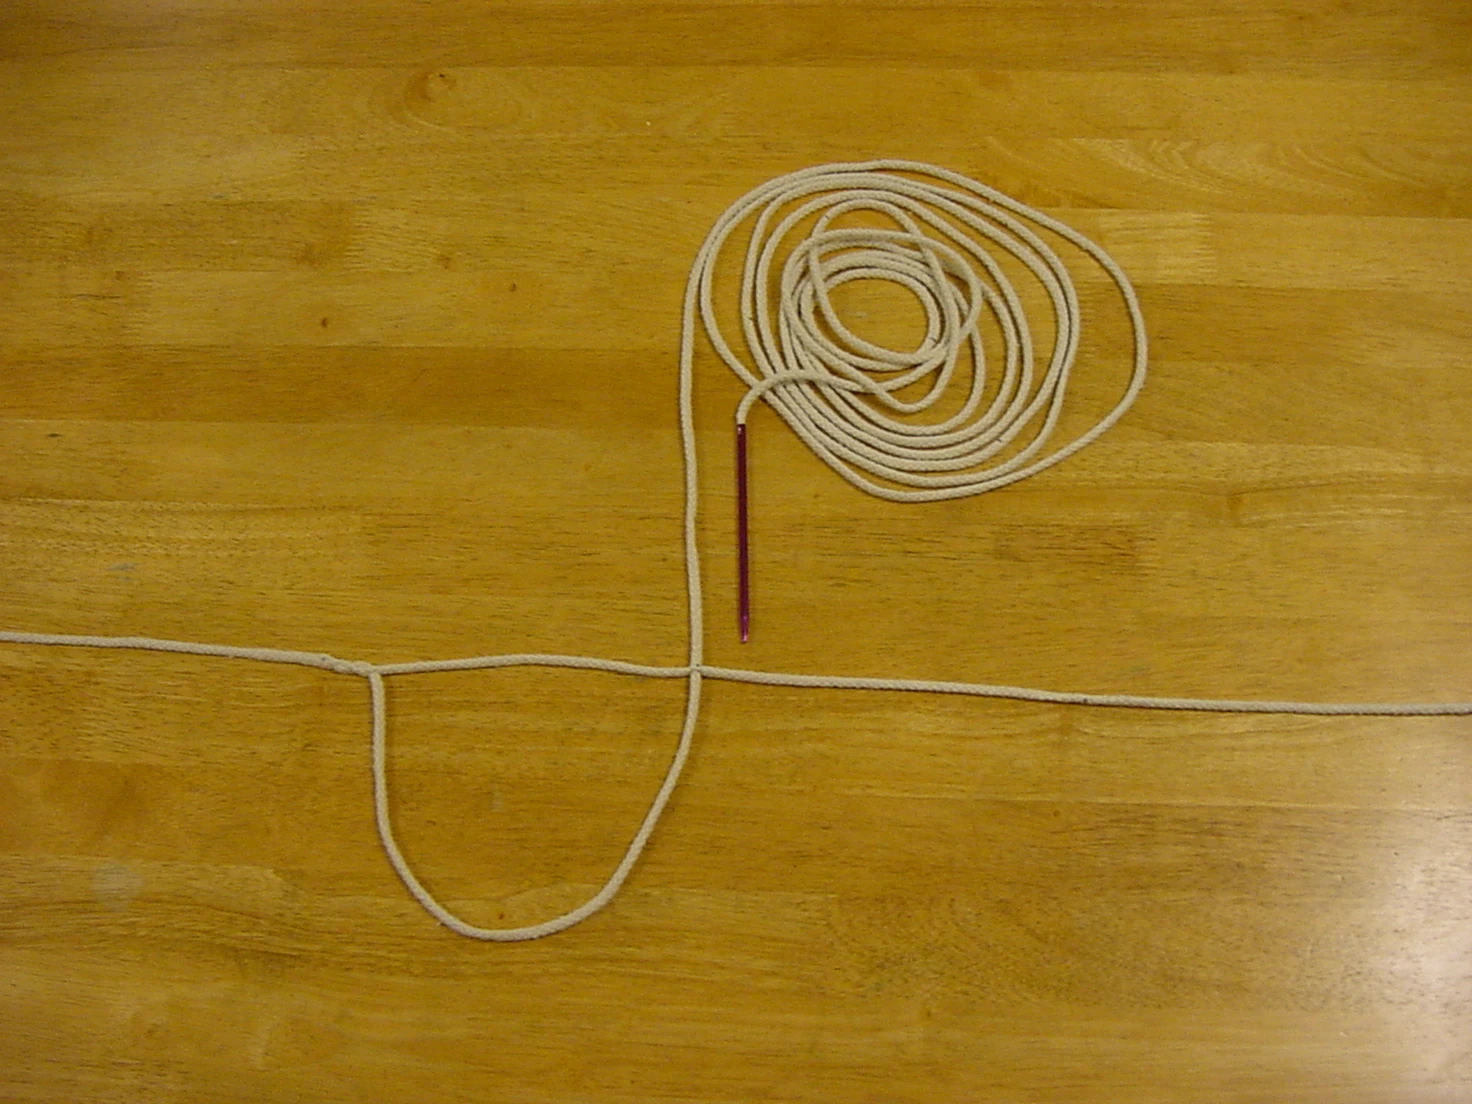
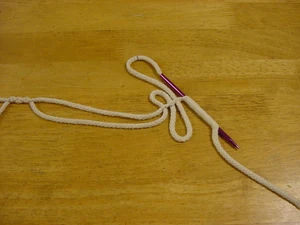
1. Cut the top line to length with a little extra for connecting to the poles. Add a swivel to one end and secure the swivel to a table, chair, workbench, or your assistant. The free end is pulled tight and the swivel allows any twists to pull out. Note - for photo clarity my pictures are taken with the line laying on a table, when I am making a garland the line is stretched through the air so I can see any twists as they form.
a swivel tied to one end of the top string
2. Cut the line for the bottom loops to double the length of the top line.
Hint: Measure and mark the splice locations on each line now to save time later.
top and bottom lines cut to length
3. Stuff one end of the bottom line into the fid and twist the fid to lock the line inside.
Fid attached to the line
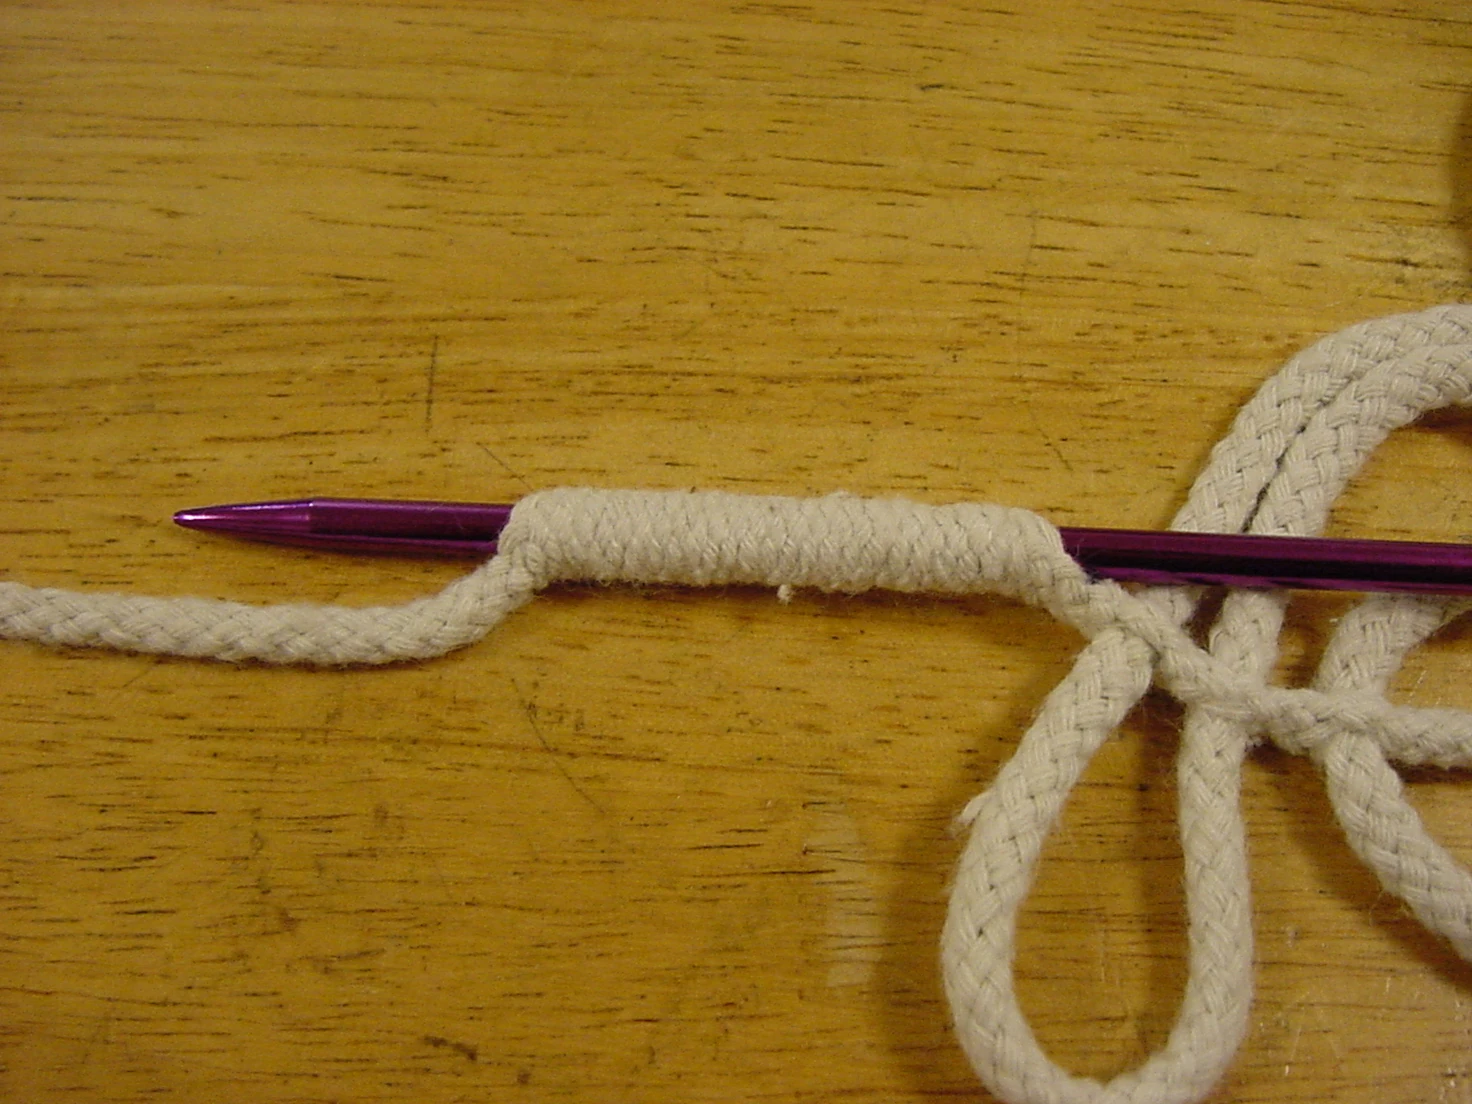
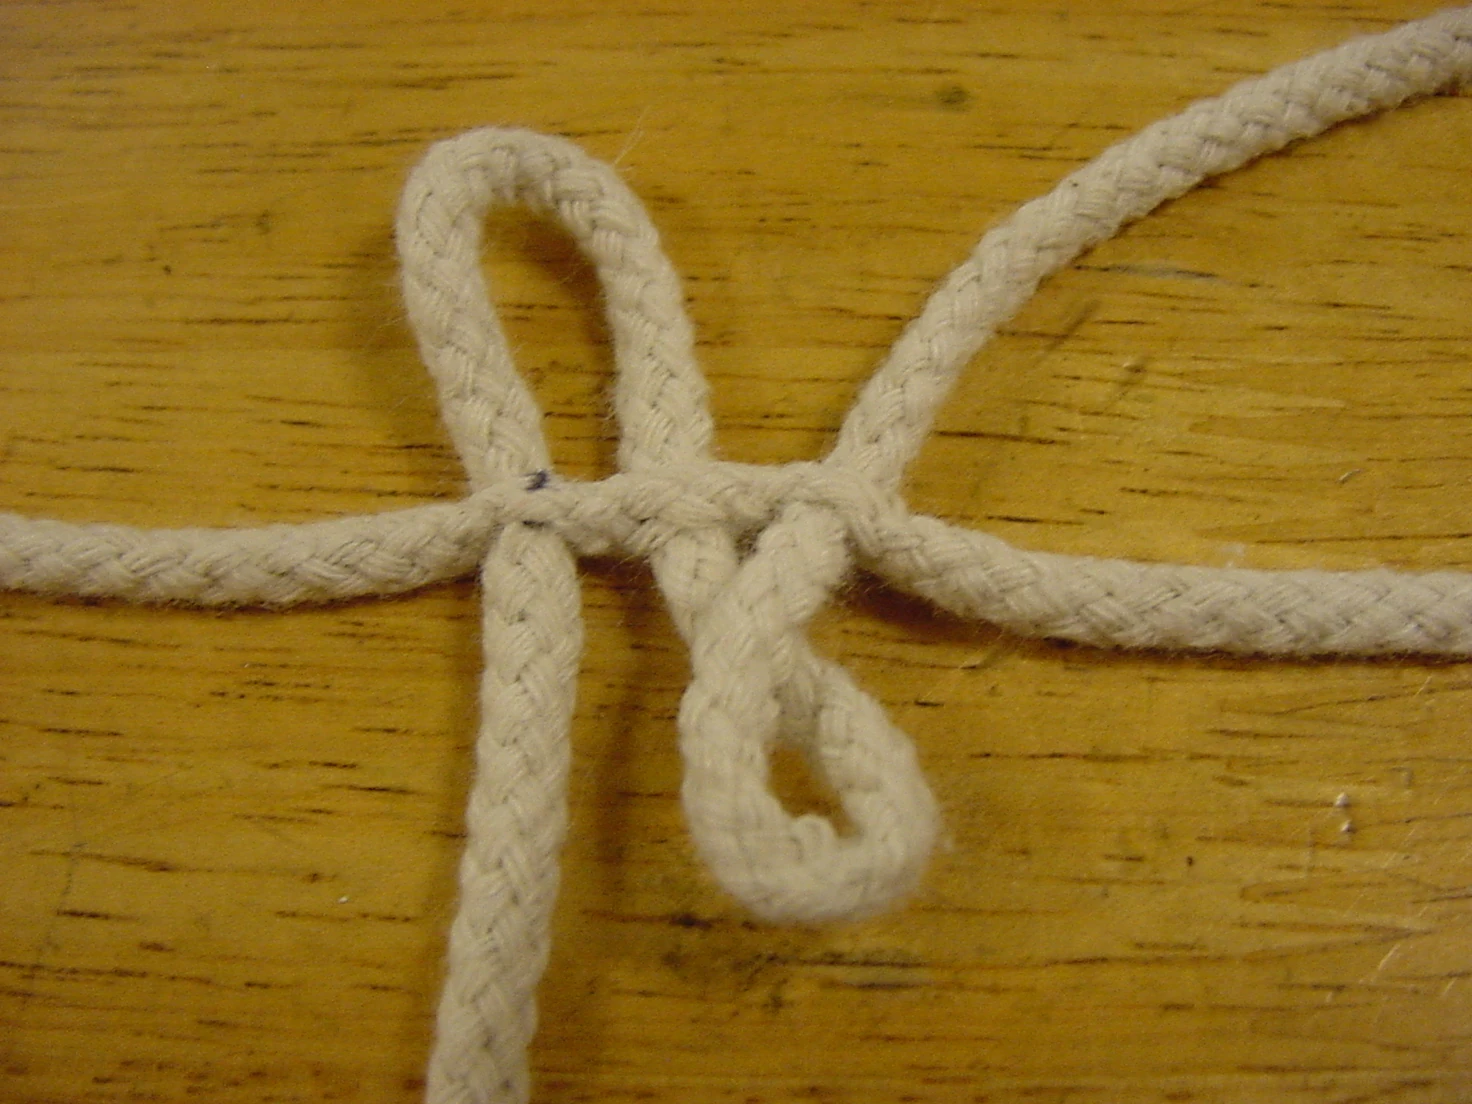
4. At the point where you want the first loop to start, push the fid through the braid of the top line, entering the bottom side and out the top side of the top line. Pull some extra line through.
5. Push the fid through again from top to bottom about 1/2 inch (1 cm) toward the swivel end of the top line. Pull some extra line through.
6. Push the fid through again from bottom to top about 1/2 inch (1 cm) toward the swivel end of the top line. Pull some extra line through.
The bottom line is now through the top line three times with the fid on the top side and the loose end on the bottom side of the top line.
Forming a splice with a fid
7. Push the fid into the hollow center of the top line braid from the top about 1/2 inch (1 cm) toward the swivel. Feed the fid through the hollow center of the top line and back out of the top braid 2 inches (5 cm) toward the swivel. Pull some extra line through.
Fid inserted into the center of the hollow braid
8. Unscrew the fid from the end of the line.
Fid removed from the line
9. Pull the excess bottom line from step 7 back through the hollow braid just to where the cut end is buried inside the hollow braid.
Loose end buried inside hollow braid
10. Pull back the excess bottom line from the other passes through the top braid until the bottom line is tight to the top line. Work through any twists in the bottom line as you go.
Working excess line back through
Continuing to work the excess back through
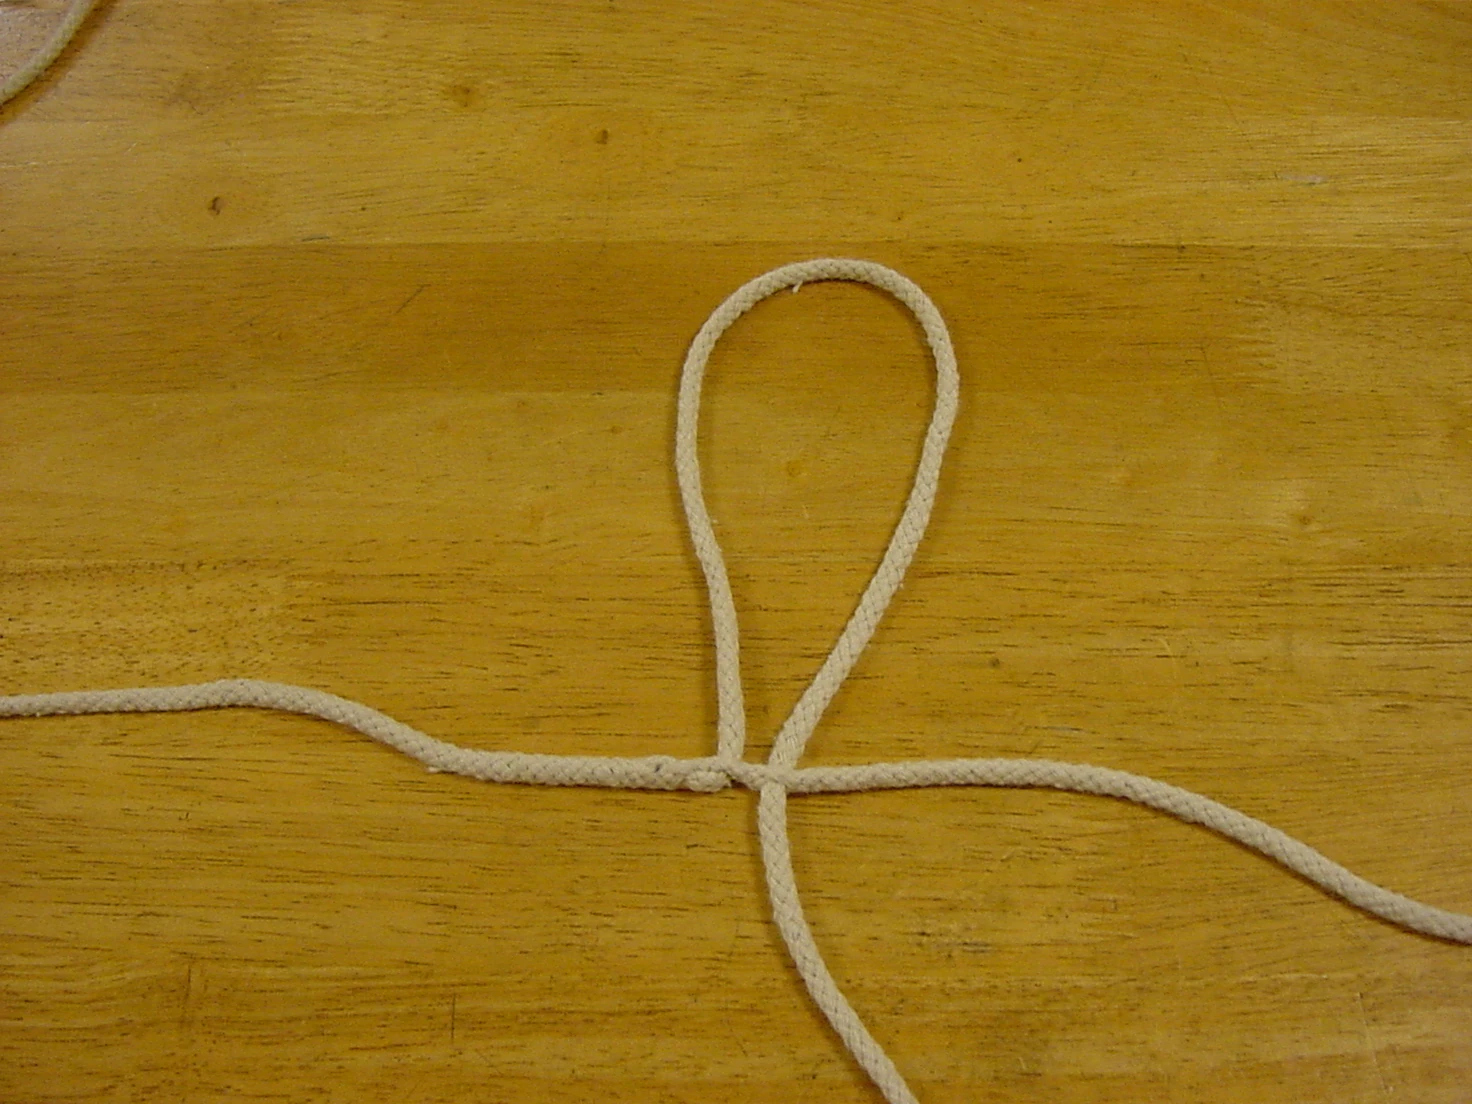
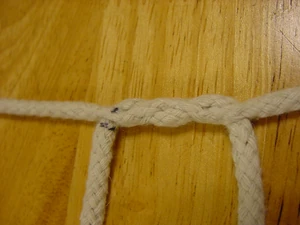
The first splice is now complete.
Completed splice
11. Twist the fid onto the free end of the bottom line.
Fid on the free end
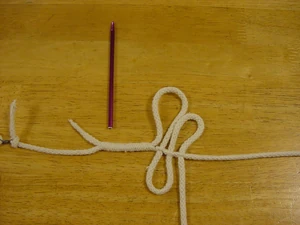
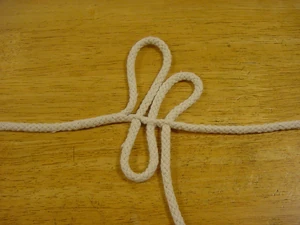
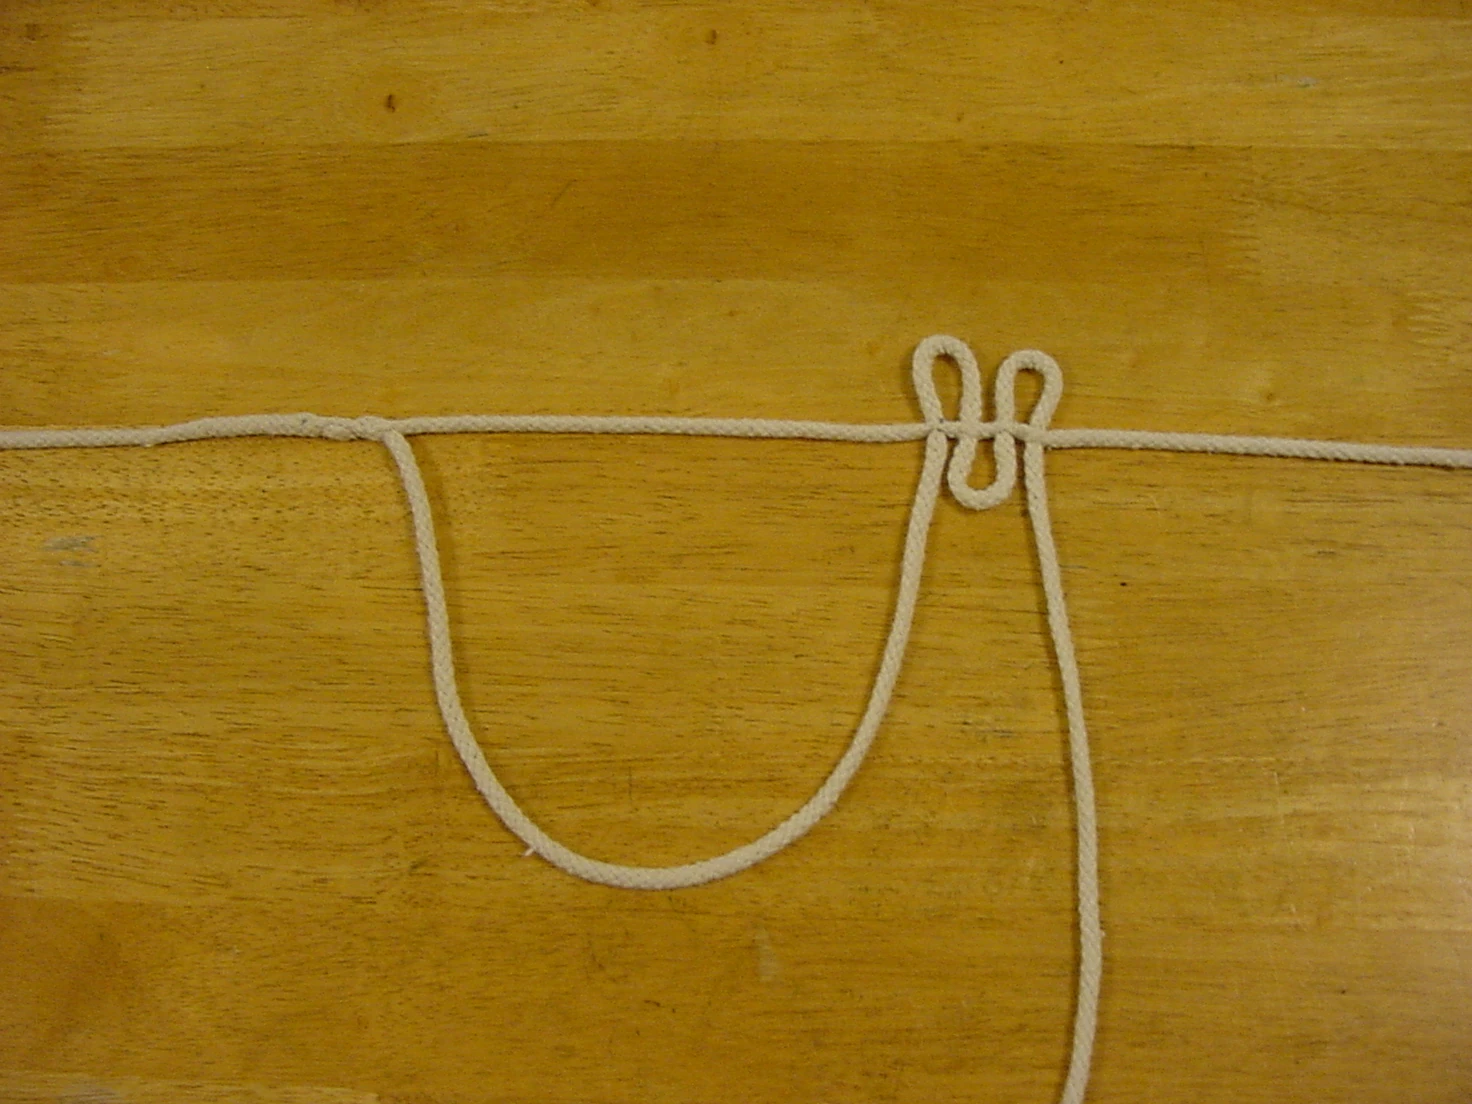
12. Measure across the top line to where you want your first loop to connect. (I like to use 7 inches across the top and 14 inches for the bottom - 17.5 cm and 35.5 cm) Pass the fid through the top line from bottom to top and pull the bottom through to create a loop of your desired length. Be sure to take out any twists in the bottom line as you go.
13. Working toward the next loop, pass the fid back through the top line from top to bottom about 1/2 inch (1 cm) toward the start of the next loop. Pull the bottom line through until it is tight to the top line, working out any twists as you go.
14. Pass the fid back through the top line twice more as above - bottom to top and then top to bottom. The bottom line should be hanging neatly from the bottom of the top line and the first loop hanging down neatly.
Note - for clarity the picture to the right shows each pass through the top line with excess left in the bottom line, work the excess through as you go to form a nice smooth completed splice.
Splice to form the first loop
Here is an example of a twist formed while pulling the bottom line through. Spin the bottom line where it passes through the top line to take out this twist before pulling the bottom line tight.
A twist in the line
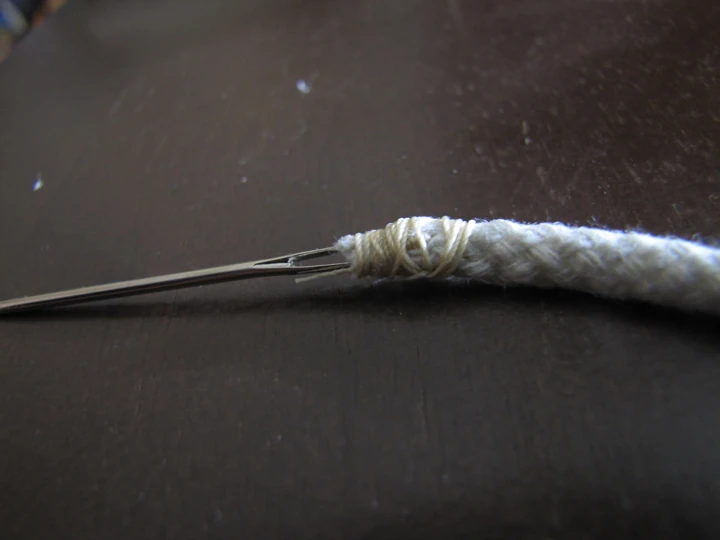
Completed splice, nice and smooth.
A completed splice - nice and smooth
15. Repeat the steps above across the top line until all the loops have been spliced.
Two loops of a garland made by splicing
16. Cut off any excess bottom line and bury the end as in the first splice.
The final splice
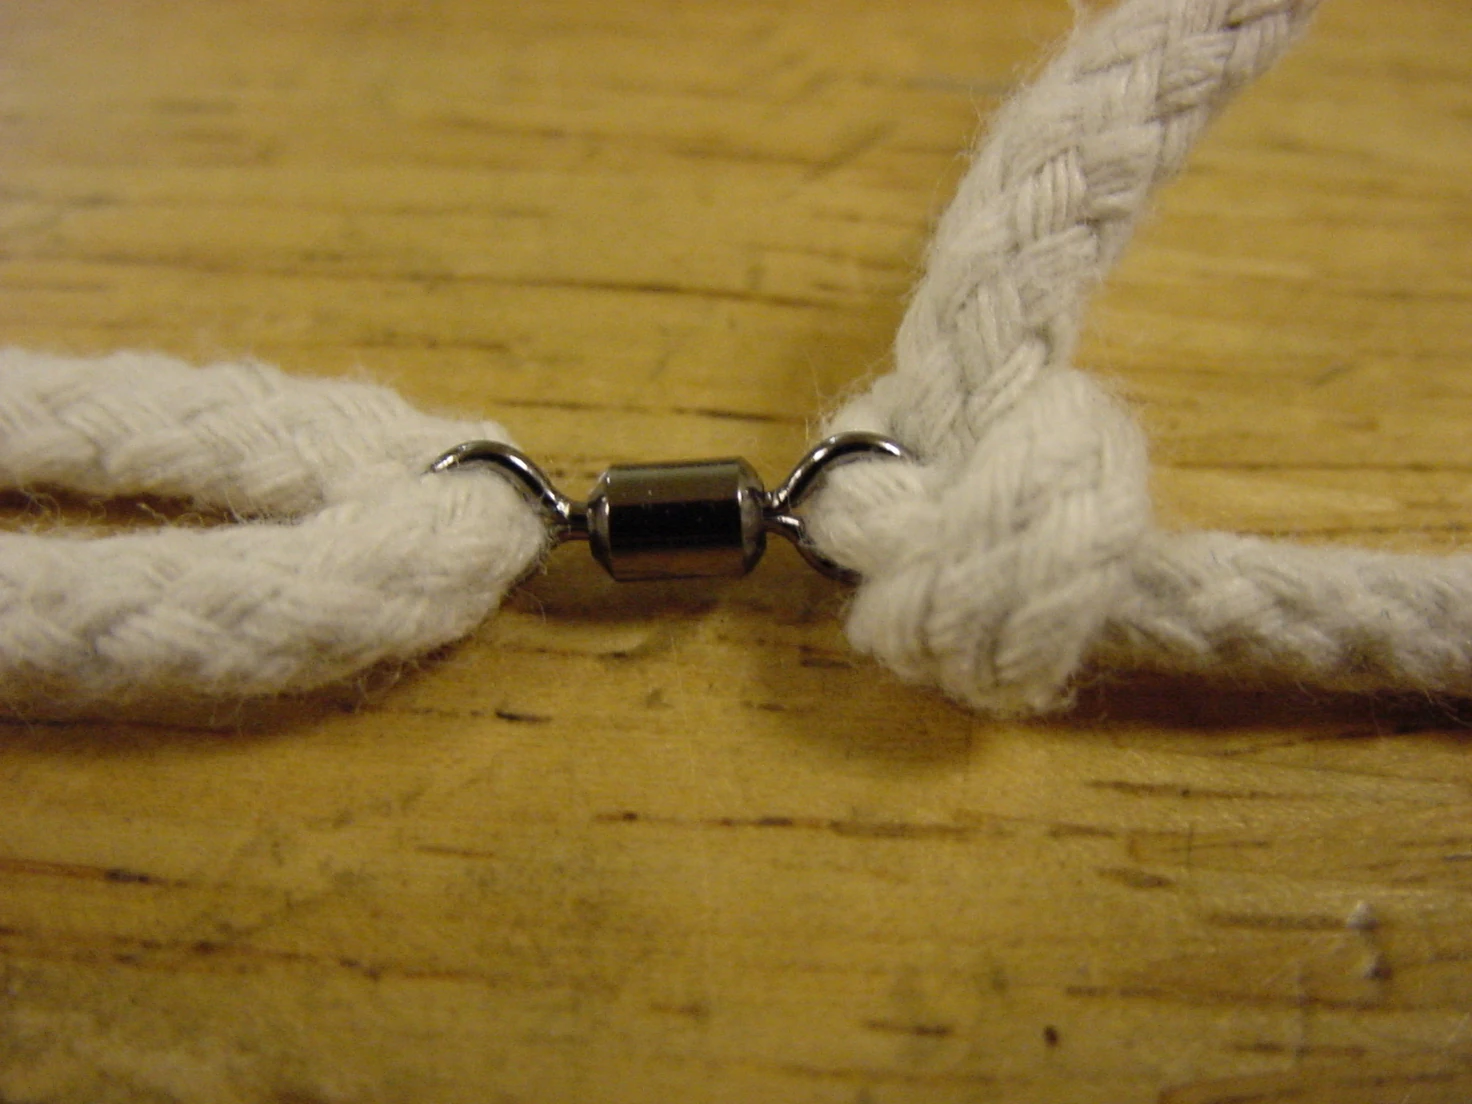
17. Attach a swivel to the second end of the top line and your garland is ready.
Note: the same splicing technique can also be used to attach the swivel without knots.
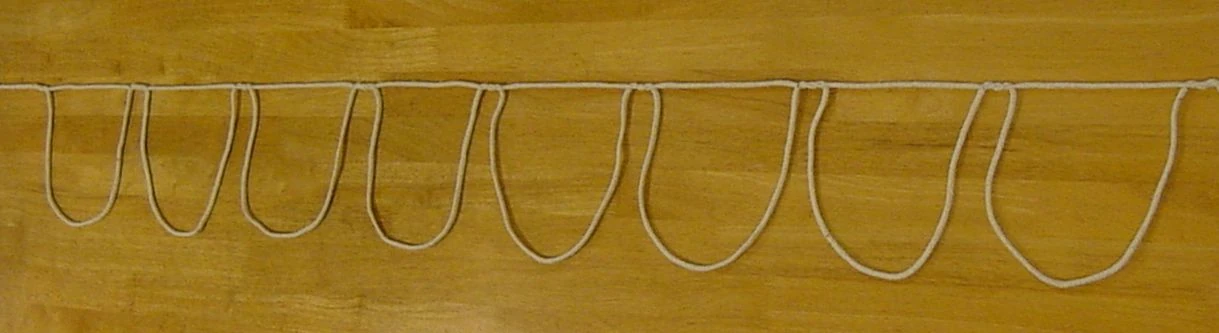
A completed Tangle Resistant Garland
See Also[]
Another tangle-resistant design can be found is Hisao Oono's tangle-free design which uses cotton twill (cotton fabric tape).


